The recipe for Pan de Huevo/Conchas that follows is revised from the first several times I prepared the sweet bread. I had learn a few baking tips and was eager to try them out. The pan de huevo was also softer than all the previous time I had prepared it.
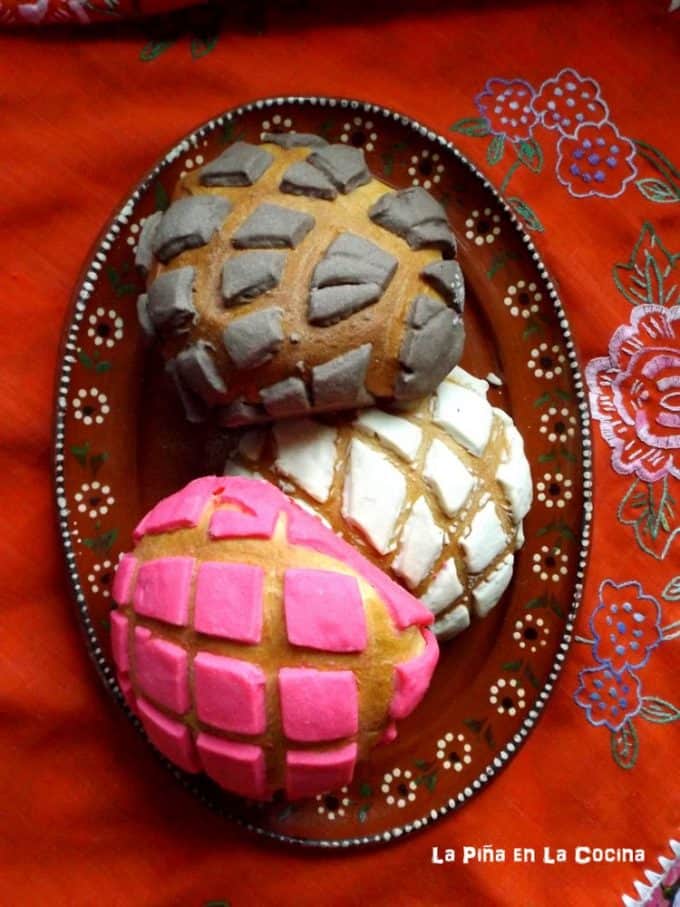
It’s like I always tell myself when I feel unsure about something, “You will never know until you try”. Glad I tried, and tried and tried again…one never stops learning. Go to the end of the post to find links for Pan de Muerto and a Mexican-style soft yeast dough recipe for Empanadas!
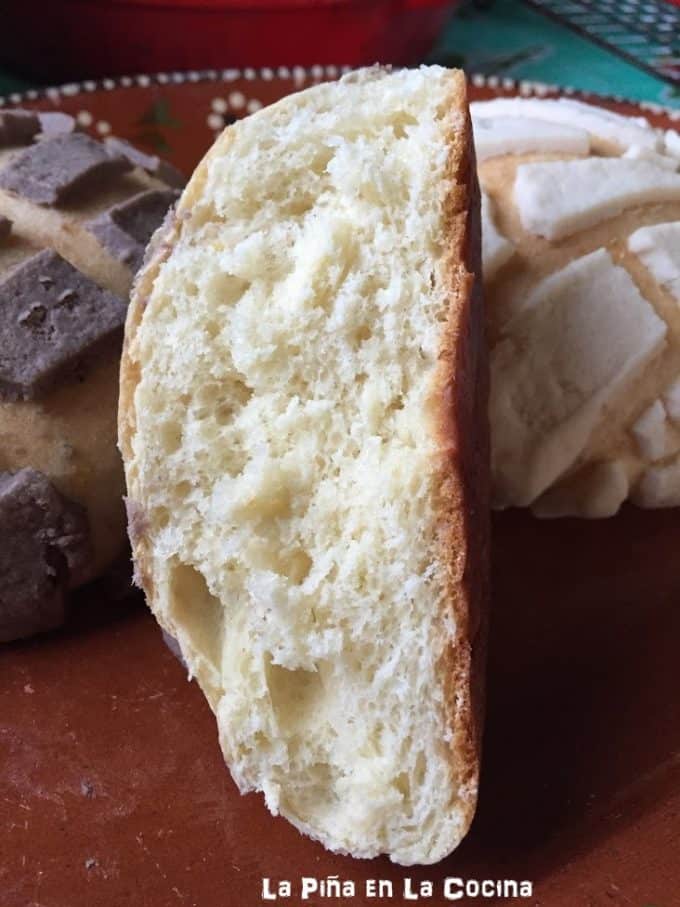
Investing in a stand mixer was the best thing I ever did!
Before purchasing my stand mixer, I prepared all my bread recipes by hand! I did it because I wanted to know that I could do it. Plus I wanted homemade conchas really bad, lol! No Mexican bakeries for hundreds of miles around here!
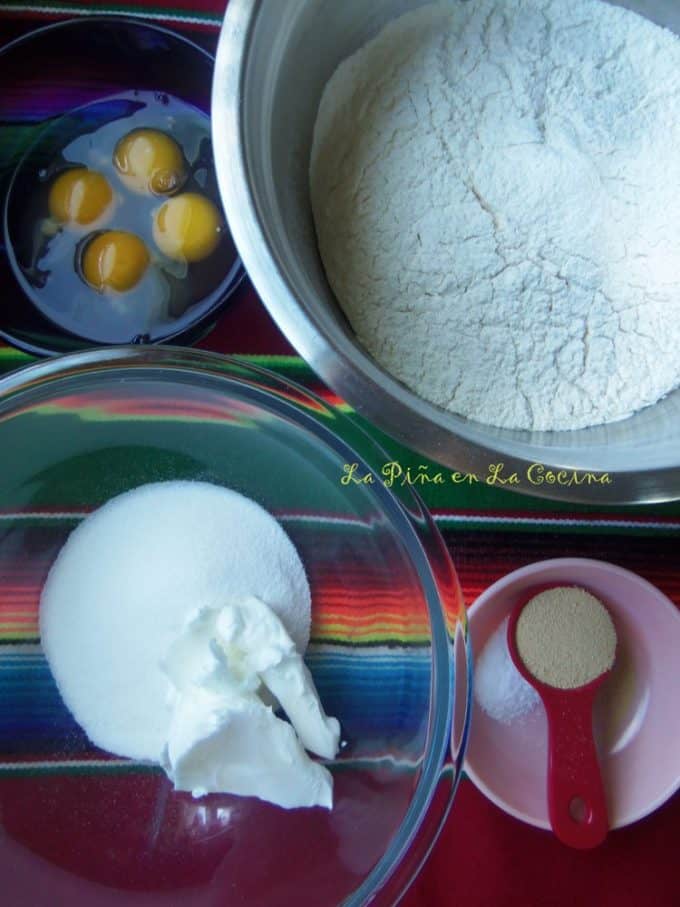
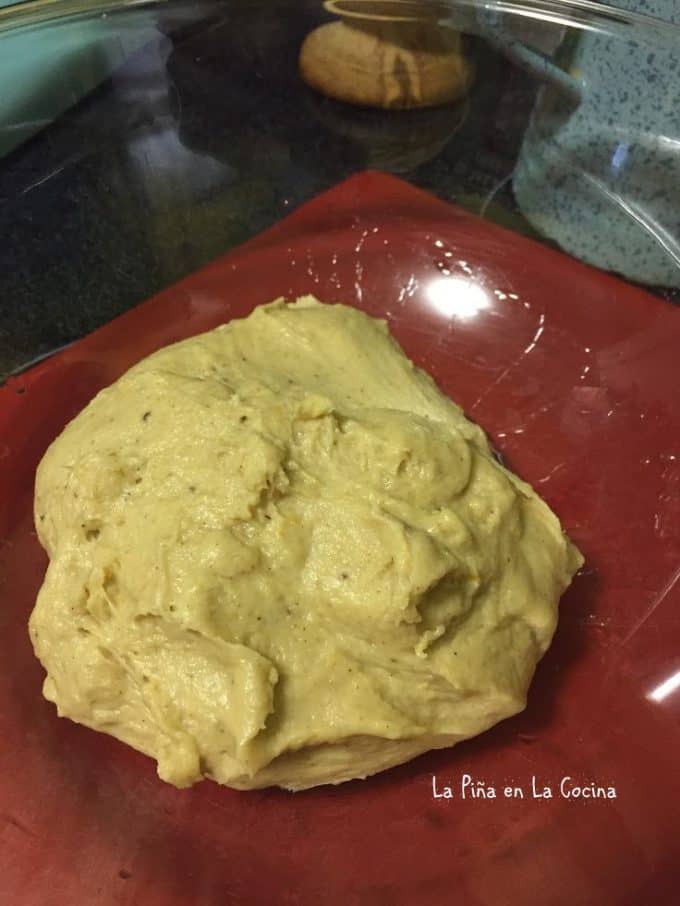
If you are doing this by hand, you will really have to be patient and know that it will be worth it in the end.
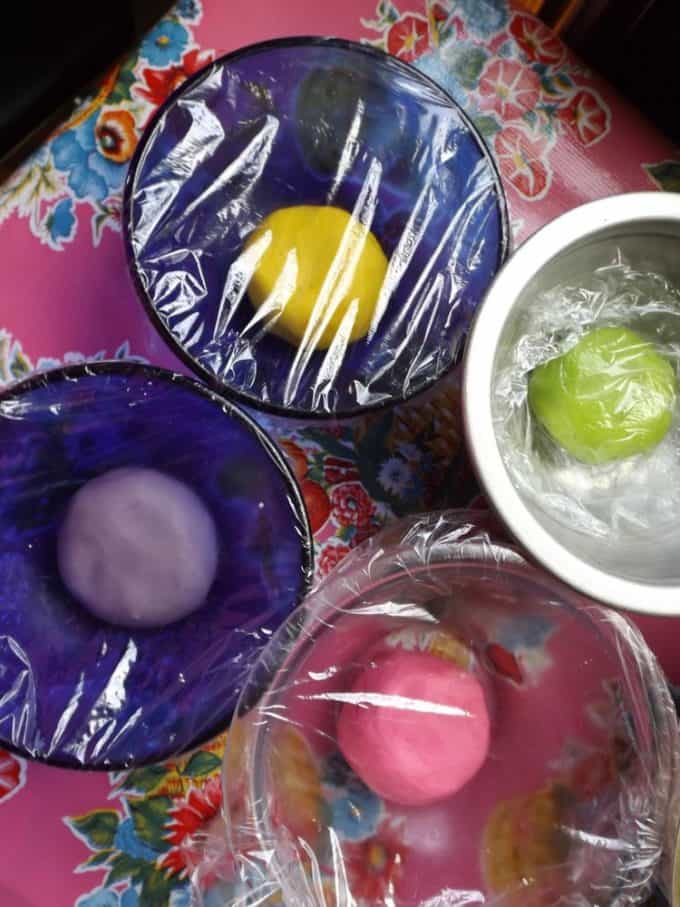
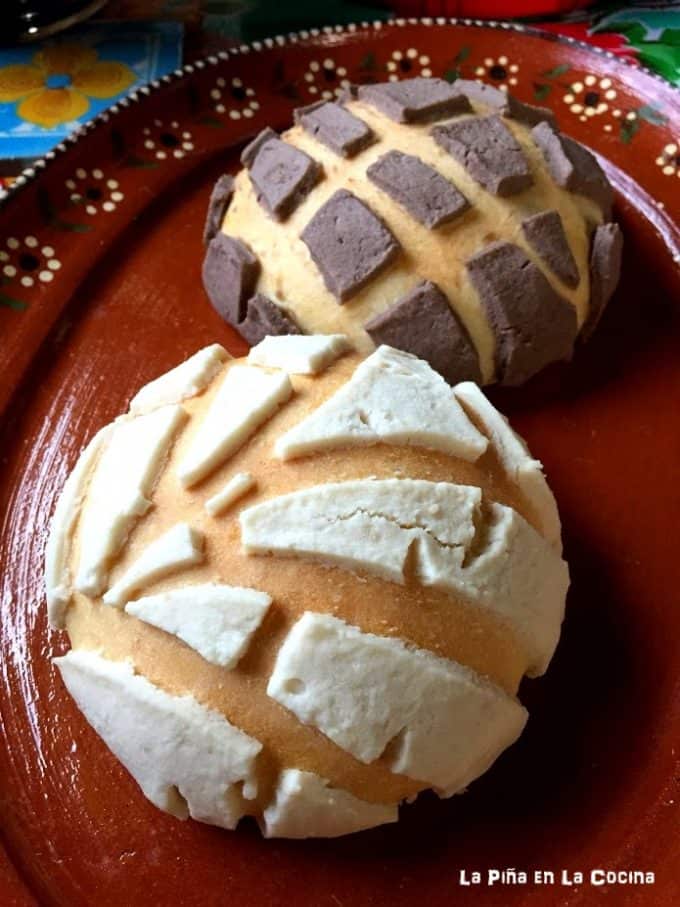
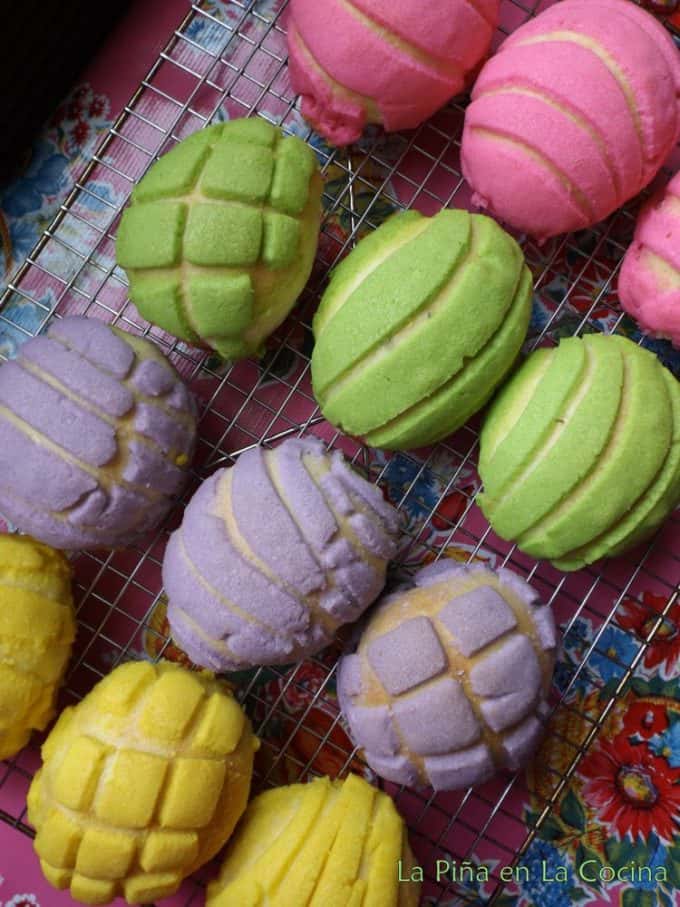
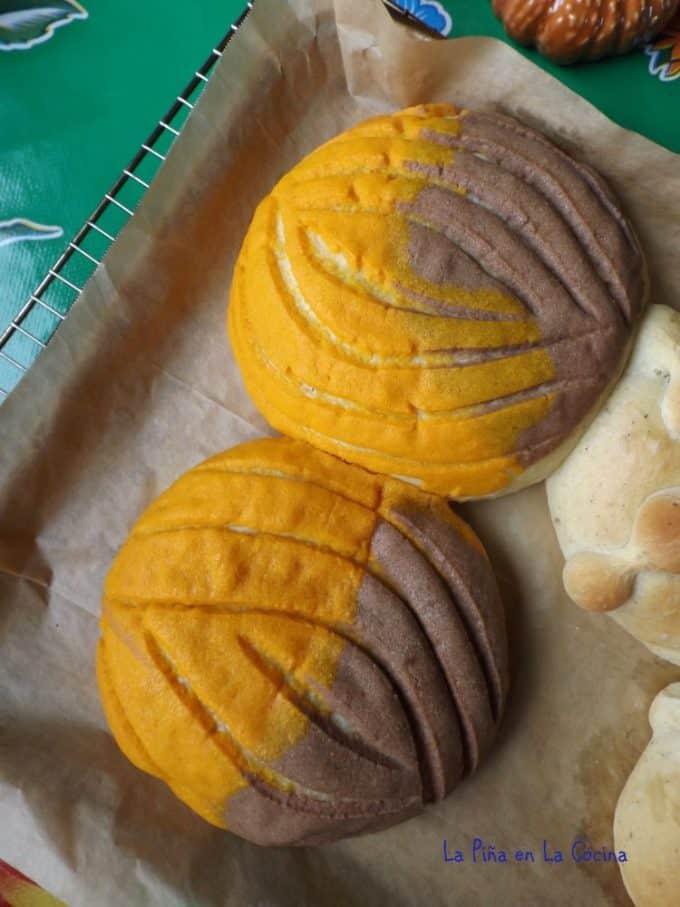
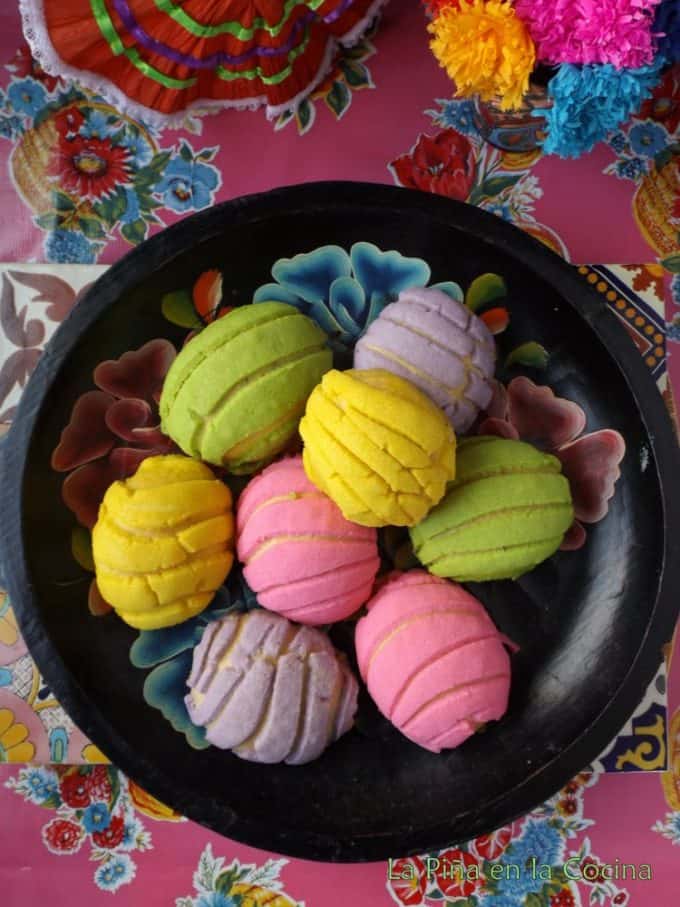
You can create all colors of concha toppings! I use food coloring gels for icing. You can pick them up at your local craft store. For the orange, I mixed yellow with just a little bit of red. Love it! For the chocolate, no food coloring required. You simply take some unsweetened cocoa powder for baking and mix it in well to your concha topping.
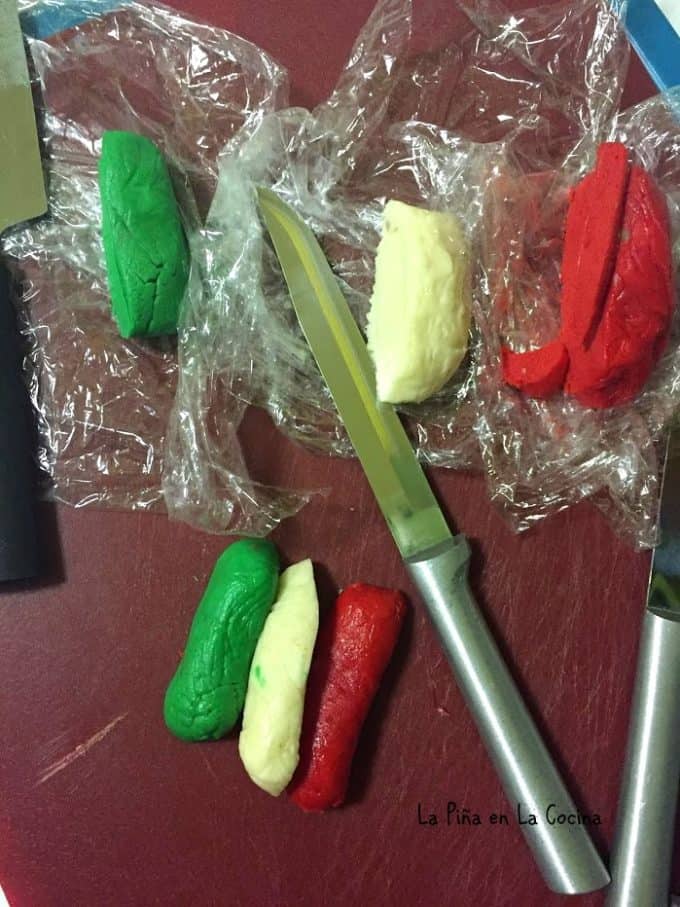
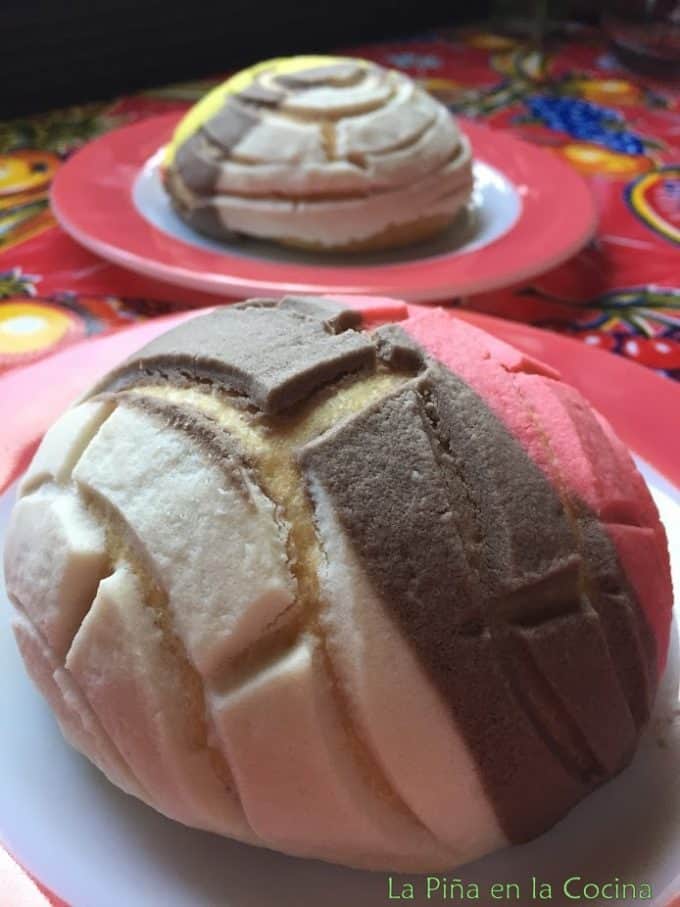
La Bandera!
To celebrate Mexico’s Independence Day, I prepared these fun conchas to resemble the Mexican flag. My dad always taught us to be proud of our heritage, both Mexican and American.

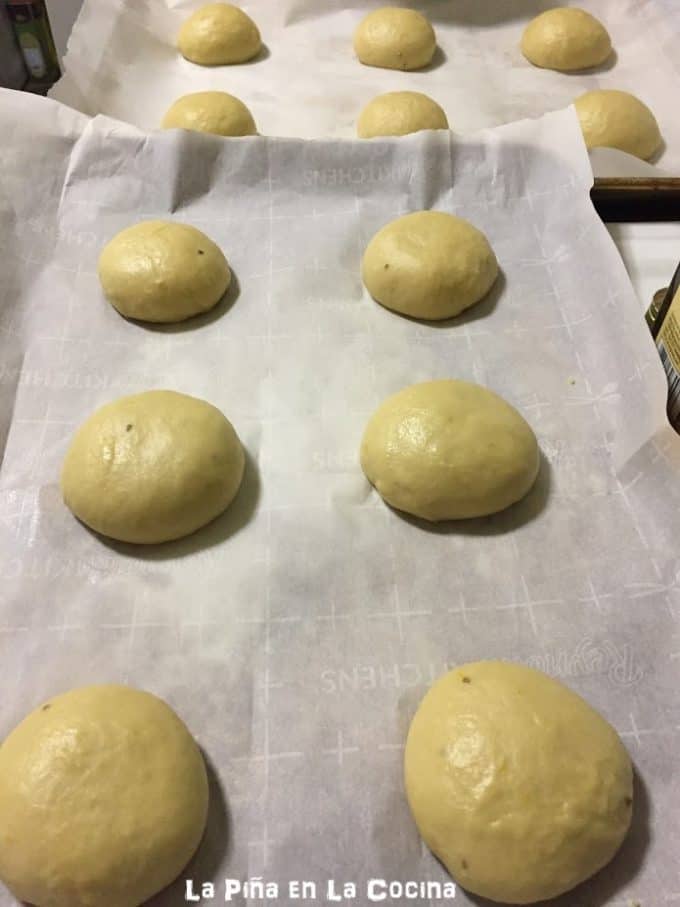
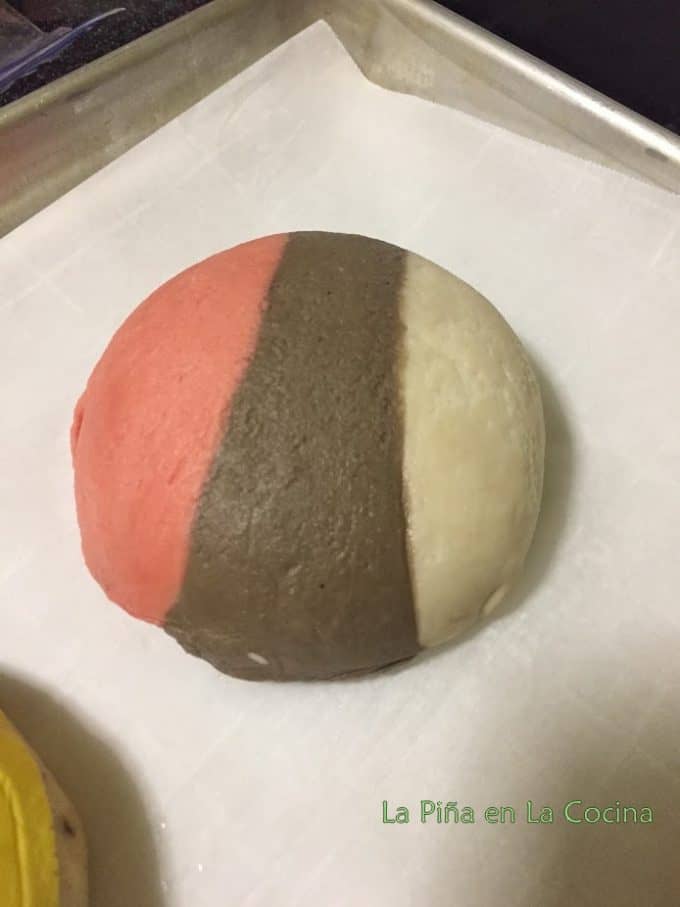
It’s best to add the topping before the conchas proof the second time. This will give you that more traditional concha look!
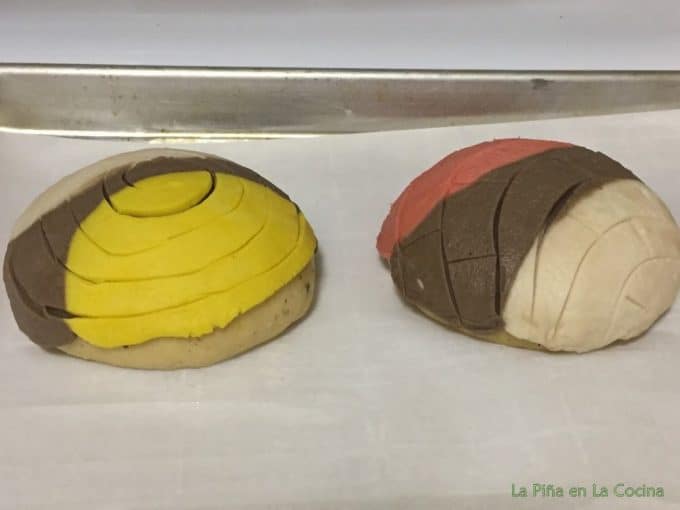
Internal temperature of the bread should be at least 190 degrees.
Not many people know that bread has an internal temperature of 190 degrees when it’s fully baked. I keep my thermometer on hand when I have any doubts.
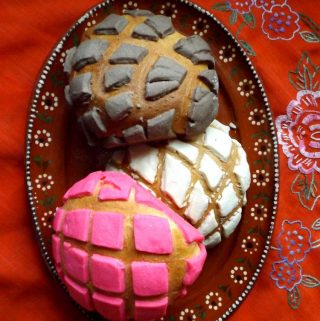
Conchas-Mexican Pan de Dulce
Ingredients
For Dough
- 1 tablespoon active dry yeast
- 1 tablespoon sugar or honey
- 1/2 cup warm water 110 to 115 degres F
- 1/2 cup sugar
- 1/2 cup butter at room temperature
- 4 large eggs lightly beaten
- 2 tsps vanilla extract
- 1/2 teaspoon salt
- 4 1/2 cups ap four or bread flour sifted
For Topping
- 1 cup powdered sugar
- 1 cup shortening or butter at room temperature
- 1 teaspoons vanilla extract
- 1 cup flour
- food coloring or unsweetened cocoa powder for baking for coloring candy paste
Instructions
- In a bowl, combine the yeast, honey and water. Let set for 10 minutes.
- In the stand mixer, cream together the sugar and butter. Mix in the eggs, vanilla and yeast/water mixture. Gradually mix in the flour and salt, turning up the speed, as needed. I start with the paddle attachment, then switch to the hook attachment when dough gets thick. You may have to stop and scrape the sides down with a spatula from time to time.
- The dough should pull away from the sides of the stand mixer when ready. This may take 15-20 minutes. Don't mix at high speed. Resist mixing in more flour. But know, the more flour you mix in, the more dense the bread will be. After 20 minutes, gently pull the dough with your fingers. If it stretches without tearing right away, it's ready. Add some oil to the palms of your hands and transfer the dough to a flat work surface and shape into a large ball.
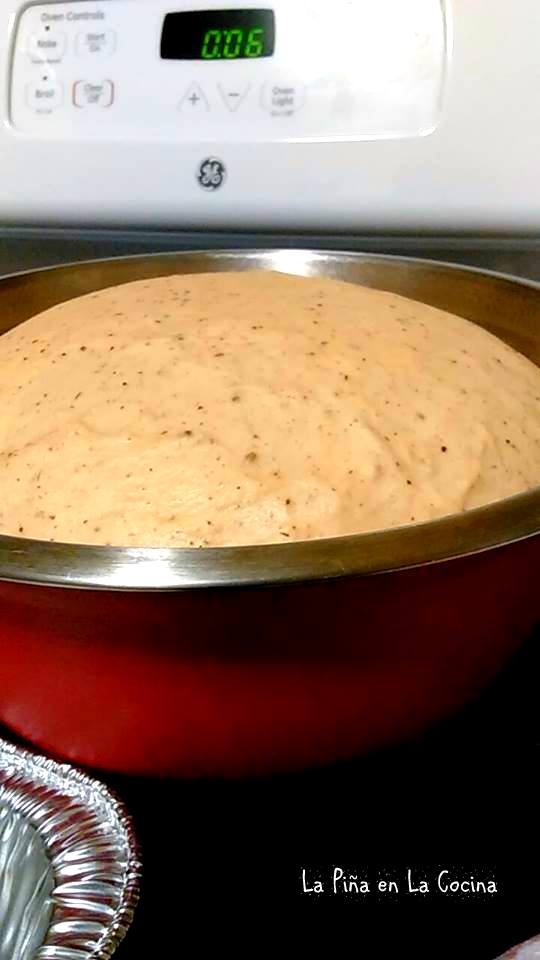
- Transfer the dough to a lightly greased bowl. Cover and let rise for 1 to 1 1/2 hour. It must rise in a warm place. I heat my oven to 200 degrees and keep the covered bowl near the warmth of the oven.
- While the dough proofs, prepare the topping. Mix the powdered sugar with shortening and vanilla first. Then gradually mix in the flour. If it's too sticky, mix in a little more flour. If it's too dry work in a little more shortening.
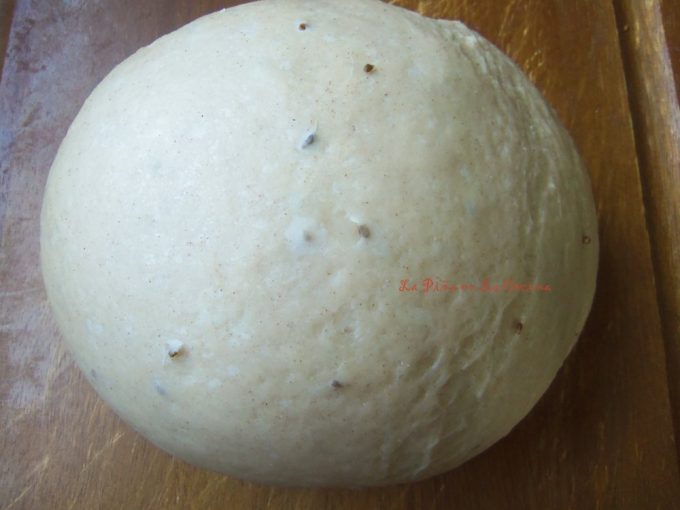
- Once it proofs, punch down and divide into 12 balls. Place on greased or lined baking sheet. Press down lightly to flatten a little. Cover loosely with a lightweight kitchen towel as your prepare to add your candy topping.
- When ready, roll 2 tablespoons of topping into a ball and flatten into a round disc. You can use a tortilla press to do this step. Lightly brush a little softened shortening over tops of dough balls. Place flattened candy topping over conchas and carefully score with a knife, careful not to cut into bread.
- Bake in preheated 350 degree oven for 20 minutes, rotating pan halfway through baking time. The bottoms of bread should be golden brown. and lightly golden on top. Let cool completely before storing in an airtight container with a slice of sandwich bread. This will help them stay moist for a couple of days. Best thing to do is to enjoy them while they are fresh.
Video
Notes
Notes For Colored Topping: . Add a few drops of food coloring after you have mixed the shortening with powdered sugar. Once happy with the color, gradually mix in the flour. For chocolate topping, mix in some unsweetened cocoa powder in place of food coloring.
Great tip for keeping the topping from falling off! Brush the dough balls with oil or shortening before placing the sweet topping on.
Works better! Add the sweet topping to the dough balls as soon as you shape them, not after they proof. Score gently and you will get a more classic concha look as it proofs and grows in size.
Add more flavor to your conchas! Mix in 3 tsps of orange zest, 1 tsp of anise seeds and 2 tbsps of fresh ground canela (cinnamon)to the dough in the stand mixer.
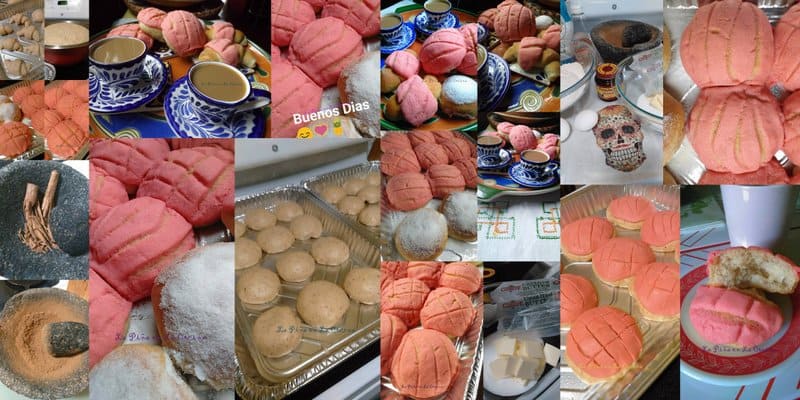
Mix the colors and create your own unique looking conchas.
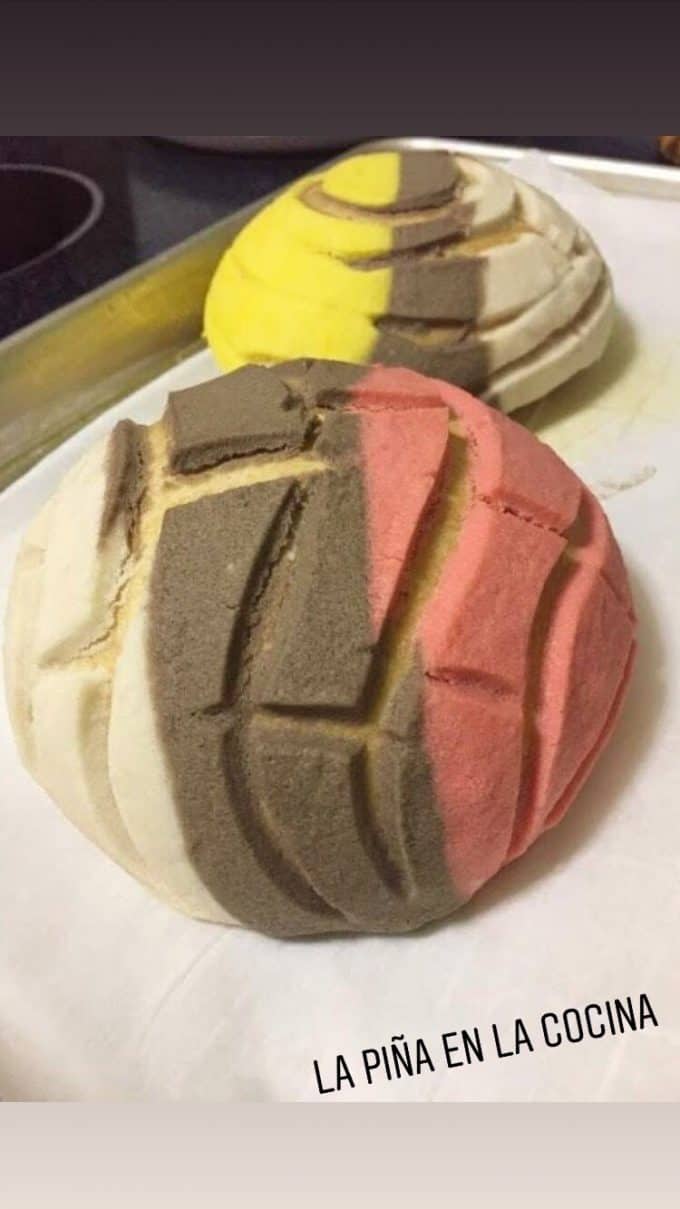
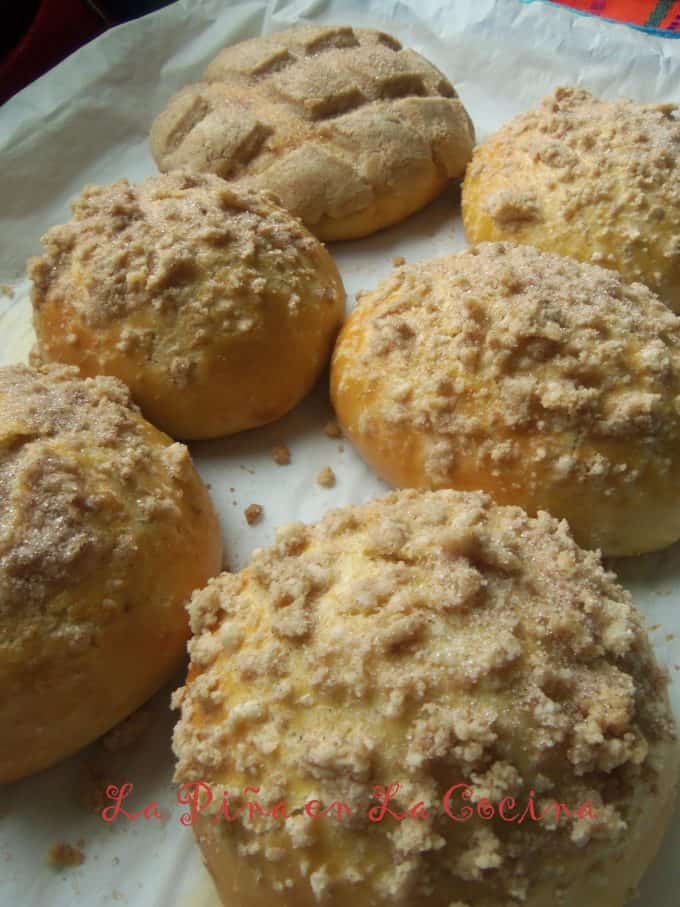
If you have a difficult time working with the topping, you could brush the rolls with milk or egg wash. While they are wet, add some of the crumbled topping on top. Bake as usual.These are named “Chilindrinas”. Named after a popular Mexican t.v. character.
Reader Interactions
Comments
Trackbacks
-
[…] The conchas are best and the softest on the first day. To store for the next day, cool completely and store in plastic storage bag. try to take out as much air as possible. I left just a few with no topping and sprinkled some of the crushed Mexican chocolate on top before baking. For the regular Concha(Pan de Huevo) recipe, click onto link! https://pinaenlacocina.com/sugar-and-spice-mexican-pan-de-dulce-soft-yeast-bread/ […]
-
[…] a soft yeast dough recipe for Mexican-style empanadas. You can find that dough recipe on site. https://pinaenlacocina.com/sugar-and-spice-mexican-pan-de-dulce-soft-yeast-bread/ Empanadas de Piña using organic cane sugar so the results are a lighter colored pineapple […]
-
[…] de Huevo https://pinaenlacocina.com/sugar-and-spice-mexican-pan-de-dulce-soft-yeast-bread/~ Empanadas de Piña. These perfect little empanadas filled with homemade pineapple filling is […]
-
[…] It is one of the most popular kinds of “pan dulce” named for the shape of the the topping that looks like a shell. By Piña En La Cocina: Get the Recipe […]
Do you have recipe of how to make pumpkin and pineapples filling
Made these conchas today, and they were delicious! We used piloncillo instead of plain sugar. We also made a small indentation on top on some and put homemade pineapple preserves in the indentation. There are so many kinds of conchas! This dough is very versatile.
They sound delicious! I too have used piloncillo sometimes instead of granulated sugar and loved it! I really enjoy the dough recipe.
Hi! I am getting ready to make these today, this may be a silly question but did you ground the anise seeds? Thanks!
Kassandra, most times I do not grind the anise seeds. I like the specs(seeds) through out the conchas. A little goes a long way.
Would like to have your permission to use your concha recipe in a book I am developing on pan dulce that will be published 2019. I will give credit to using your recipe as it is one of my favorites. Please let me know.
Good Morning Ellen! I would love it if my concha recipe was featured in a book! Is it possible to receive a copy of the book once it’s published? I added a few new notes on the recipe today. I am currently working on another concha recipe for September 16!
I made these last night and they came out sooo good! My mom asked which panadero I talked to to get the recipe lol thank you for creating this site and taking the time to put all your recipes in one place !
That’s so wonderful Lucia!! I appreciate you letting me know and leaving your comments here! I love Mom’s response! You go girl!
Hi I made the recipe but after my conchas got cold they got hard is there something I am suppose to put or do so this doesn’t happen ?
Unfortunately Stephanie, it’s fresh bread. It will get hard because there are no preservatives ans it’s fresh. Best to enjoy it when it’s fresh. I store them in plastic storage bags as soon as they cool. Just pop it in the microwave for a few seconds. ot warm it on a low temp. on the comal.
Please, how much anise seed do you add?
The anise really is to taste. Some people think it’s too strong, but I enjoy the flavor. I add about 1/2 teaspoon.
Getting ready to make these
The recipe says 1/4 or 1/2 cups of butter which do you use?
Hi Judith, sorry for the late response, but I am away from my PC during the weekend and cannot respond from my phone. You could use between 1/4-1/2 cup of butter. I would suggest just using 1/4 cup. I typically eyeball it and just adjust the flour as I am mixing it in.
For the authentic taste of Mexico, I would recommend you make an anise tea and use that instead of the seed. The anise flavor will be delicate and in the background but just enough to make you go “WOW”!.
Hi Cristal, I know about the anise tea actually. If you go back to my old recipe for empanadas de calabaza or piña, that is exactly what I do with my masa. That’ what my mom used to do. I enjoy the pecs of anise seeds in my pan dulce though, lol! Thanks for the tip!