It was finally time to update this pan dulce, elotes recipe! What better time to update the elotes recipe, since we have to be in self quarantine.
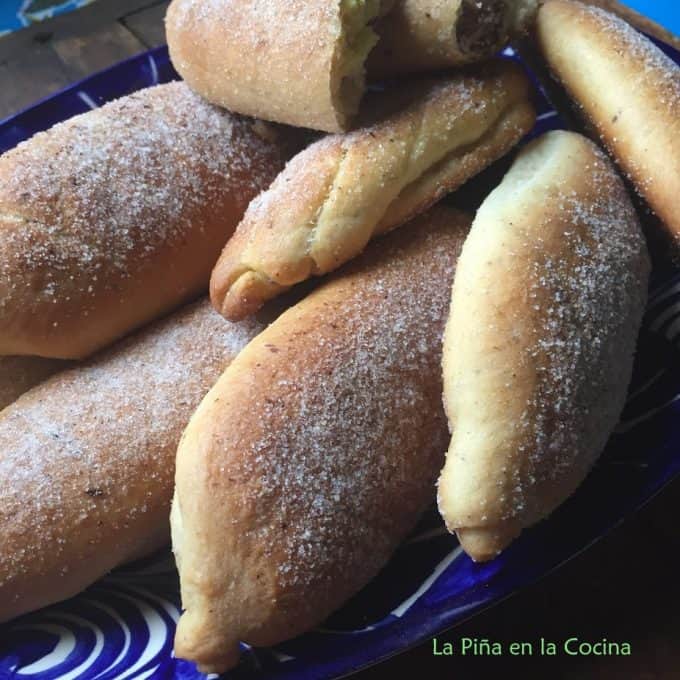
We never stop learning!
When I first researched this recipe online, there was not much information, especially not recipes for this particular pan dulce. I found one Mexican site that shared a recipe, but the recipe was in kilos and grams. And the portions were huge!
Here’s where the test kitchen pays off!
I really do enjoy testing recipes. It’s the best way to learn how things work! I have been known to test a recipe up to 4 times or until I was happy with it. There have been a some fails, but it only encourages me to try again.
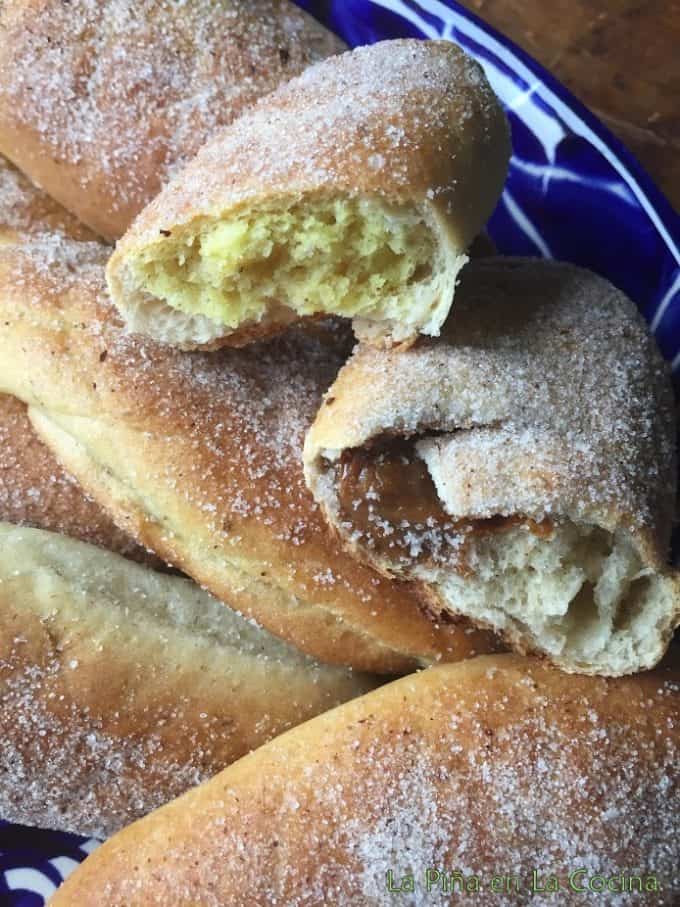
Since the first time I attempted this recipe, I have learns so much about preparing bread with yeast.
I apologize for the lack of pictures showing the dough before and after it proofed. I am currently working on a video and I will add it as soon as possible.
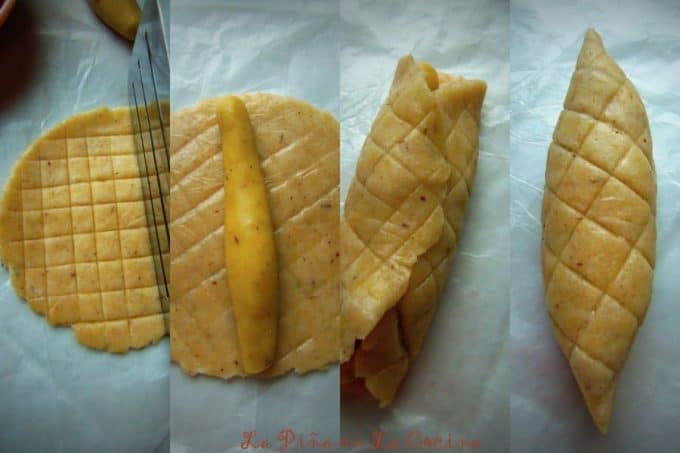
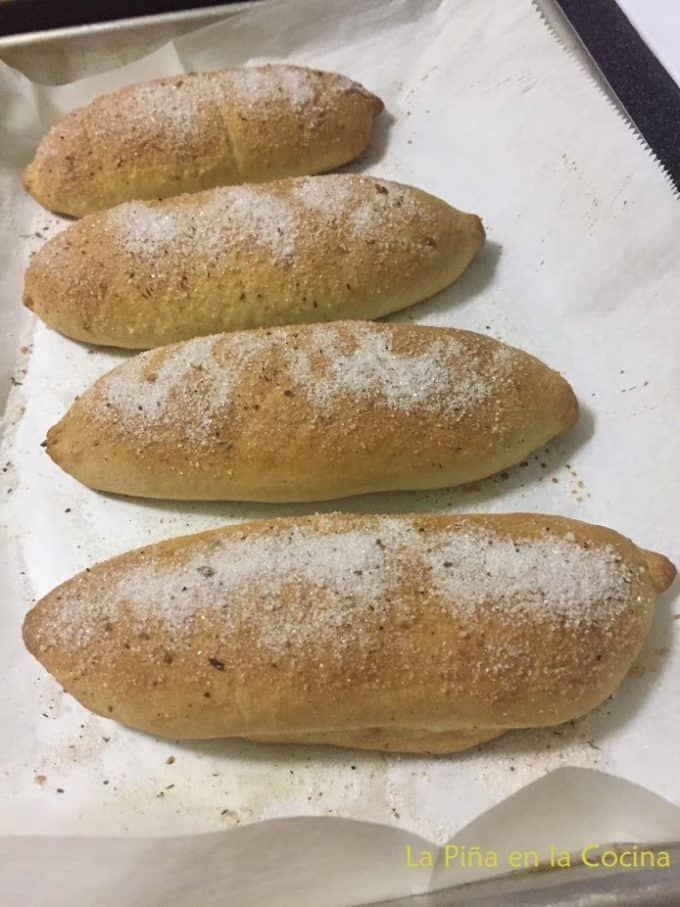
The picture directly above is from the first time I attempted the recipe. The flavor was there, but I felt that the baked bread texture was dense. I had a few followers attempt the recipe and expressed the same results. I adjusted the quantities and proofing times. It made all the difference in the world!
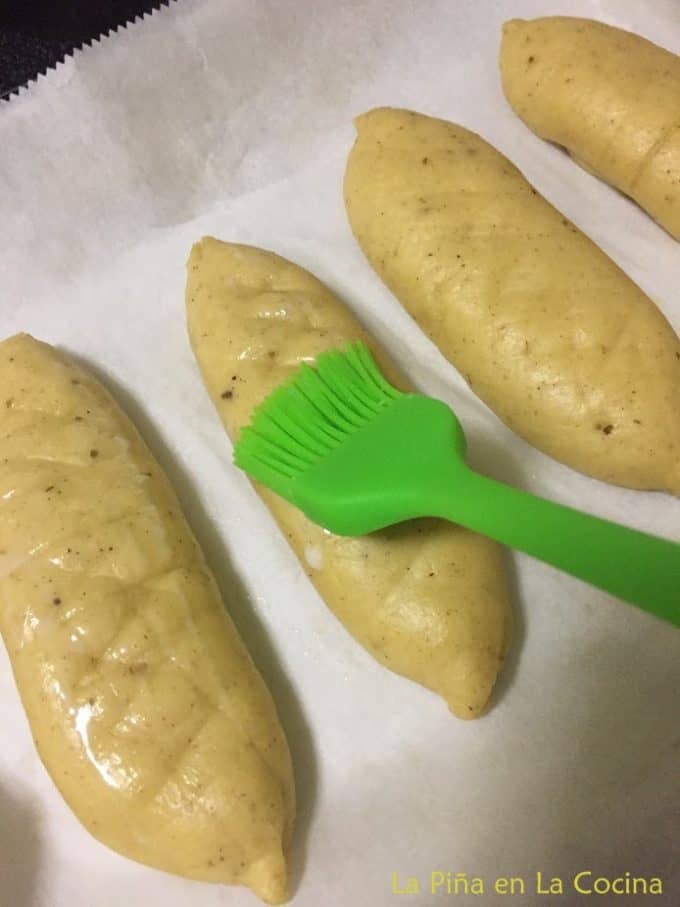
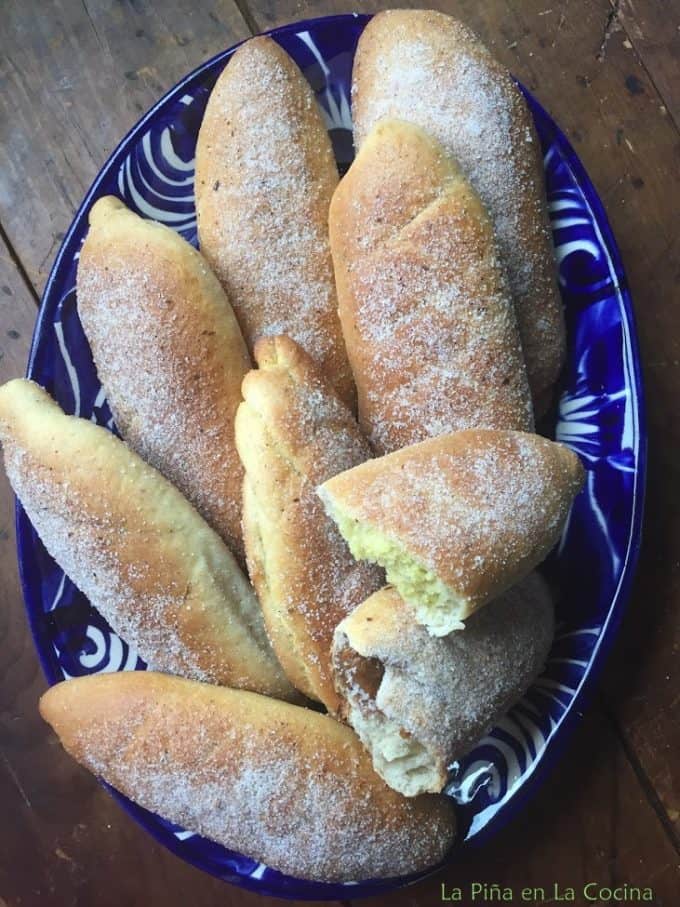
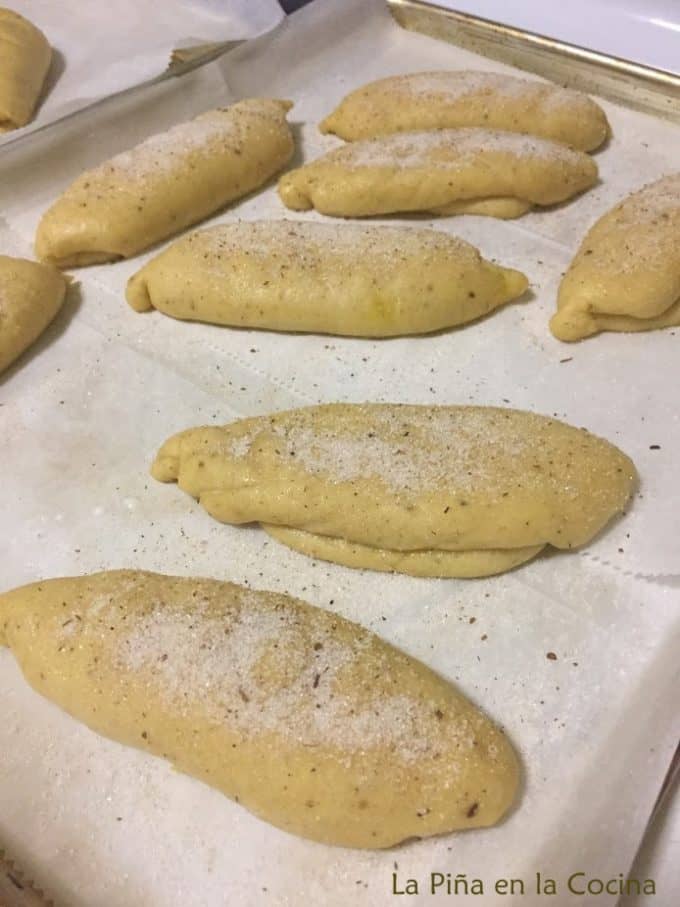
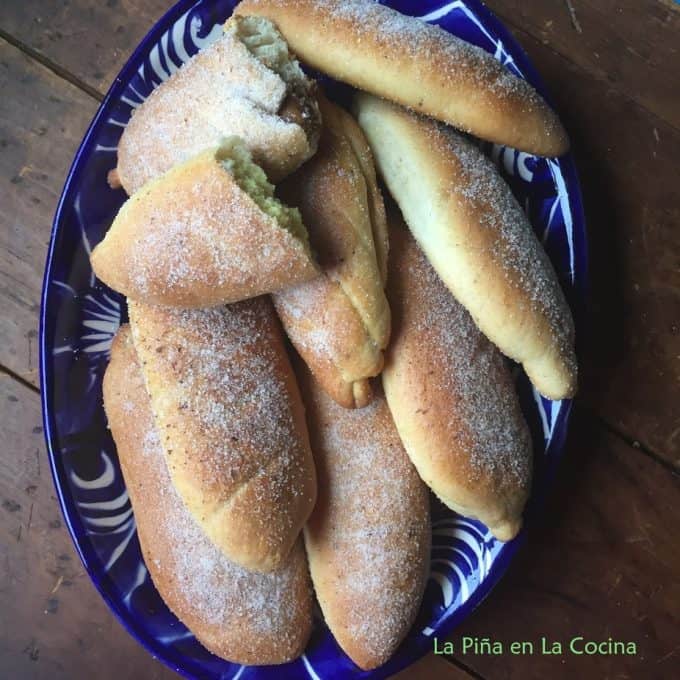
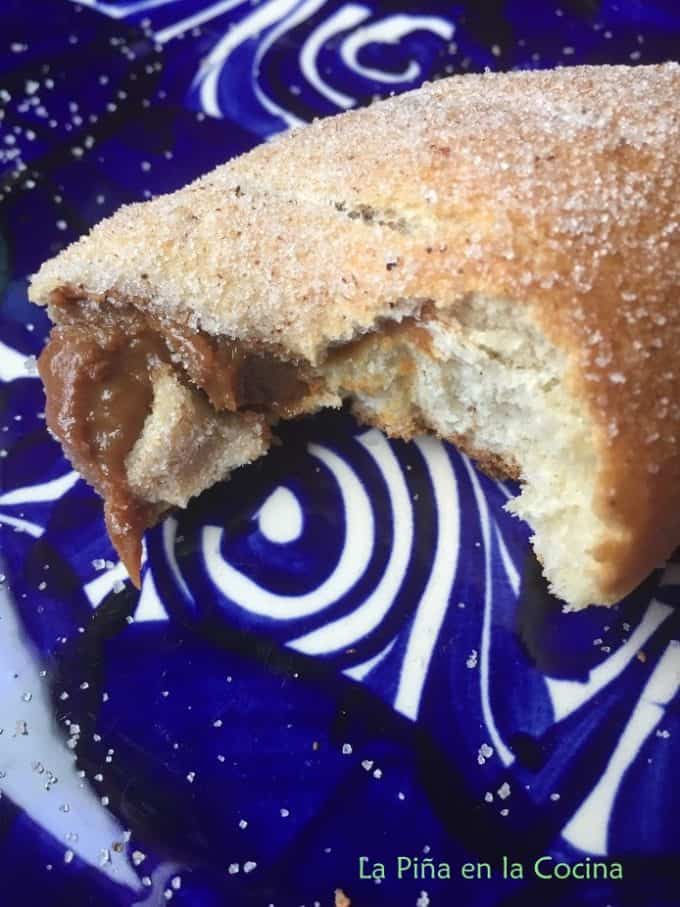
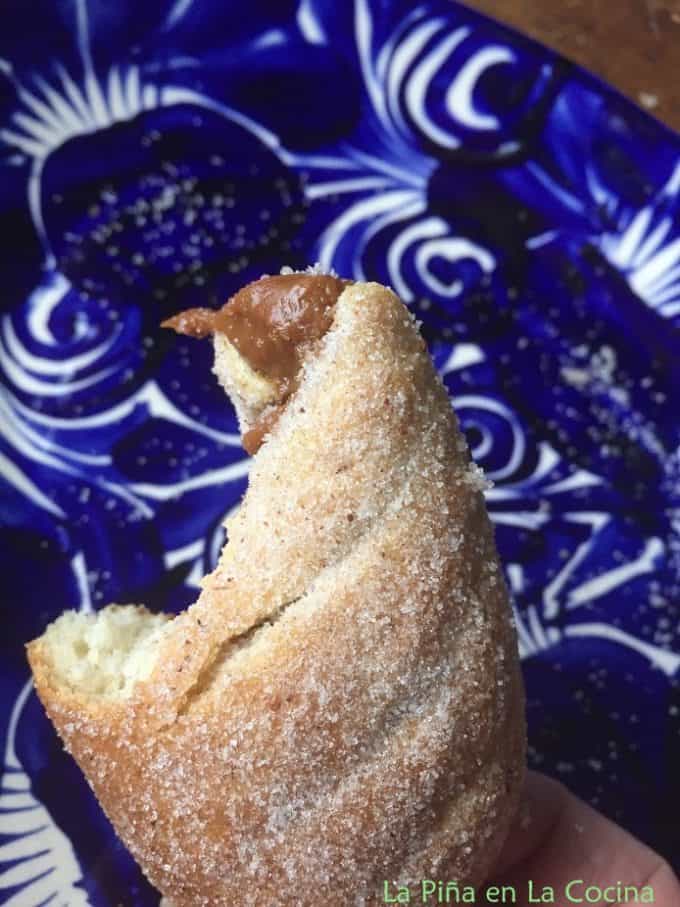
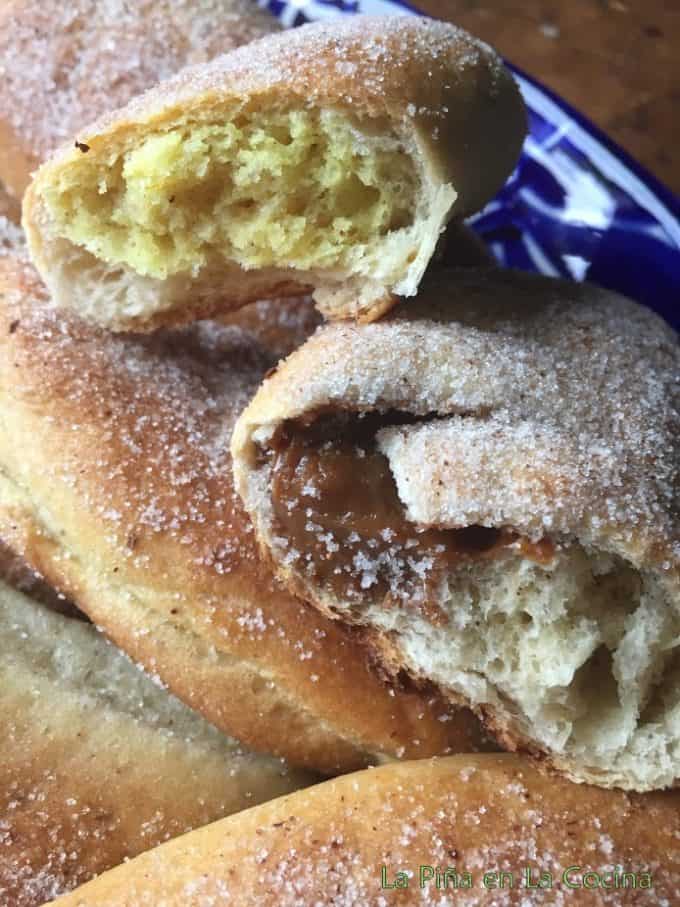
These photos are from yesterday with the revised recipe. You can definitely tell the difference and see how much more they have proofed. I was happy!
The bread texture was great, but because the dough proofs a lot longer, the elote markings are not as pronounced as the first few times I prepared them.
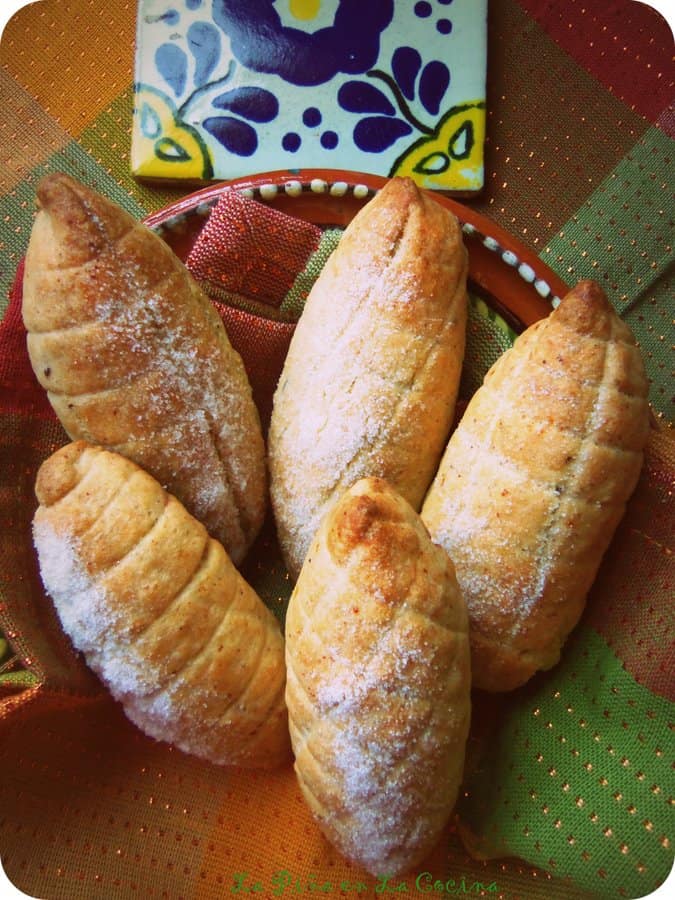
Elotes-Pan Dulce Recipe Revised
Ingredients
For Filling
- 1 cup ap flour
- 1 cup powdered sugar
- 1/2 cup unsalted butter at room temperature
- 1 large egg yolk at room temperature
- 1/2 tsp cinnamon
- Zest of 1 orange
- 1 tsp yellow food coloring gel
For Bread
- 1/2 cup hot water 110-120 degrees F
- 1 tsp active dry yeast
- 1 tsp sugar plus 1/3 cup reserved
- 3 cups plus ap flour, sifted
- 1 tsp canela(cinnamon)
- 1.2 tsp crushed anise seeds
- 1/2 tsp salt
- 2 large eggs at room temperature
- 1/2 cup unsalted butter at room temperature
Extras
- 1/4 cup milk
- 1/3 cup cinnamon/sugar mix
- Dulce de leche la lechera, optional filling
Instructions
For Filling
- Prepare the filling, by mixing all of the ingredients in a bowl. If it’s too sticky, sprinkle in a little more flour until you have a workable paste that doesn’t stick to your hands.
- Make 12 small balls and roll them between the palms of your hands to form a skinny cigar shape, about 2 inches long. transfer to a plate, cover and set aside.
For The Bread
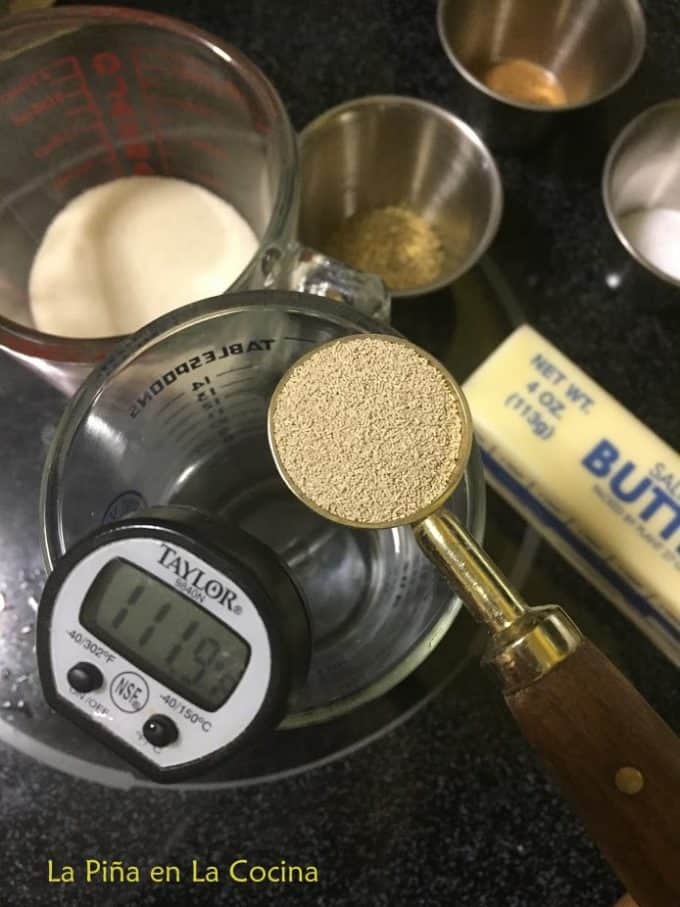
- In a cup, mix the hot water with 1 tsp active dry yeast with 1 tsp sugar. Let stand for 10-15 minutes.
- To the stand mixer, add the flour, cinnamon, anise, reserved sugar (1/3 cup) and salt. Whisk to combine ingredients.
- When ready, pour in the water/yeast mixture and 2 eggs. With the paddle attachment, mix at medium speed for 5 minutes. Stop and scrape down the sides from time to time.
- Again at medium speed, mix for 5 minutes. Add the room temperature butter and mix for another 5 minutes at medium, making sure butter is well incorporated.
- Switch to the hook attachment. Knead the dough for 5-7 minutes, adding just enough flour to bring the dough together. As soon as it pulls away from the sides of the stand mixer bowl, it’s ready.
- Transfer dough to a greased bowl. Cover with a towel and let dough proof in a warm and draft free area. It may take up to 90 minutes to proof. Try not to uncover too many times while you wait.
- After 90 minutes, transfer dough to a lightly floured surface. Divide into 12 equal dough balls. Keep them covered as you work.
- You can use a tortilla press that is lined with wax paper and press out the dough balls. I found it easier to roll them out with a rolling pin. I didn’t need any extra flour as I rolled. Press or roll out to about 4 1/2 inches.
- Using a knife or metal spatula, score straight lines across the flattened dough. Turn it and score it again so it crosses the other lines.
- Carefully flip over and add filling down the center, fold in sides, press to seal. Pinch the end together and shape almost like an ear of corn. Place seam side down on parchment paper lined baking sheet. Cover and let proof for 45 minutes.
- Brush with milk. Sprinkle with cinnamon/sugar mix. Bake in 375 degree F preheated oven for 15-20 minutes, turning pan halfway through baking time. Bake until golden. Cool completely before storing in an airtight container.
Notes
Loved your first elotes recipe much better. Although they didn’t raise much, they are more true to a mexican elote than the REVISED recipe. The revised recipe produced a soft bread, but in my personal opinion, these aren’t supposed to be “bread like”. I guess it’s a matter of personal taste, so I will continue to use your first version!! Thank you for both!!
I had several people who did not enjoy the first recipe. I tried to explain to them that I remember the pan dulce being that way and not soft like a concha, Lol! To each his own. Now I have two recipes that I enjoy.
I enjoy both recipes actually. I had several followers respond that they didn’t enjoy the texture of the first one. I tried to explain to them that that was the way I remembered the elotes.
Thanks for updating the recipe can’t wait to try it. Although I liked the first recipe, it did have more of a cookie/galleta texture than anticipated. The updated version looks perfect.
You’re welcome!!
Hi. Will you please email me your original recipe. Thanks!
The original recipe in Spanish? You would have to serve Pinterest for that. The quantities were big, so I just kind of had to figure it out on my own. The original recipe I prepared is on my blog. You just have to click the link.
Would I still flatten and fold if I don’t want filling in mine? 🤔
You can shape them anyway you like really.
I am making your revised recipe right now (it’s currently rising) to make a rosca de reyes because I wanted to make one with a denser crumb than the recipes I’ve used the past two years and I LOVE elotes! So I’m so glad I found your recipe! I wanted to let you know that you left out when to add the sugar. I realized something was missing when the dough was super sticky. So I added it before changing to the hook. Am I right that it should be mixed with the dry ingredients at the beginning, with the flour, salt, cinnamon & anise?
Yes, that is correct Maria. Sorry for the delay in answering. I made the correction on the recipe. Thank you for pointing that out to me.
So I followed the recipe yesterday and they came out good. So good in fact that I made some today again. I followed the same recipe but they puffed up more like in the revised picture. Compared to yesterday’s that looked like the unrevised. No big deal can’t wait to try them, they are currently cooling. I followed the same revised recipe for both. Don’t know what happened. I did fill mine with raspberry filling yummy. I did raspberry, normal, and cajeta today. Thanks for the recipe. In Michoacán they call these gusanos.
Hi Fran, could just be the room temperature that made the difference in how the dough proofs. If it’s cooler or warmer in the room.
Probably everyone loves this pan. Today they turned out 100% more like the revised recipe extra esponjados. Where you can’t see the lines hardly. I used regular C&H sugar before, this time I used the sugar from la morena it’s not white and it has bigger crystals. That worked so much better. I want to try the original recipe but since everyone in the family lives these so much I’ll stick with the revised recipe for now. Which ones your favorite? Thanks so much for the recipe. Today I did my version with apple filling inside. I have done the normal filling. I have some cajeta (yummy). I have also done fresa and raspberry. Possibilities are endless. We love this recipe again thank you so much. I kind of just came across this recipe do you have anymore pan dulce recipes?
If so where can I find them.
Hi Fran! I have to admit that the revised version is my favorite! And as you stated, it can be filled with so many things! I almost would like to try a savory version of this! I d0 have other pan dulce recipes on my blog like conchas, bisquets, polvorones, rosca, pan de muerto, hojarascas…marranitos.
I was able to bake the bread successfully, but the filling on the inside came out still completely raw. Any ideas why?
Hi Amber, to be honest, I have never had that problem with the filling being raw. Maybe just try spreading a thinner layer next time. It usually is slightly soft, but never thought it tasted uncooked.
I was able to bake the bread successfully, but the filling inside stayed completely raw. Any ideas why?
I modified your first recipe with 1/4 butter and 1/4 lard then let the dough sit overnight in the refrigerator. My husband loved it. This is my first try with the revised one and I don’t know if my husband will like it. It is good but . . . .
It is good, but??? I am a curious cook by nature and will forever test recipes in various ways. That’s the fun part of cooking and baking. The important thing is to find what you like, what works best for you,
Hi Sonia,
I’m interested in making this recipe, looks amazing! What is plus AP flour ? Is that 00 flour ?
Thank you for your time
ap flour is all purpose flour.