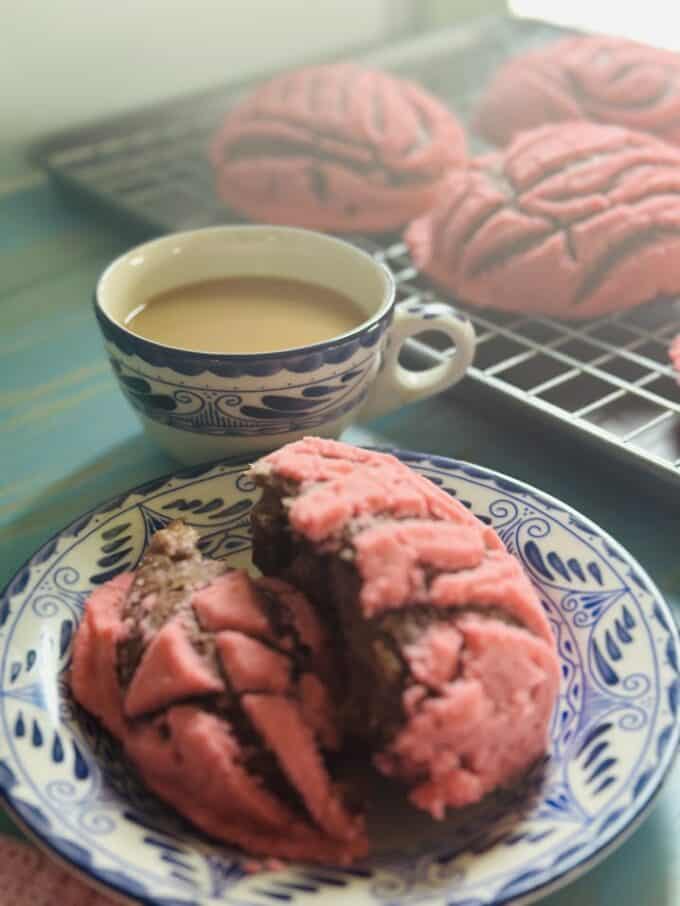
Chocolate conchas! I am at it again! Lat year about this time I attempted to bake my dark chocolate concha recipe and failed miserably! In my defense, I had just purchased a new stove and was not aware that there was a problem with the thermostat. It hurt to have to throw all those deflated dense conchas away, lol! Since that time, a new thermostat was installed and so far, so good.
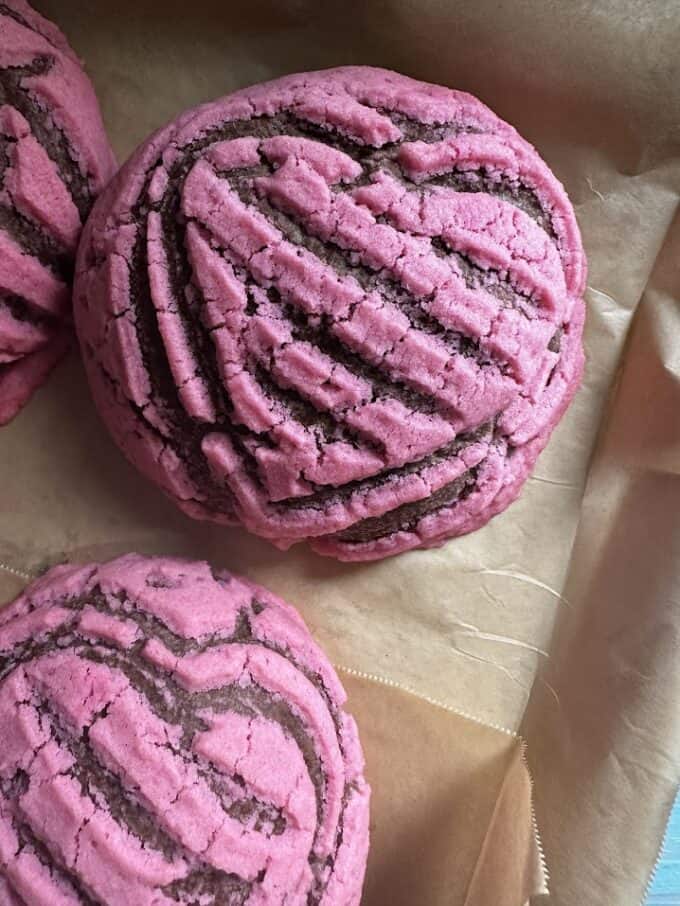
Do you remember the first time you saw those colorful conchas at la panaderia(the bakery)?
I honestly don’t remember how old I was, maybe 5 or 6 years old. Pink conchas are to blame for my love of the color pink for most of my life. Plus my abuelita’s dining room, where all the kids birthday’s were celebrated, was pink! The pink conchas don’t really taste any different from the yellow or white ones, but they just look more special. Most times mom prepared homemade cakes for our birthdays and of course, mine was always pink. My tia Amelia was an excellent baker and it was probably one of her homemade cake recipes. At least I would like to imagine that it was a family recipe, lol! Mom had a box of popular cake flour in the cupboard. It could have easily been the recipe on the back of the box! I don’t care, She prepared everything with so much love.
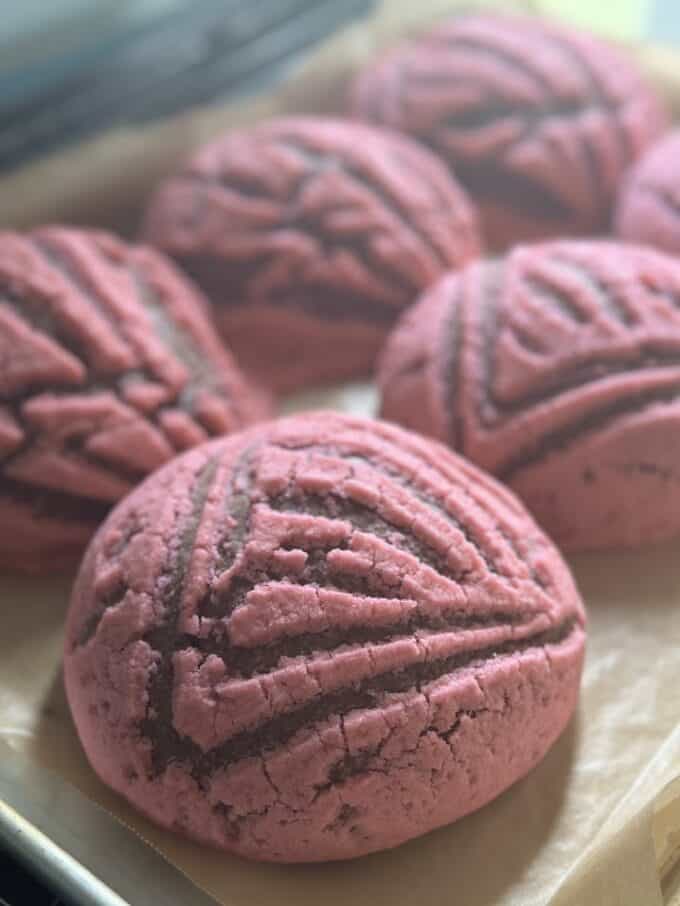
I would never state that this is the best concha recipe you will ever bake!
My goal is to share with you my experience as a home cook. Learning to navigate different cooking techniques, both traditional and new. Teaching you what I learn as I go on this amazing food journey. There are probably hundreds of concha recipes out there, but one has to find what works best for themselves. The most important thing to know is that my mom’s recipe may be different than your mom, abuela or tias recipe even if they prepare the same dish. That’s just the way it is. How boring it would be if every recipe was exactly the same.
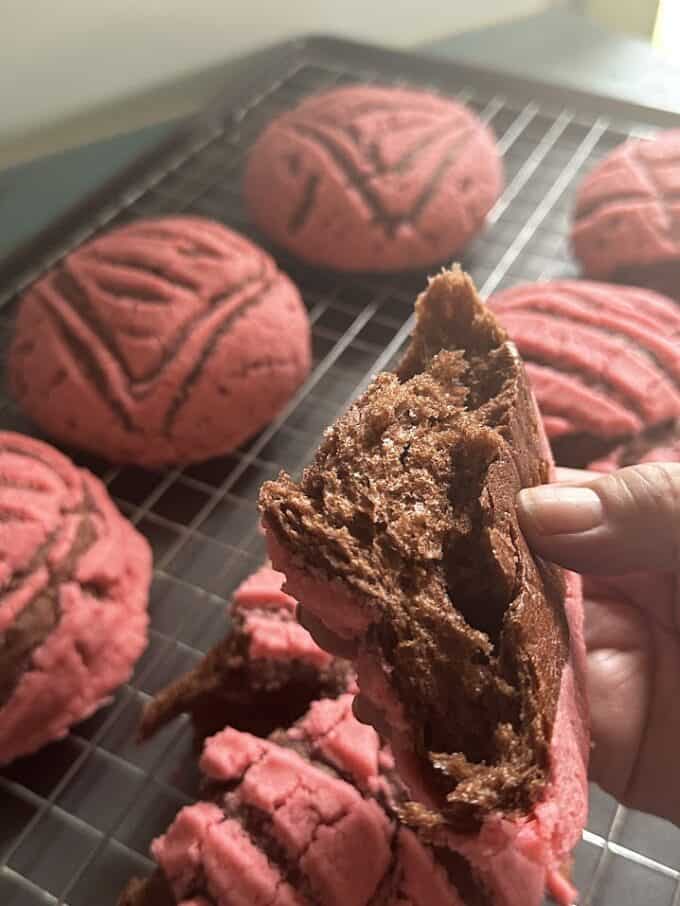
The video! I state this all of the time, but I am thrilled to be able to share videos of my food experiences with you!
I had not intended on adding this concha recipe to the blog, so there are not many step by step photos. When I started sharing videos, my goal was to narrate all of them. Some of them go so fast, that it’s difficult to narrate step by step without sounding like a crazy person! Lol! Most times I opt to just add music to the videos, but I think I could do better. And I will! Just like you all, my personal life gets busy and I must take short cuts when it comes to work related things, but I always try my best.
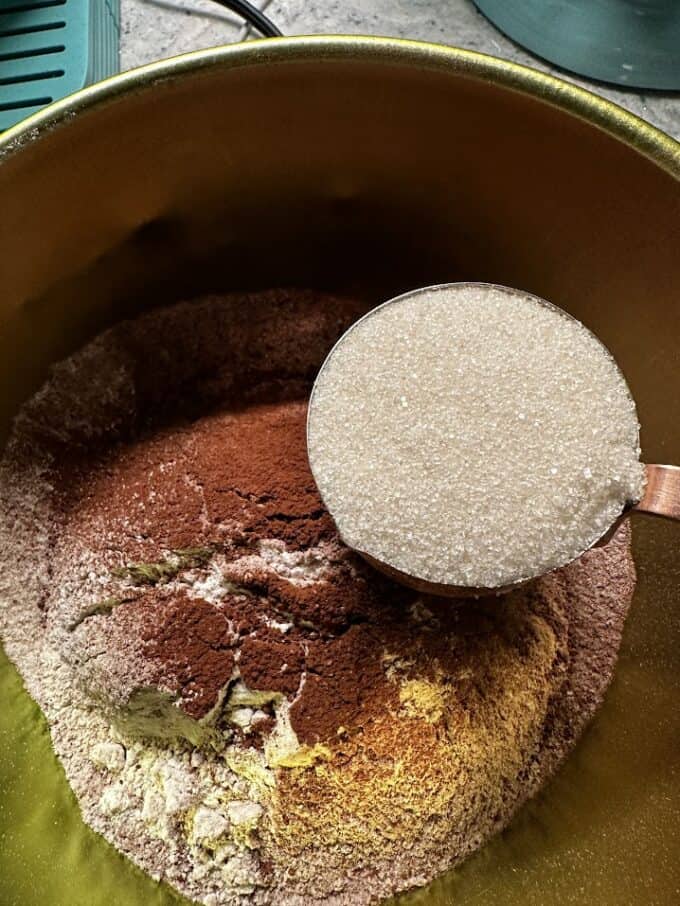
Get into the habit of measuring out all of your ingredients first!
I promise you, this will make the recipe flow a lot easier. Baking is not really one of those things you can just throw this and that together. I wouldn’t even attempt it unless it’s a recipe that I know extremely well. And even then, there are times when it doesn’t work. Measure ahead, lol!
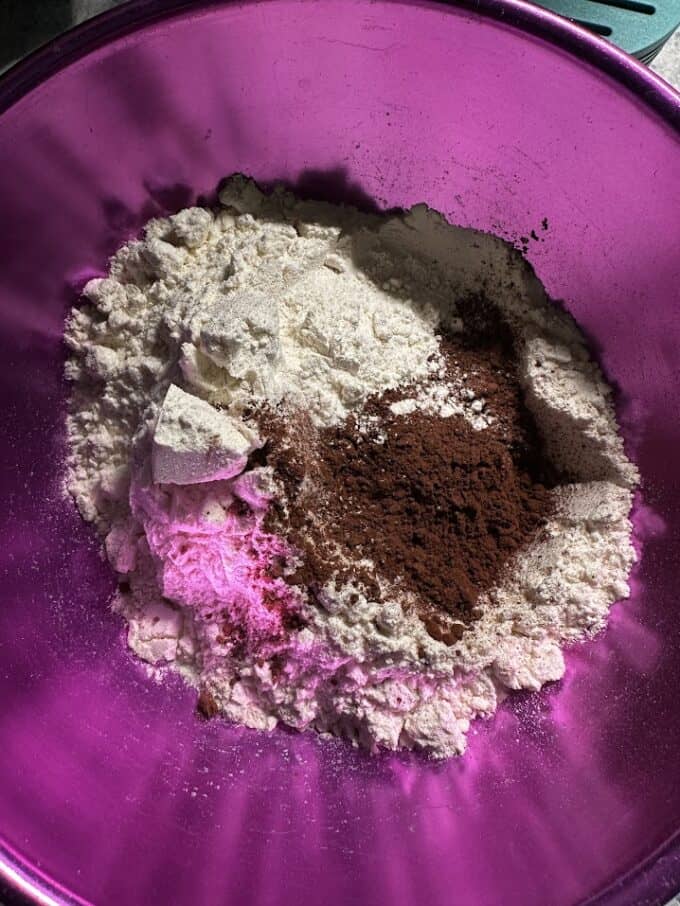
I mentioned I use dough conditioner in the printable recipe below. I heard of the dough conditioner several years ago and decided to try it a few years ago on a concha recipe.
The conchas were so light and fluffy and stayed soft for 5-6 days, I was impressed! It may not be for everyone, but I think that many commercial bakeries probably use it or flour that is prepared special for pan dulce. I have read about it. Just know that it’s an option and you shouldn’t shy away from preparing conchas if you don’t have it. You can follow my original dark chocolate concha recipe here on my blog. It is slightly different, but still delicious!
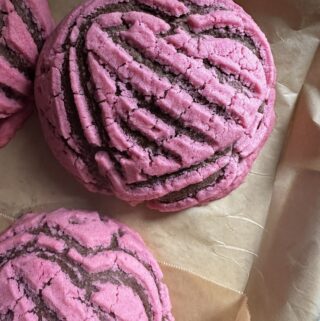
I do own a concha mold to make the classic concha topping look, but I prefer to score the topping by hand.
For many years, I scored the conchas using a knife because the mold was not available online. I knd of like the unique designs that come naturally. They all look different. I occasionally will color outside the lines and add my own spin to mom’s recipes. You must show your own personality in everything you do. Don’t try to be like everyone else.
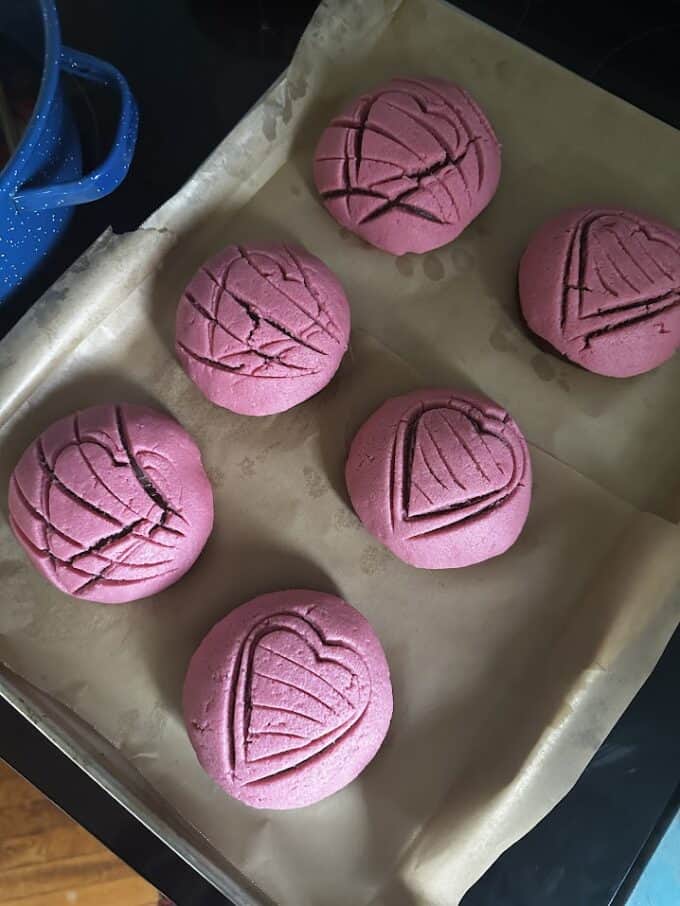
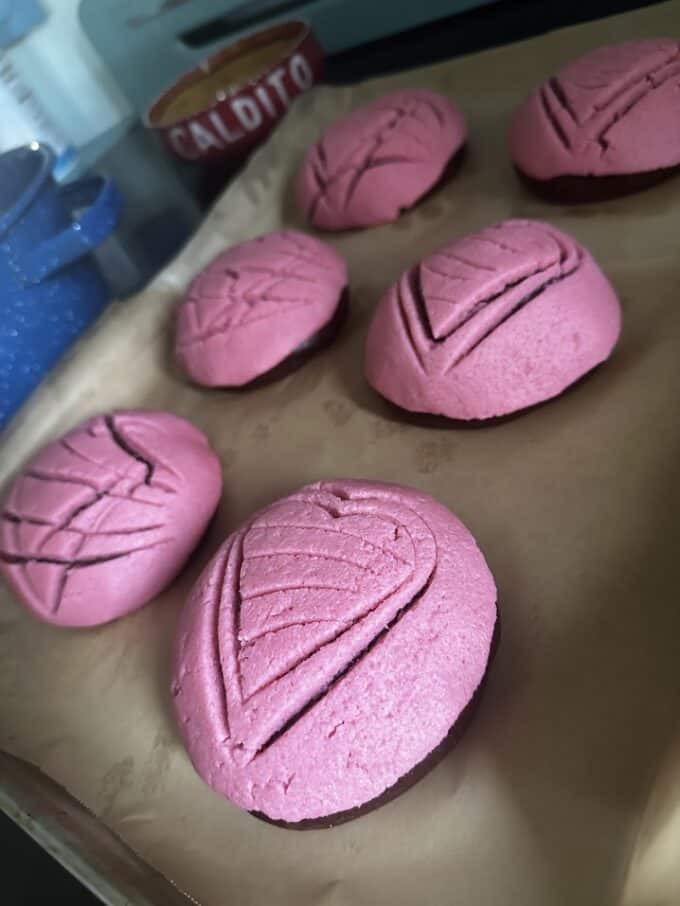
The conchas won’t appear that large before you bake them.
They will grow to be these beautiful full size conchas almost miraculously once baked! Every couple of years I try to cut the original recipe in half, so as to prepare less conchas. I don’t always have friends or family around to share with and what do I do with all that bread? Honestly, I don’t eat a lot of sweets even though I do show you a lot of recipes. Out of the 6 conchas that this recipe yields, I believe I stored 3 or 4 in the freezer. I plan on using them for French toast or bread pudding. Delicious!
Let’s get to the recipe!!! Go!
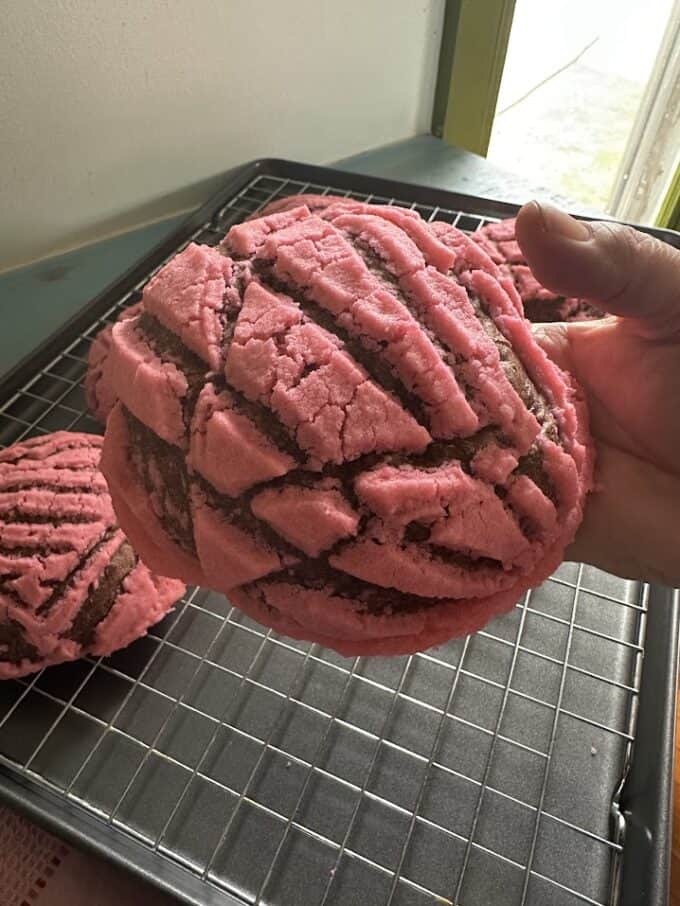
The conchas will be the softest on the first day, of course. With proper storing, they will stay soft for several days.
Make sure you let the conchas cool completely before you try to remove them from the baking pan. Do not store them stacked or the topping may crack. I lay them in a single layer in several storage bags.
Ingredients
- 295 gr bread flour 1 ¾ c
- 20 gr dark chocolate cocoa powder 1/4 c
- 2 tsps dough conditioner, see link in notes optional
- 1/3 c granulated cane sugar
- Pinch of salt
- ¼ c warm milk 105-115 degrees F
- 1 ½ tsps. active dry yeast
- 1 ½ tsps. granulated cane sugar
- 2 large eggs at room temperature
- 4 tbsps unsalted butter at room temperature
- 2 tsps vanilla extract
- Another ¼ c milk at room temperature
- Some cooking oil
- Concha Topping
- ¼ c unsalted butter
- ¼ c shortening
- ½ c granulated sugar
- 1 ½ tsps. vanilla extract
- 1 c ap flour plus 1-3 tbsps
- 3-4 drops of red food coloring
Instructions
- Sift together the flour, cocoa powder and dough conditioner. Mix in the sugar and salt. Set it aside.
- Mix the yeast and sugar into the warm milk. Let it sit for 10 minutes.
- When ready, to the bowl of the stand mixer, add half of the dry ingredients. Pour in the yeast/milk mixture, 2 eggs lightly beaten, butter and vanilla. With the paddle attachment. mix at medium speed for 5 minutes. Add the remaining dry ingredients and mix at medium for 5 more minutes. Mix in 1/8 of the room temperature milk. Mix for 10-15 minutes or until the dough becomes more elastic. Stop and scrape down the sides halfway through using a silicone spatula. When dough is ready, it should still feel tacky but shouldn’t stick to your fingers. If the dough feels too dry, you could mix in a little more of the remaining milk. Avoid mixing in more flour or the bread could be dense.
- When ready, rub some cooking oil on your hands. Transfer the dough to a greased bowl. Cover and let dough proof in a warm spot for 1 ½ hours- 2 hours or until it doubles in size.
- While dough is proofing, prepare the topping.
- Mix the butter, shortening and sugar together until well incorporated. Mix in the vanilla and 1 c of ap flour. If it feels too sticky, mix in a little more of the remaining flour. Lastly, mix in the food coloring until you reach the desired color. Cover with plastic wrap and refrigerate until you are ready to use it.
- Once the dough has doubled in size, with more oil on your hands, transfer the dough to a flat work surface. Punch down and divide the dough into 6 equal parts. Roll each ball into a disc shape and transfer to a parchment lined baking sheet. Space out evenly. Rub some shortening on your fingers and gently apply it to the tops of dough, applying gentle pressure.
- The candy paste is good for 8 conchas, but I only made 6 larger conchas. Shape 6 balls about the size of a ping pong ball. One by one place the candy paste ball in between plastic and press to flatten using a tortilla press of the bottom of a plate. It should be no bigger than 2 ½-2 ¾ inches across. Cover dough balls with flattened candy paste topping. Cup your hand down onto unbaked concha to make sure topping sticks on the sides as well.
- Score to desired design, making sure you don’t cut into the dough. Cover once again and let conchas proof for 40 more minutes. When ready, bake in preheated 350 degree oven for 21-24 minutes or until internal temperature of the bread reads 190-200 degrees F. Let conchas cool before transferring storage bags or large storage container.
Would Love to Hear From You