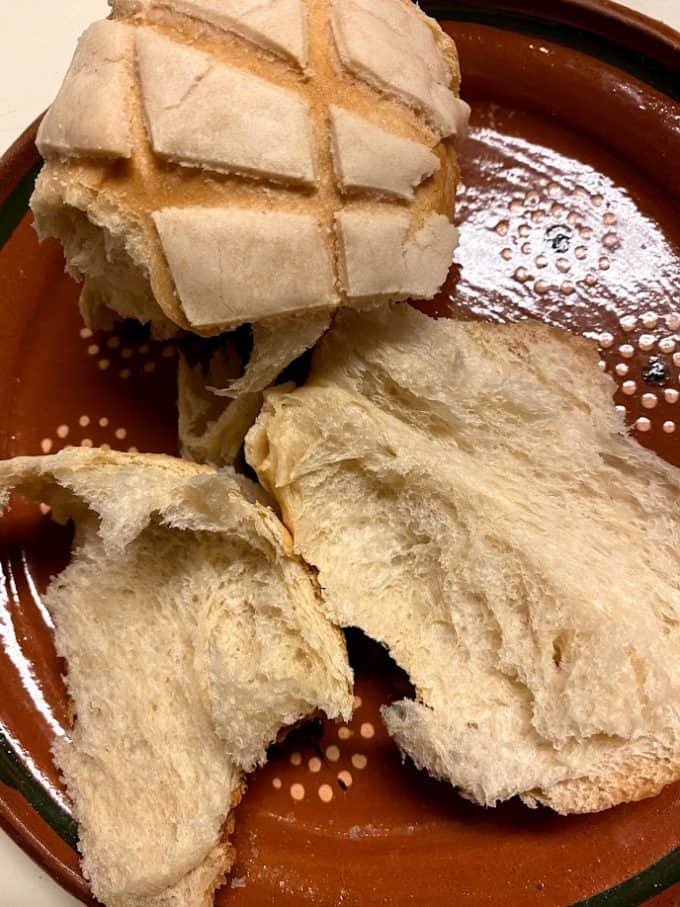
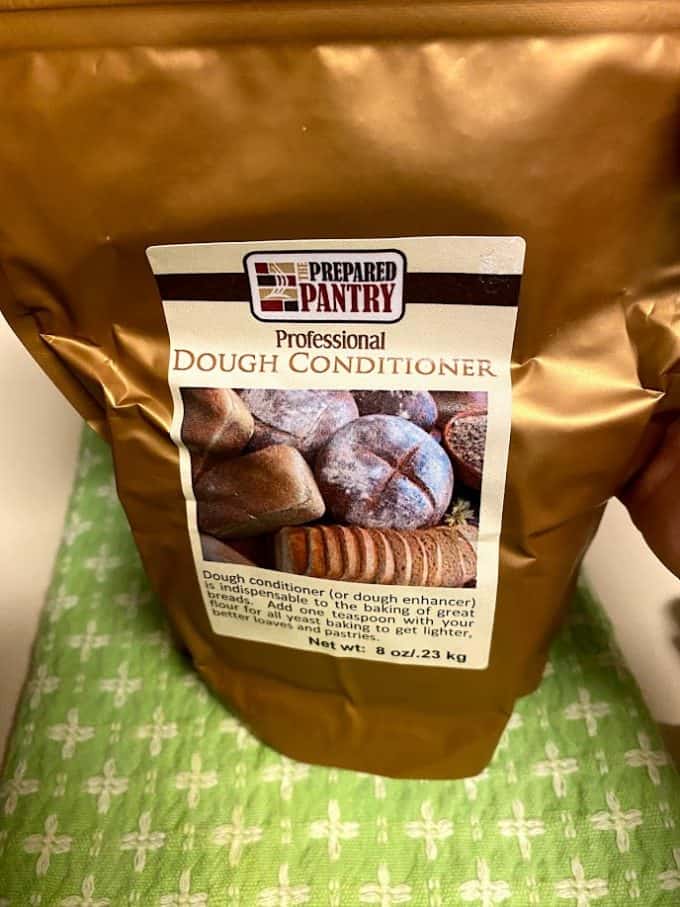
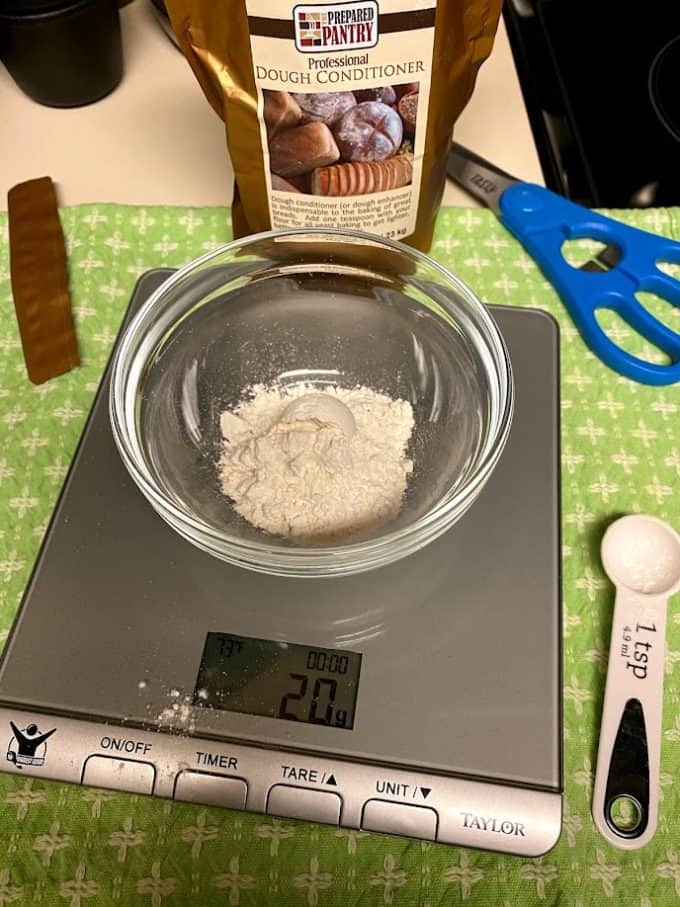
In search for an extra soft concha or bolillo? I have been baking both for several years. I am happy with my current recipes, but always wished they would stay soft for more than one day. After searching online on a few baking sites I found a product called dough conditioner that can be added to any bread recipe. I am a curious cook, so I decided to order some and try it.
Not Everyone Would Agree!
If you know me, you know that I try cooking and baking with fresh ingredients, no additives or processed ingredients. I bake conchas once or twice a year, so I am not too worried about adding a little dough conditioner to yield soft and fluffy bread. Adding the conditioner is optional of course. This is the beauty of cooking in our own kitchen. For me, it’s a continuous learning process. It fascinates me!
Video Really Did Kill The Radio Star!
What we do without video these days? Lol! If I didn’t need video as a professional food blogger, I could be perfectly happy. But that is not the case. Again, it’s about learning and growing as a person. I would never claim my videos to be professionally made, but I think I get to my point. I enjoy sharing them with you all.
There Could Be More Than One Version!
As I stated, I am happy with my original recipe for conchas. Soon, I will test that recipe with some added dough conditioner. This version of the concha recipe includes milk, less eggs and less flour. Who’s to say that one is better than the other?
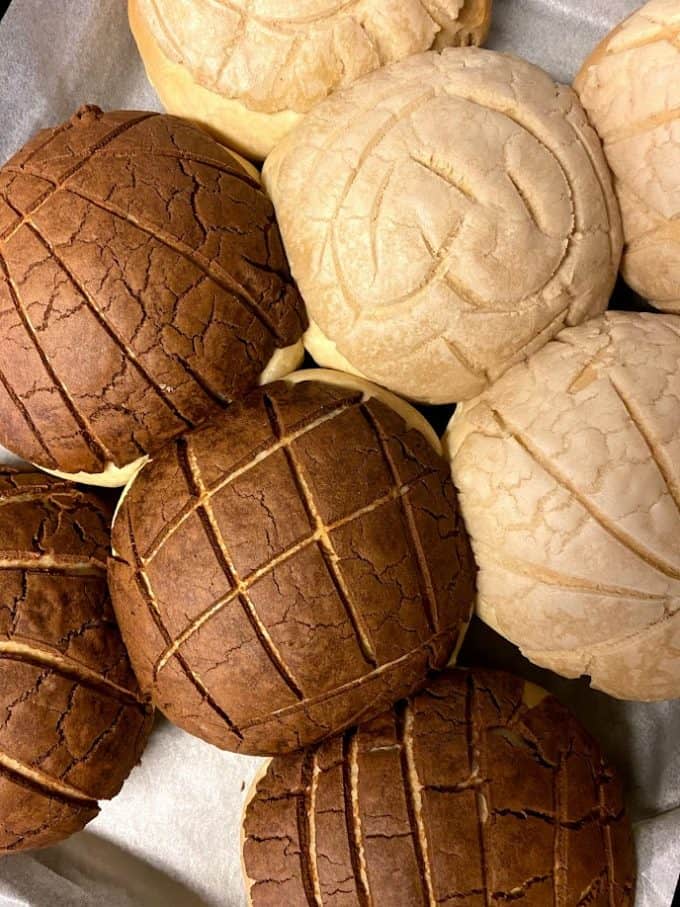
On Top Of The World!
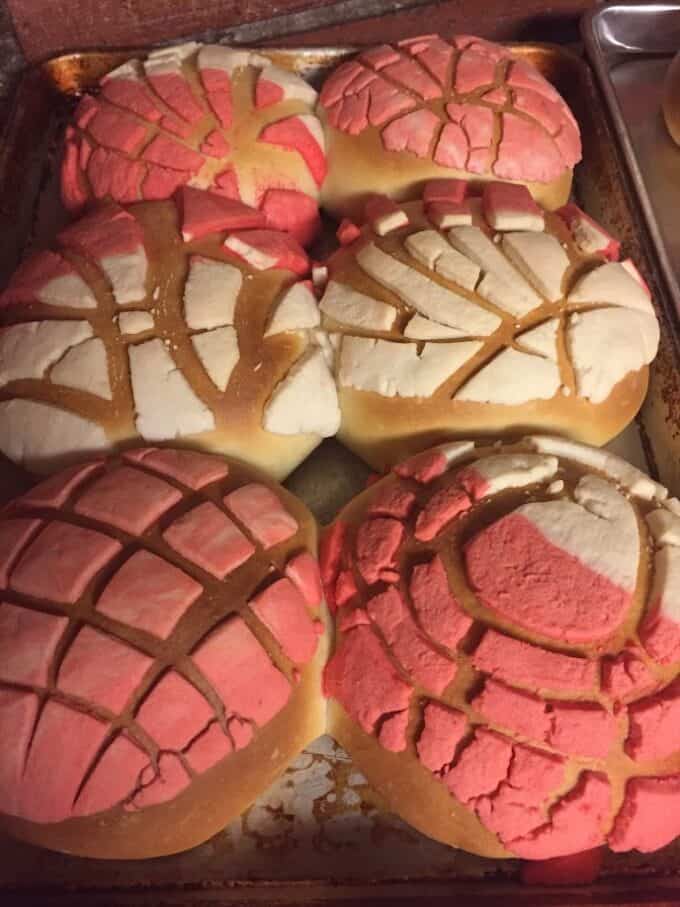
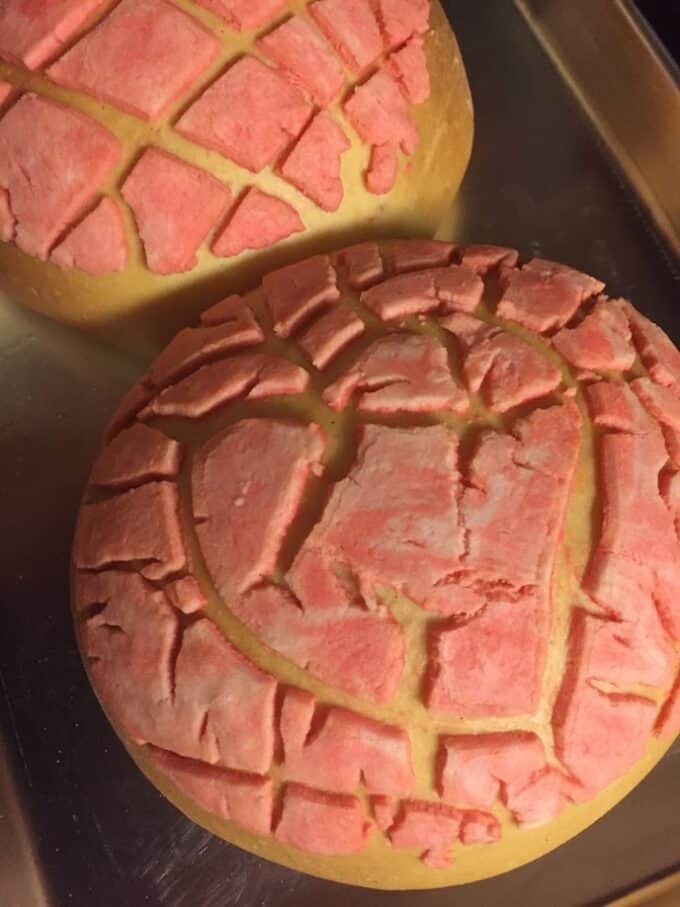
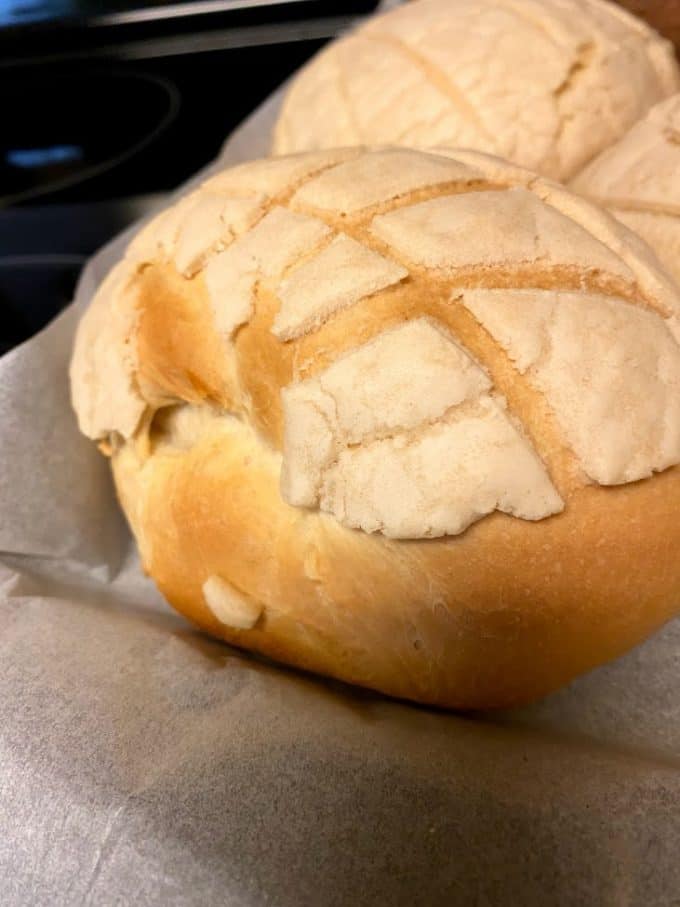
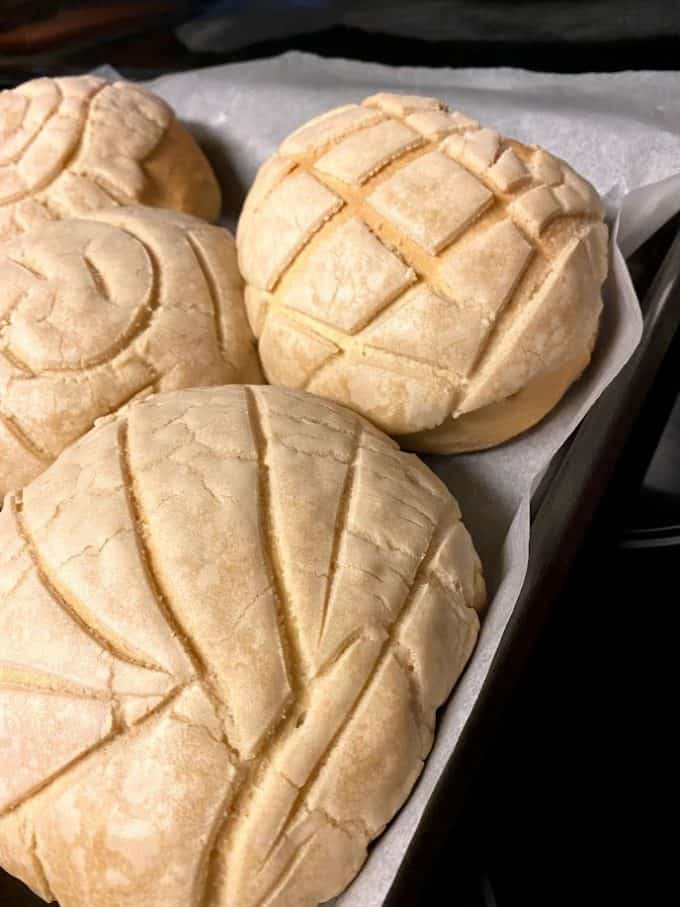
The concha topping is debatable. Butter, margarine or shortening? Granulated sugar or powdered sugar? To use food coloring or not to use food coloring? All of this is up to you, the cook, the baker. I have tried every combination! The powdered sugar/shortening mix yields a softer topping, but tends to crack easily and fall off the bread when you eat it. The margarine/granulated sugar mix taste better, sticks better, but tends to be a little more hard. I enjoy both versions though.
Who Are We Kidding?
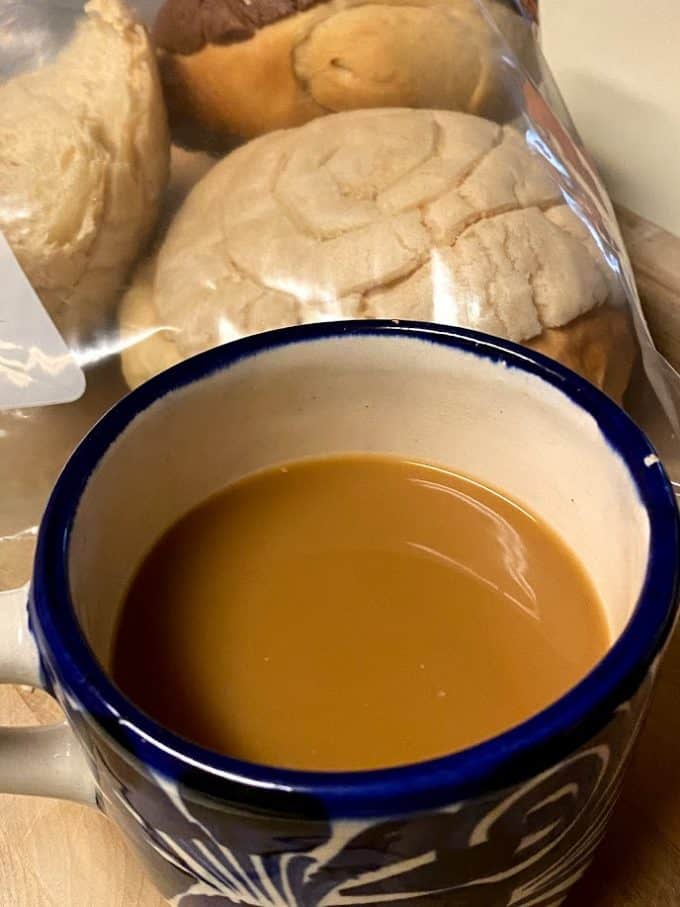
We are kidding ourselves if we think that most commercial breads and pastries don’t include some kind of enhancer in the recipes. I try to limit my bread intake. But when the craving strikes, I will enjoy some bread in moderation, of course.
See The Original Recipe
You can see the original concha recipe to compare the ingredients. Pretty much the same, except I added milk and the conditioner to this recipe.


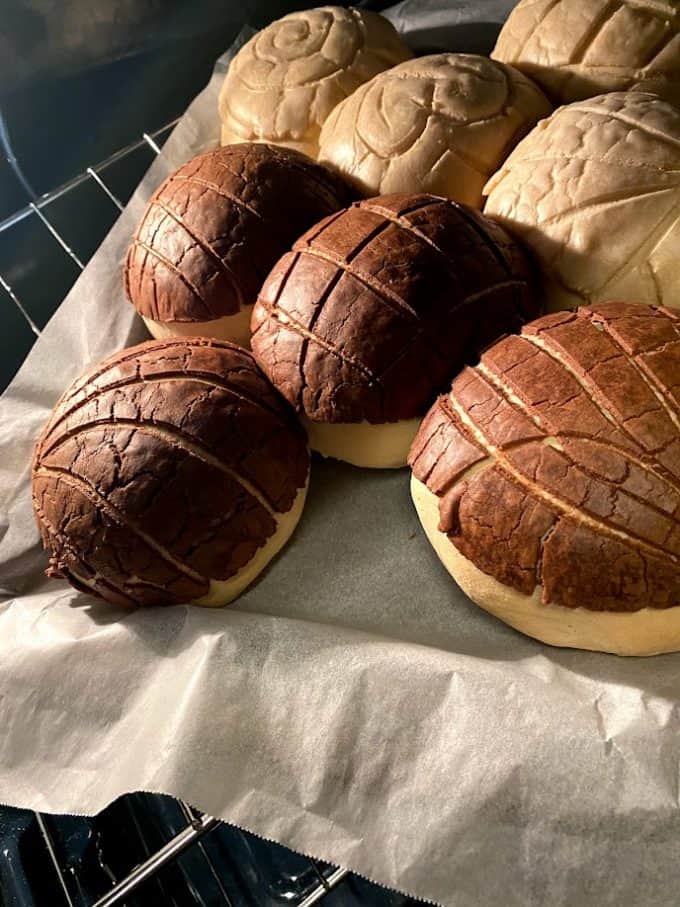
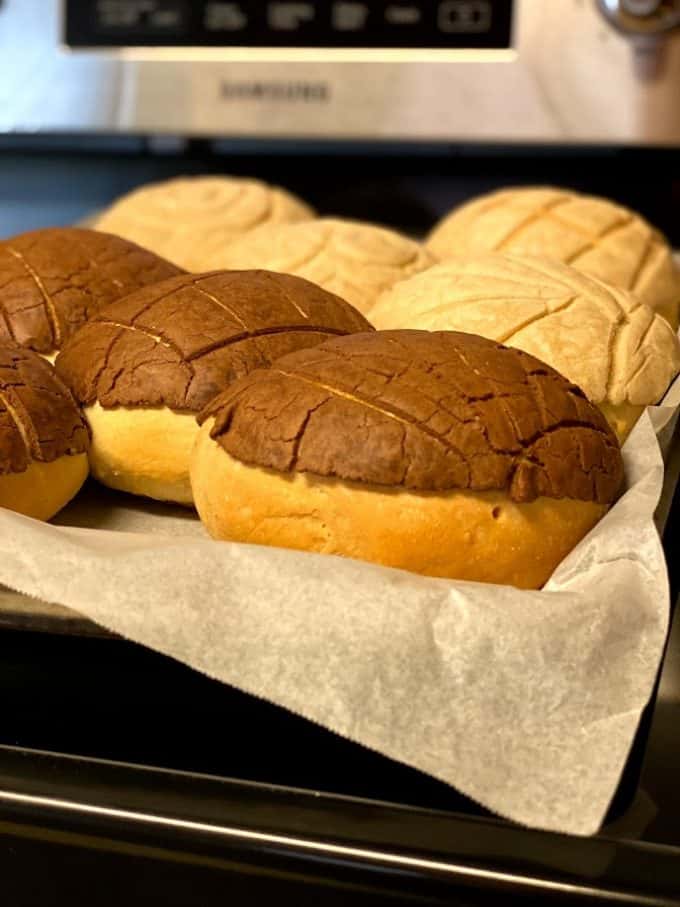
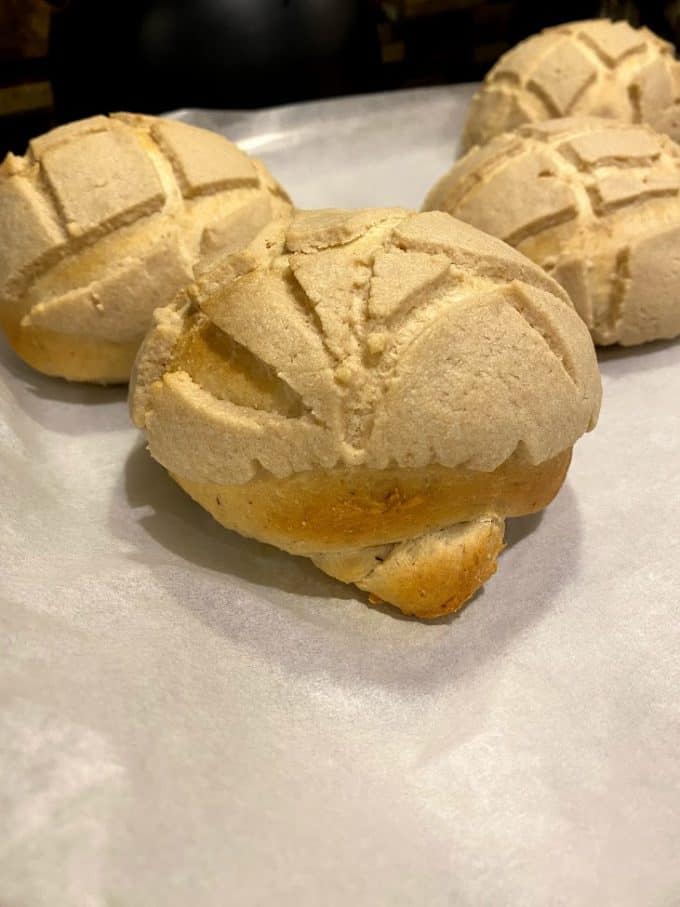
NOTE: I purchased a new oven recently. The last two times I prepared conchas using the dough conditioner, some of the conchas deflated after I took them out of the oven!?? I am a bit confused about this. This is the first time this has happened. Has to be the conditioner that makes the bread soo soft and maybe the topping being a bit heavy. I am going to investigate this and I will share when I know more.
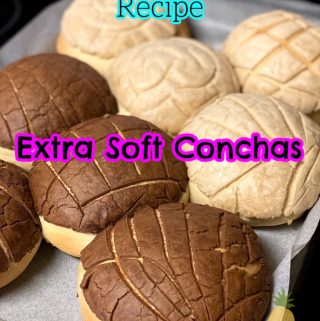
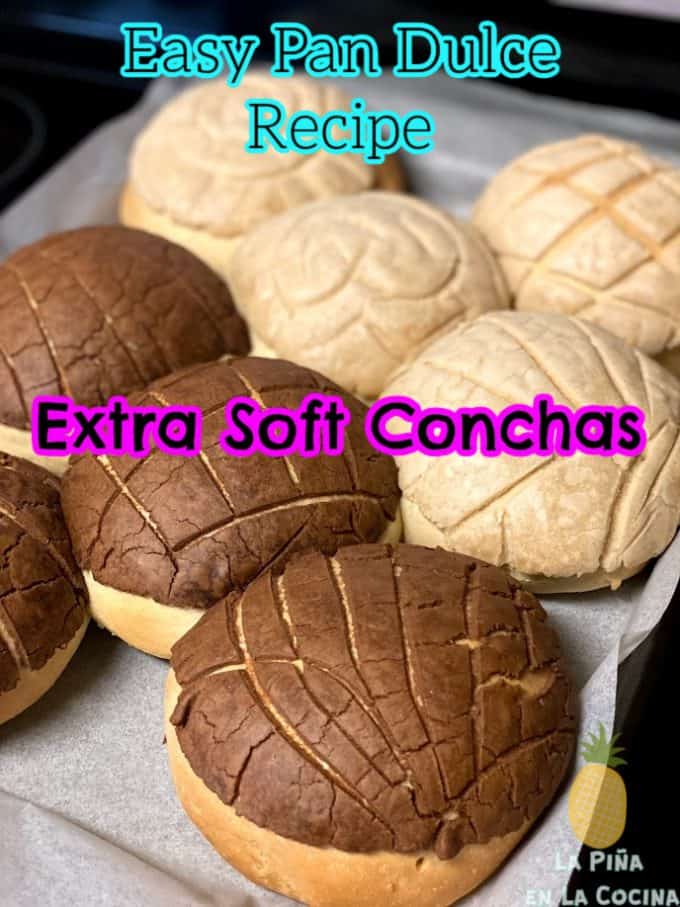
Extra Soft Conchas
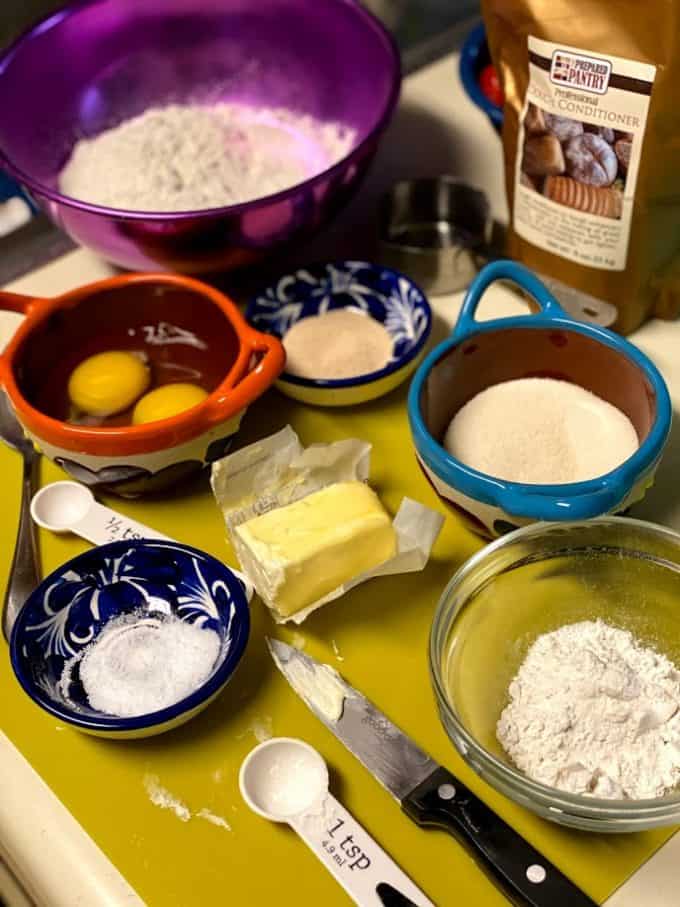
Ingredients
- 1 1/2 tsps active dry yeast, 4 grams
- 1 1/2 tsps sugar
- 1/4 c warm water
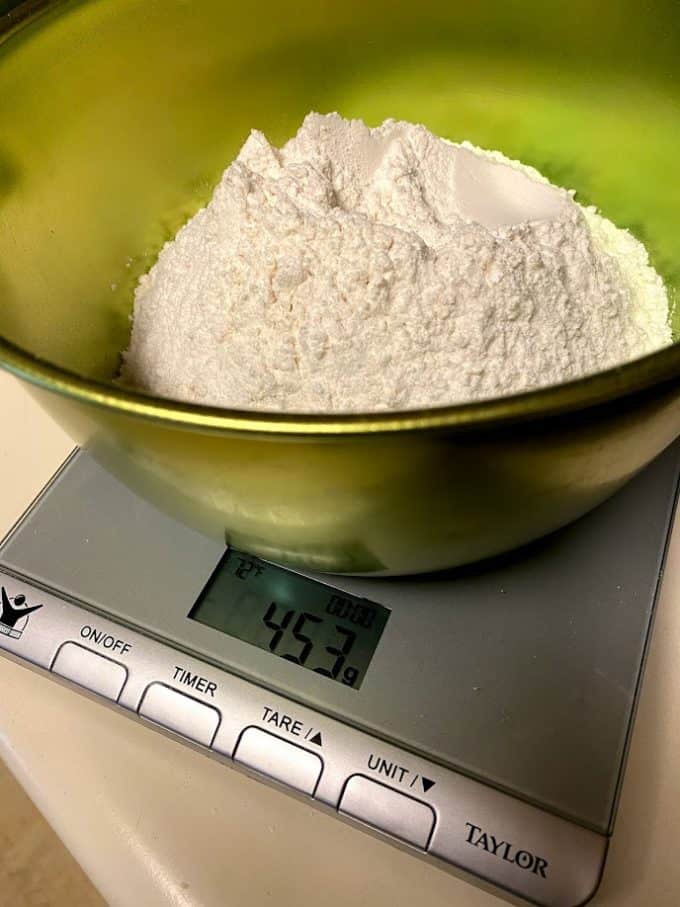
- 2 cups all purpose or bread flour, 300 grams
- 1/3 C sugar
- 1 1/2 tsps dough conditioner, 8 grams
- 1/2 Tsp salt
- 1/4 cup unsalted butter room temperature
- 2 large eggs at room temperature
- 1/4 C milk at room temperature
- 1 1/2 tsps vanilla extract
Candy Paste Topping
- 3/4 c ap flour
- 1/2 c granulated sugar, if using powdered sugar the measurement is 3/4 c
- 1/2 c shortening or unsalted butter at room temperature, I sometimes like to use half butter and half shortening
- Cocoa powder or food coloring gels for different colored toppings how much to add depends on how dark you want the colors to be in the end
Instructions
For Candy Topping
Prepare the candy paste topping first. Cover with plastic until ready to use.
- Mix sugar and shortening first. Gradually mix in the flour until you have a smooth paste. If it feels sticky, mix in a little more flour, one tsp at a time. If it cracks easily, mix in a little more fat. Adding color is up to you. If you add cocoa powder for chocolate conchas, you may need to add a little more fat to yield a smooth paste.
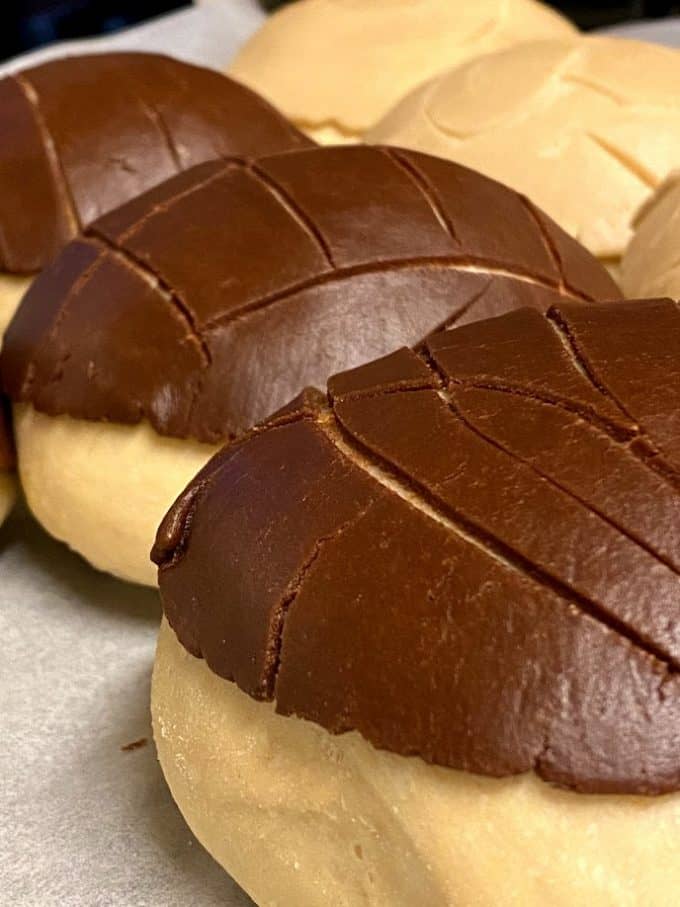
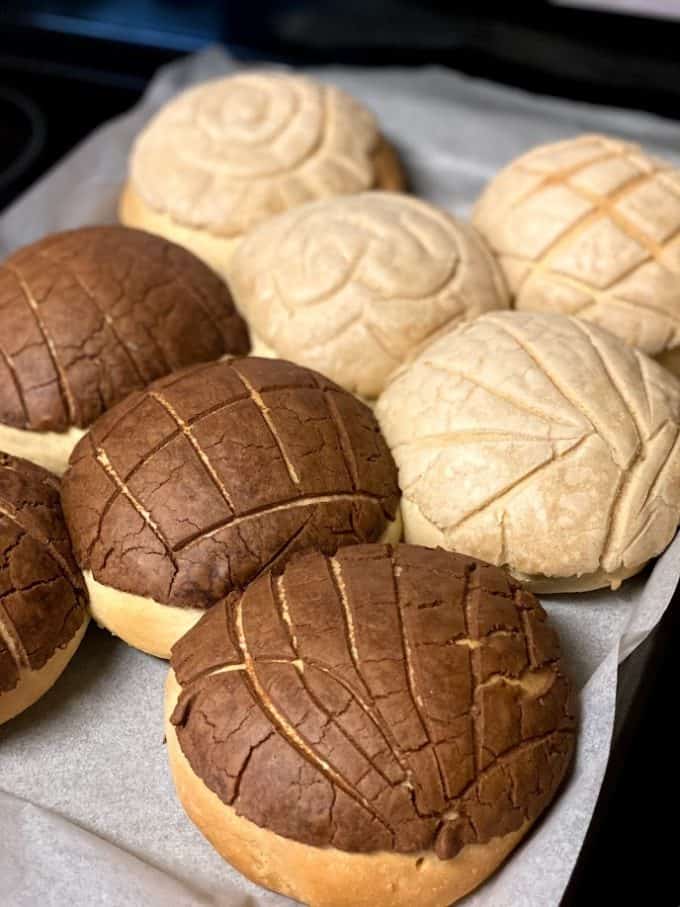
- If preparing three different colors, divide into three balls weighing about 128 grams each. For chocolate, mix in 3/4 of a tablespoon of cocoa powder until color looks uniform. If it feels on the dry side, mix in a little more shortening. The amount of food coloring gels depends on you. I typically mix in about 2 teaspoons for each color. Each candy topping weighed about 40 grams. You can top with one color or mix the three colors in a line or get creative!
- I tried this recipe for the topping from a popular panadero on YouTube, but prefer the original topping I used in my original concha recipe. See recipe in notes below.
For Concha Dough
- In a large cup, mix the first three ingredients. Let stand for 10 minutes.
- In the bowl of the stand mixer, add the dry ingredients. Starting with the paddle attachment, mix on low just to combine ingredients.
- When ready, mix in the activated yeast and lightly beaten eggs. Mix for one minute at medium speed.
- Mix in the vanilla, butter and half of the milk. Continue mixing for 2-3 minutes, then switch to the hook attachment. You will knead/mix the dough for about 20 minutes at medium speed. After the first 10 minutes, I scrape down the sides and let the mixer rest for one minute. If the dough seems dry, you can add a little more milk. Mix for another 10 minutes or until the dough begins to pull away from the sides of the bowl. It will feel tacky.
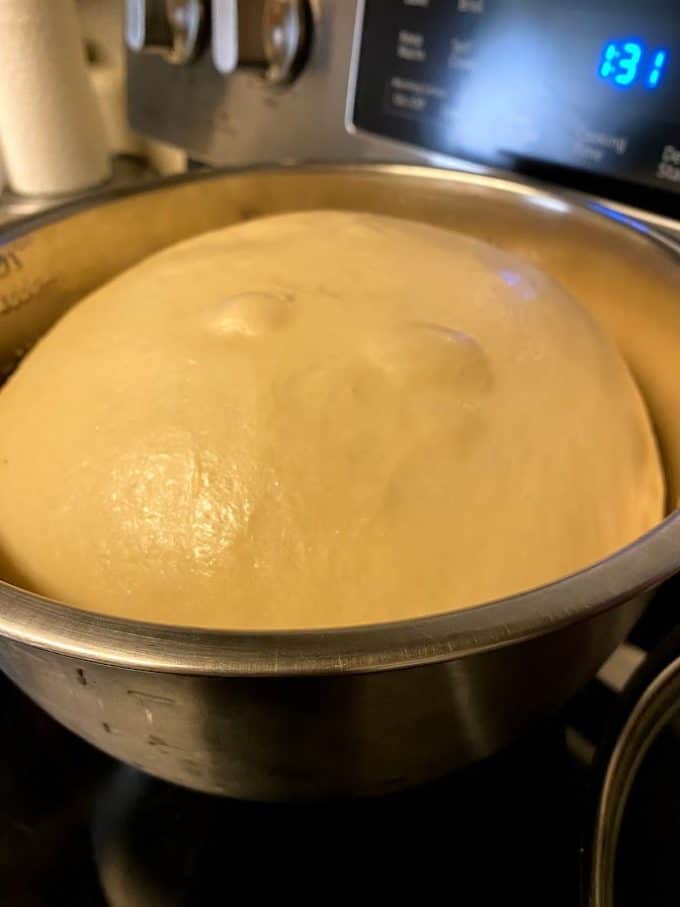
- Add some oil to your hands and transfer dough to a greased bowl. Cover with towel and let the dough proof for 1 1/2 hours to 2 hours in a warm spot. It should grow more than double in size.
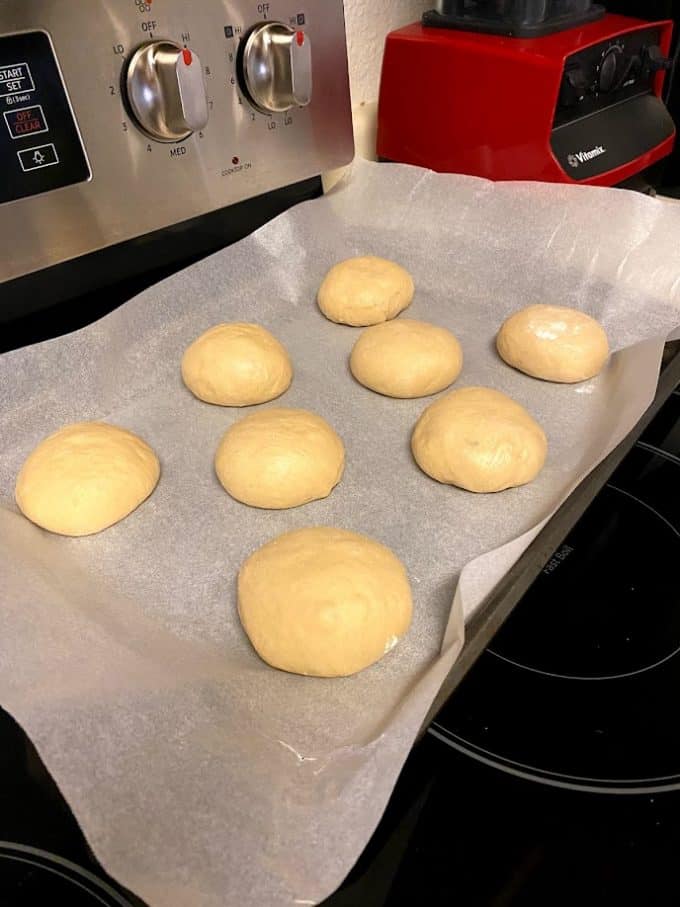
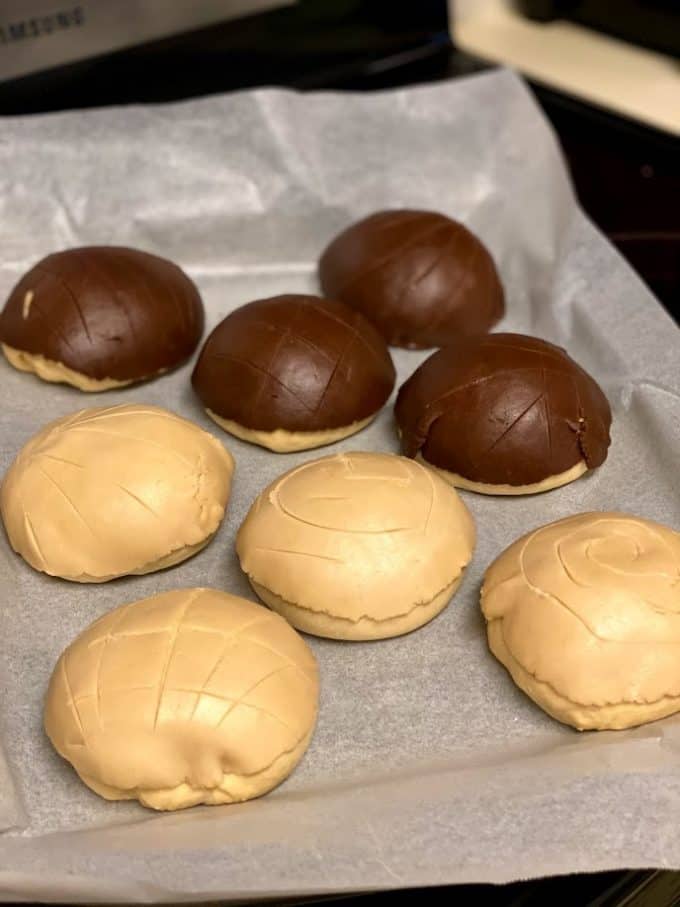
- With more oil on your hands, transfer dough to a lightly flat surface. Divide into 8 equal dough balls. Roll into balls and transfer to a greased baking sheet or lined with parchment paper.
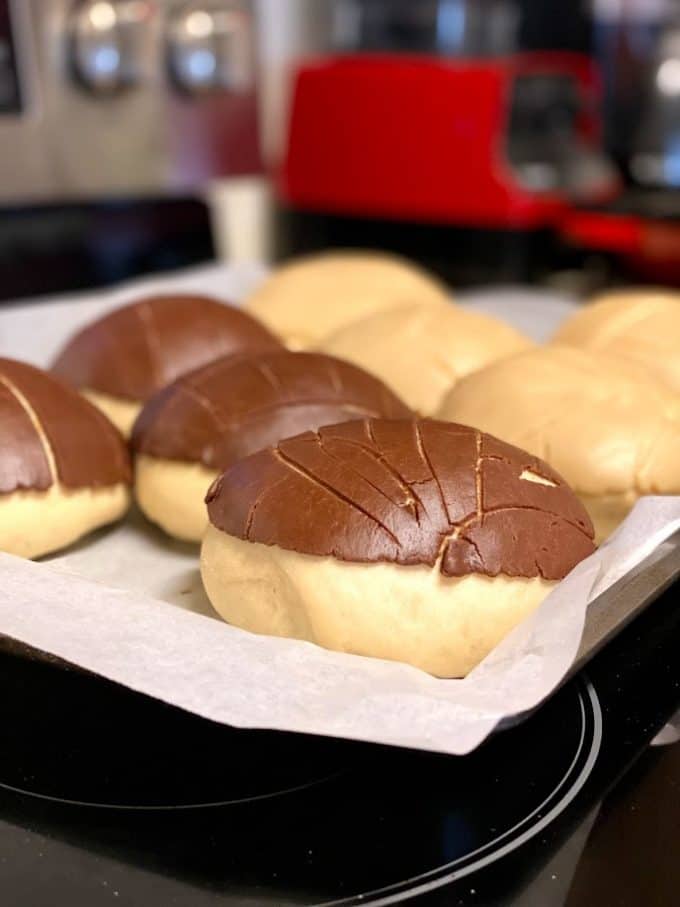
- Using a plastic lined tortilla press or a flat bottomed plate, press candy topping and place on each concha. Gently press down and cup topping with the palm of your hand to stick to dough ball. Score each concha using a small sharp knife. Cover with towel and let conchas proof for another hour.
- When ready, preheat oven to 350 degrees F. Bake conchas for 14-17 minutes or until bottoms and edges are golden brown. Internal temperature of bread should read 190 degrees.
did the dough condition make the conchas taste artificial?
Hi Kim. I don’t recall any artificial flavor in the conchas, no. The conditioner actually smells like vinegar, but that flavor doesn’t come through. If you want my honest opinion, I prefer my concha recipe infused with cinnamon and anise. The conchas stayed soft for several days and were delicious. I was just curious about the dough conditioner, but I trust my other recipes more.