Conchas & Semitas! Two favorite Mexican pan dulce(sweet bread) recipes in one blog post! For years, my sister-in-law, Janet Lynn, has been telling me that weighing the ingredients when baking is a good rule to follow. She finally convinced me! “You make it look so easy!” My followers leave comments like this often when I share short videos on preparing pan dulce or tortillas. It’s not easy. It’s lots and lots of practice, trial and error.
When You Don’t Succeed, Try, Try Again!
Not every recipe I have attempted comes out good. Some end up in the garbage! They do! This is why I test recipes over and over and document everything as I go. “Why bother with preparing pan dulce? Just go to the panaderia(bakery).” Not all of us are fortunate enough to pop by the Mexican bakery because there are none where we live. That is how this whole thing started for me. One of my first major jobs working for a brand, was to share a recipe for step by step conchas.
There Is Still So Much To Learn Though!
I am in a constant state of learning and I love it! Do I know everything about baking or even traditional Mexican food? NO! Who does, really? I guarantee you that if you visited ten different Mexican moms and asked each one of them to prepare arroz Mexicano, Mexican rice, they would all be slightly different. You know what? That’s ok! Embrace it!
When I Was A Kid, I Thought Semitas Was Pan Dulce For Grown Ups! LOL!
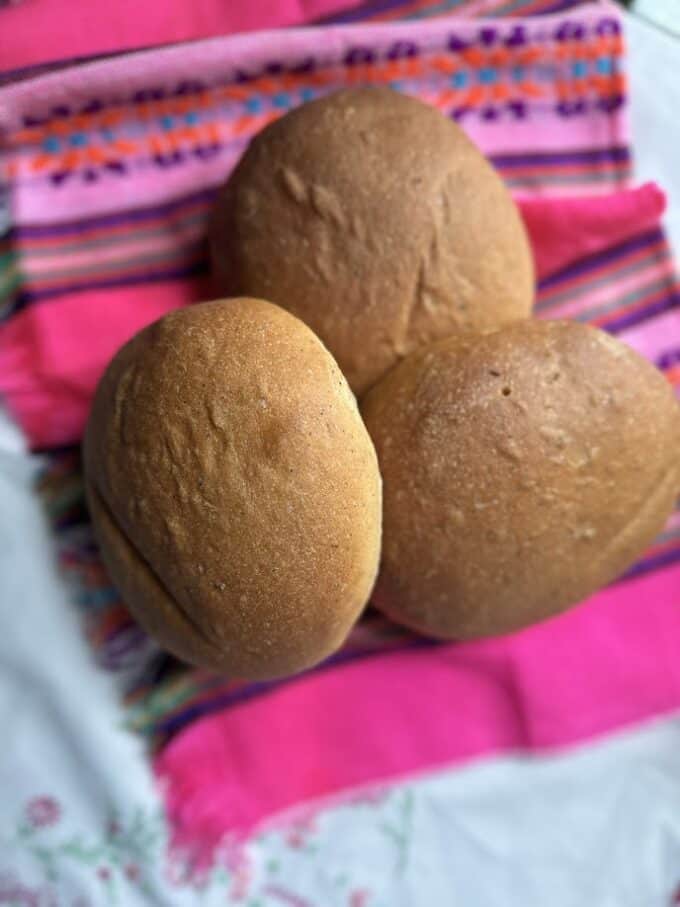
I remember rifling through that big white paper bag of pan dulce, bypassing the semita looking for that pink concha, empanada or rosca de coco! I’m laughing as I write this because I can clearly see it all like it was yesterday! Then that image of mom sitting down with her perfect semita and cup of hot coffee. I feel peace when I remember that image. Now I appreciate a fresh baked semita!
Remember, There’s More Than One Way To Approach A Semita!
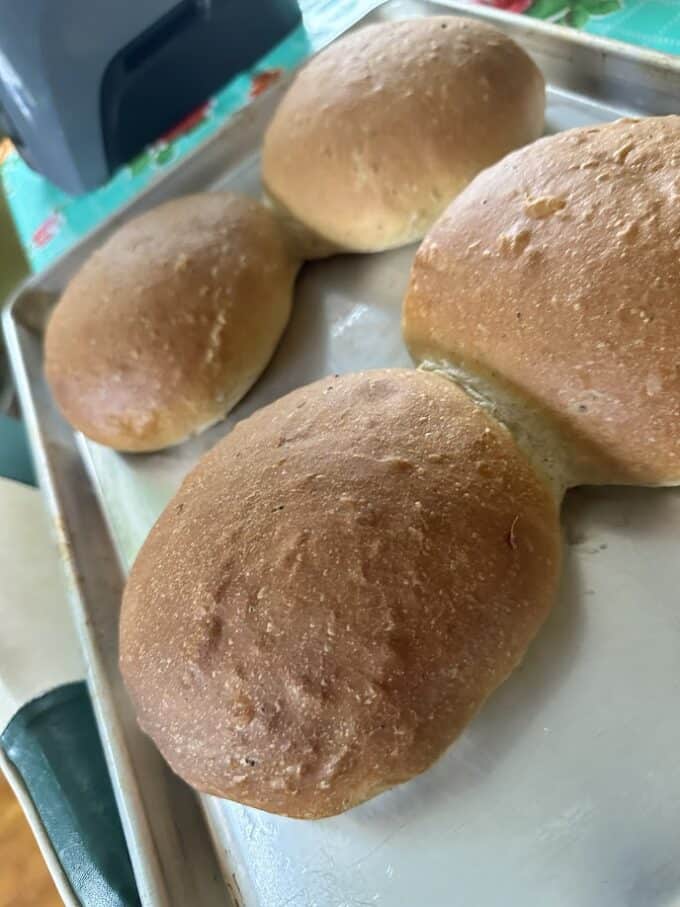
In various semita recipes, they use whole wheat flour. I have not tried that variation, but will some time soon. There are countless tutorials on YouTube these days for just about any recipe. And since I am trying to perfect the basic pan dulce dough, I decided to stick with my concha dough recipe and work with that.
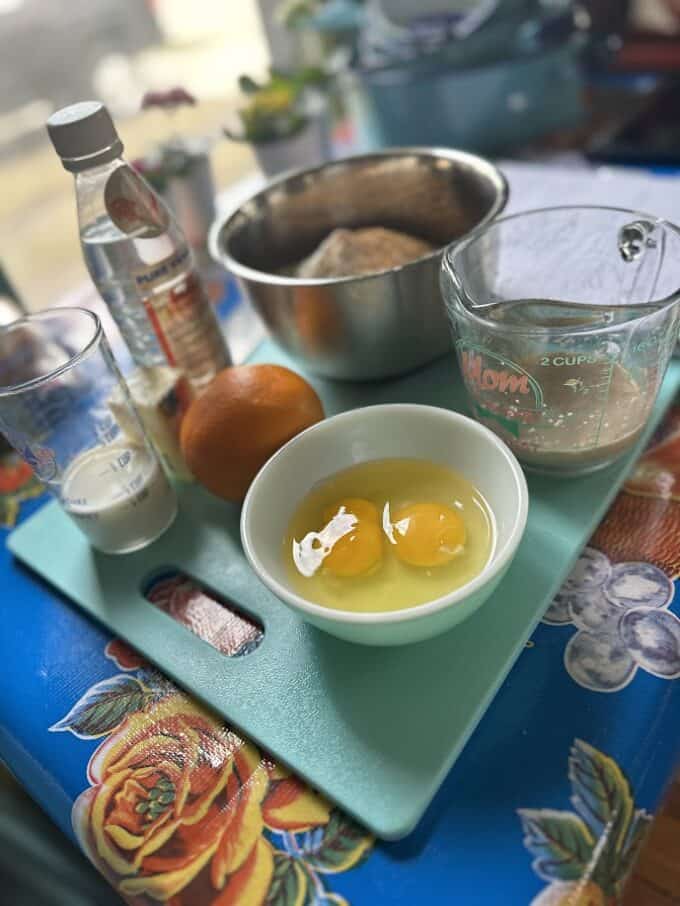
I Cannot Stress Enough How Much Easier Recipes Are When You Measure Everything Out First!
In my experience, I find that the actual gathering of ingredients and measuring out actually takes longer than the actual recipe! Before food blogging and sharing of recipes, I was pretty much cooking with no measurements whatsoever. That’s how I learned from mom. Mom had to adapt her recipes when she moved to the United States in the early 60’s. Products like El Pato, Hunts Tomato Sauce, Tapatio, and tortillas(corn and flour) in plastic bags were unfamiliar to her, but she always made it work.
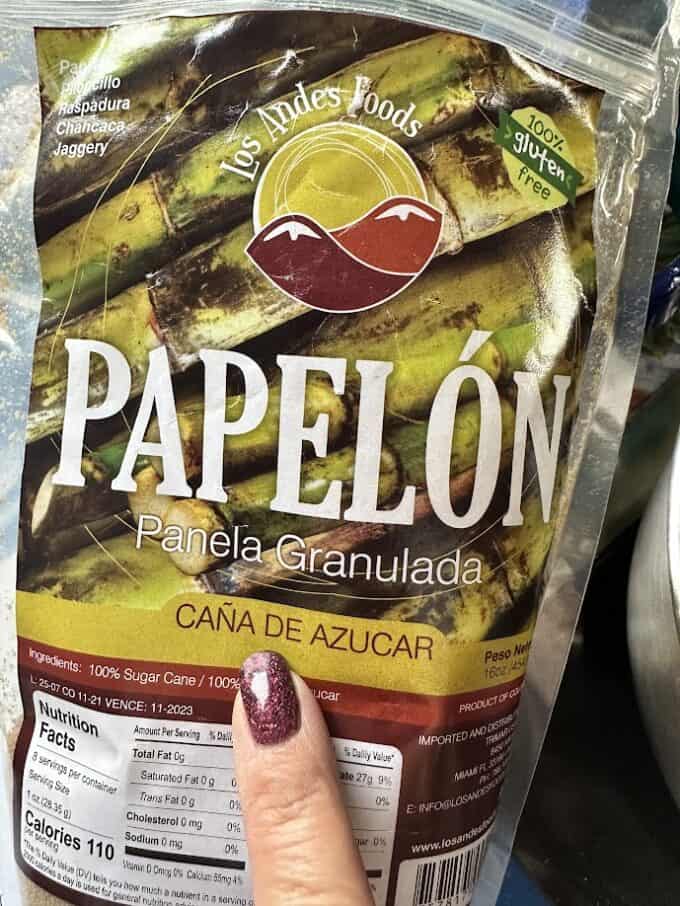
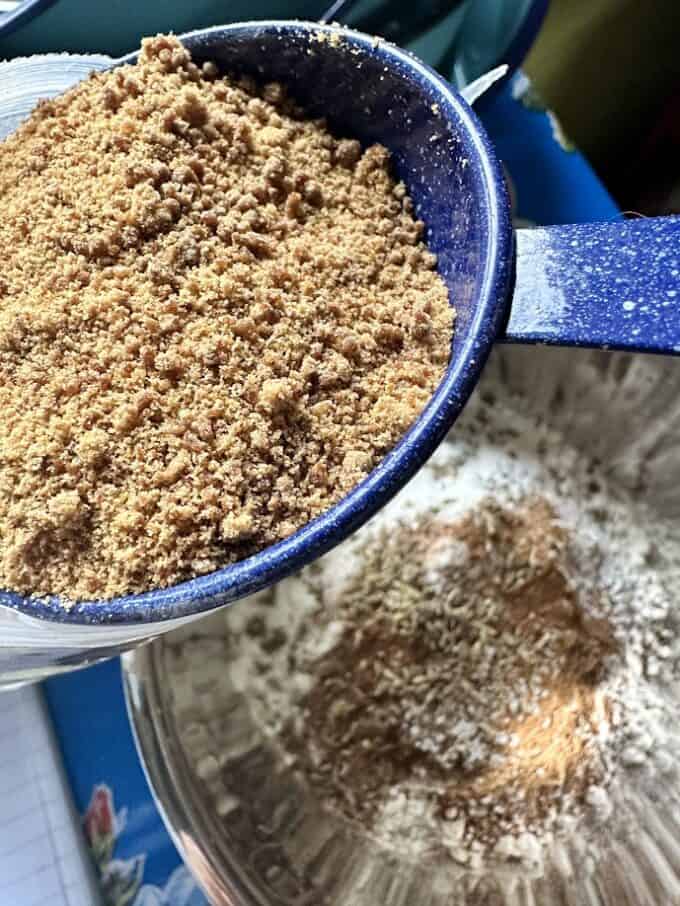
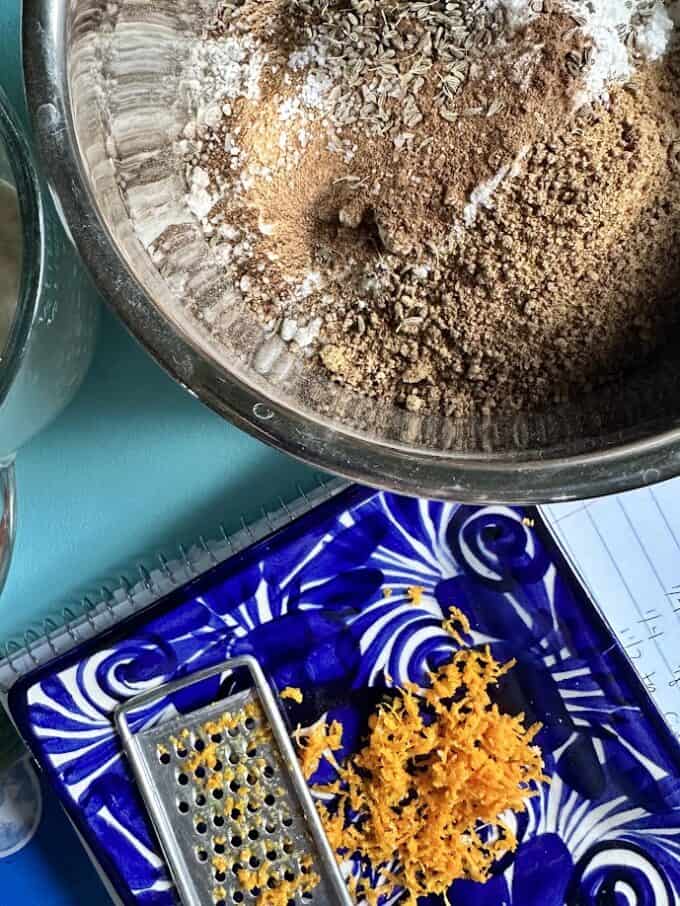
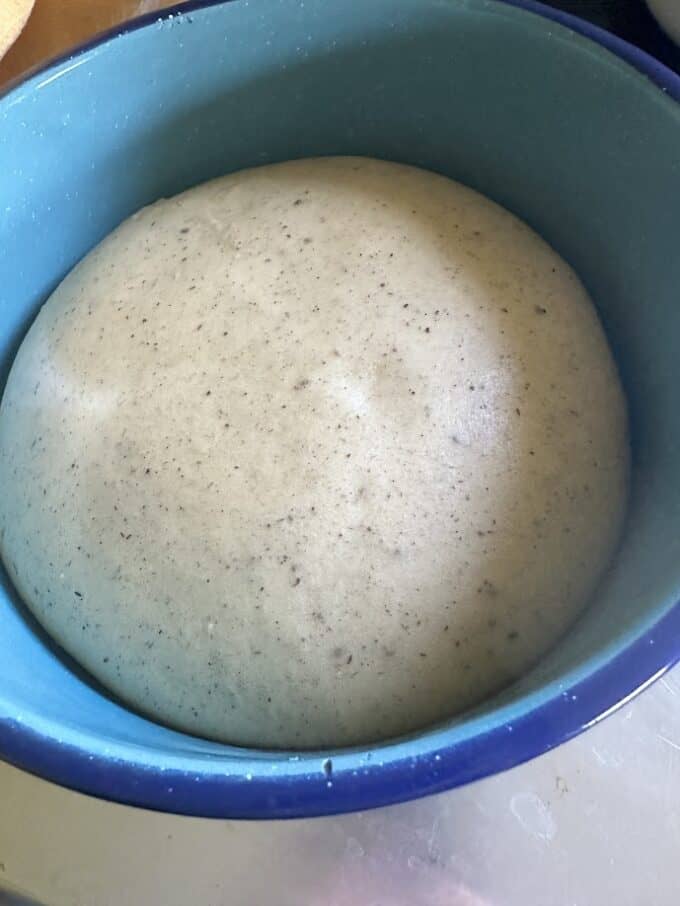
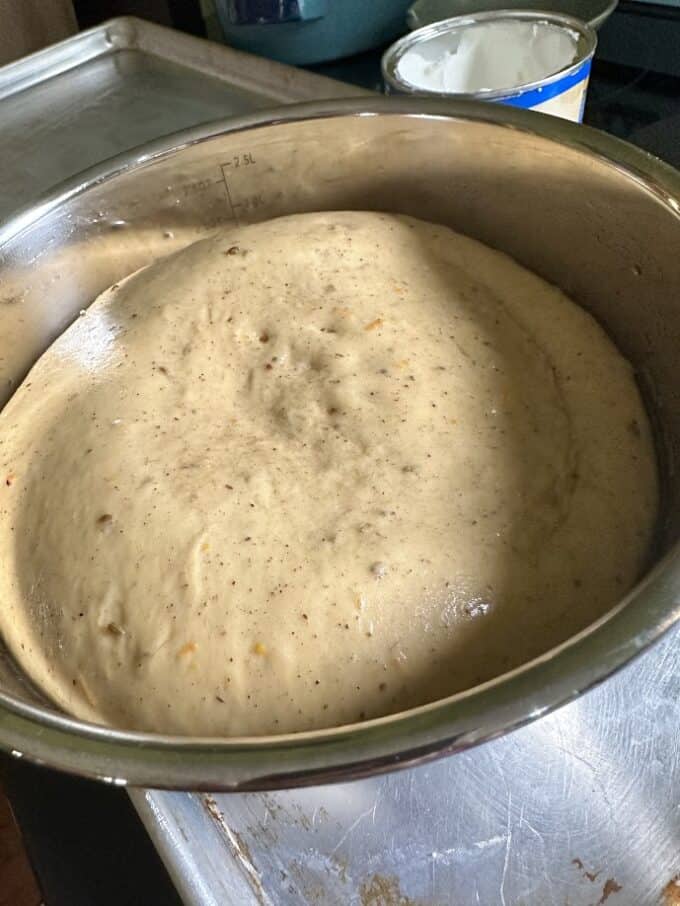
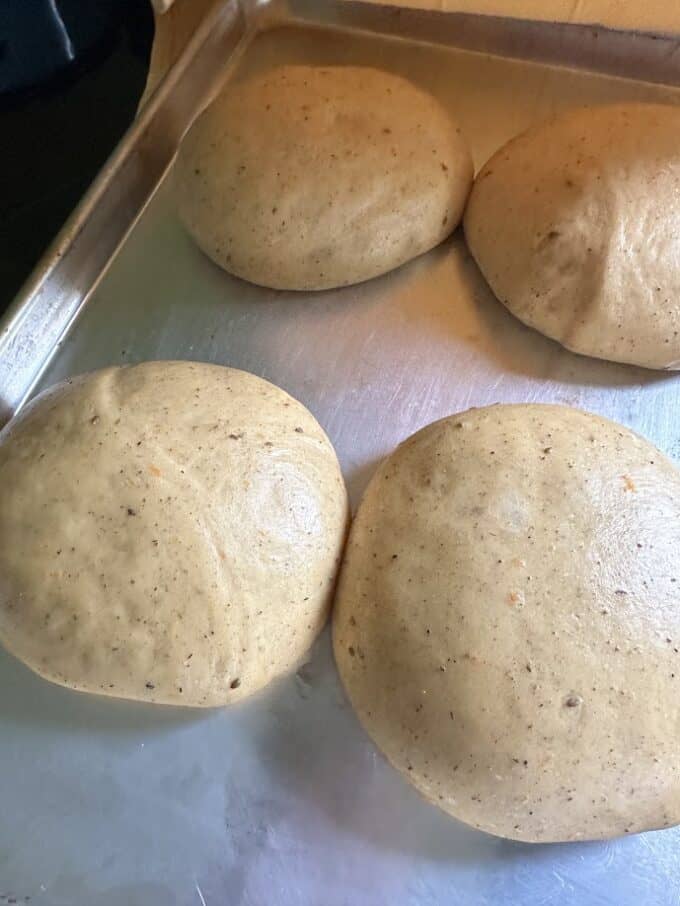
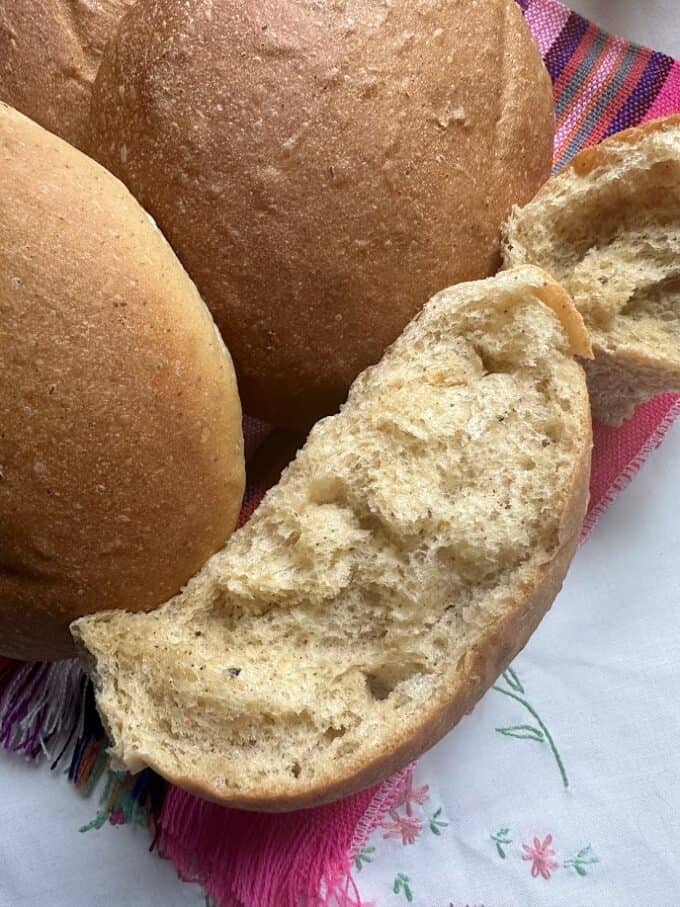
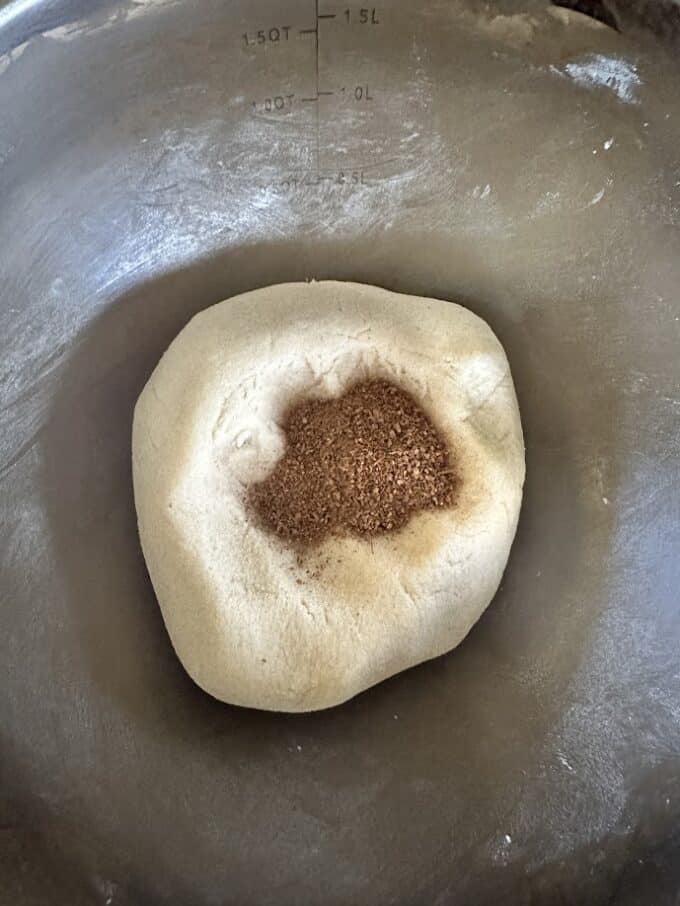
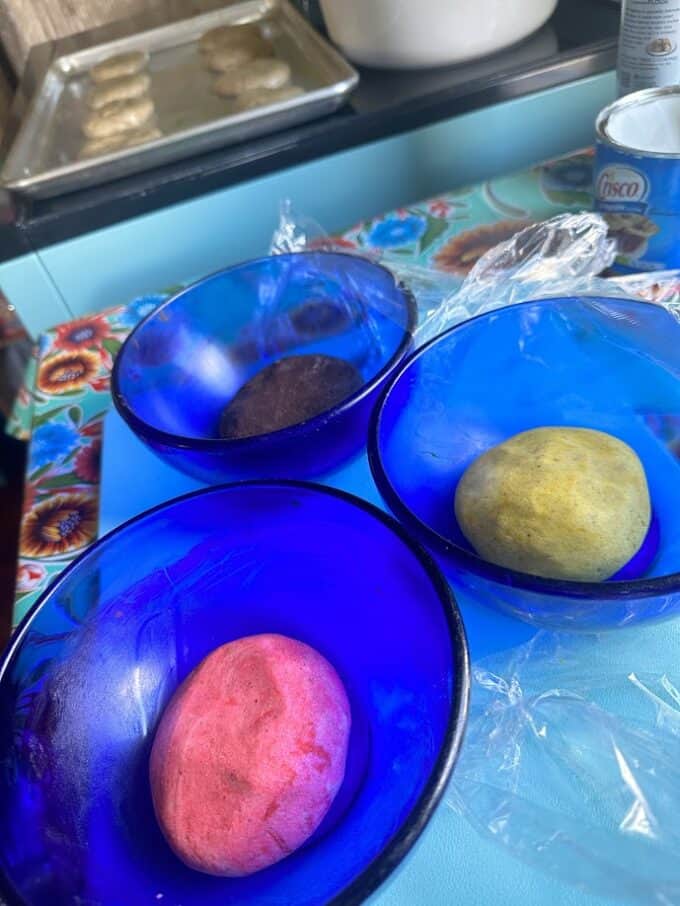
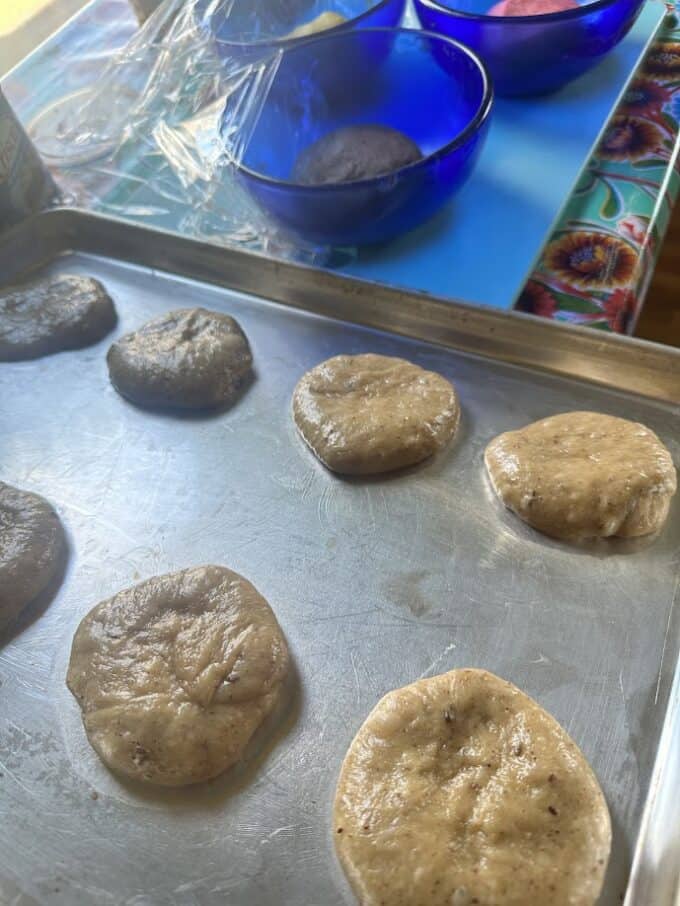
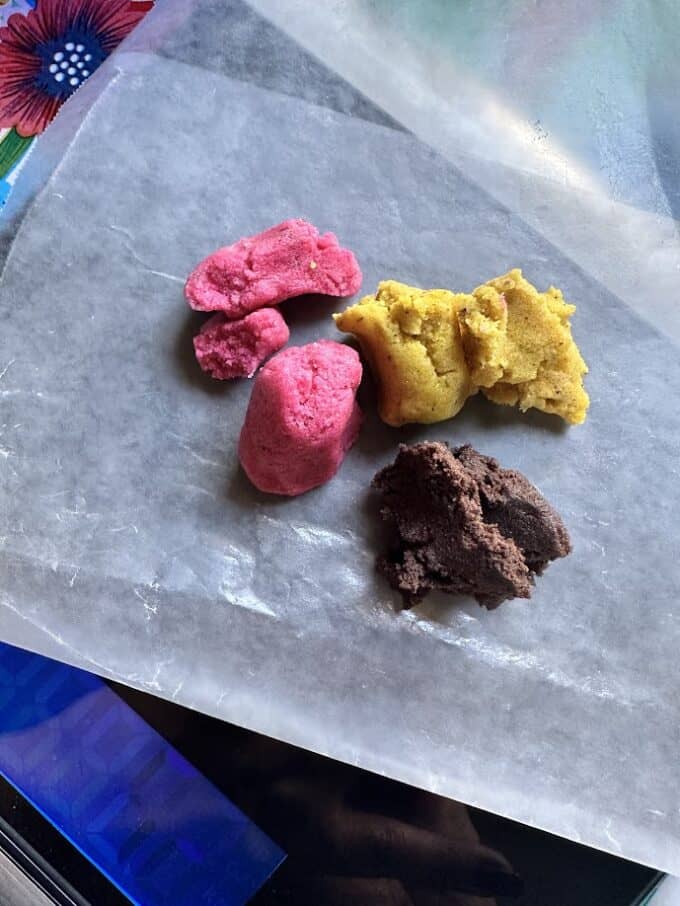
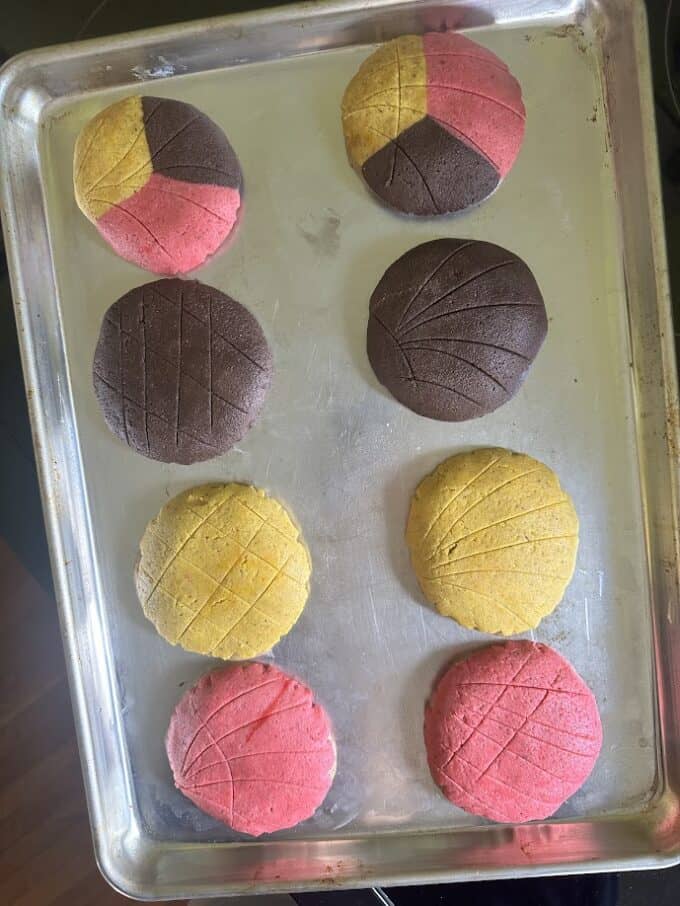
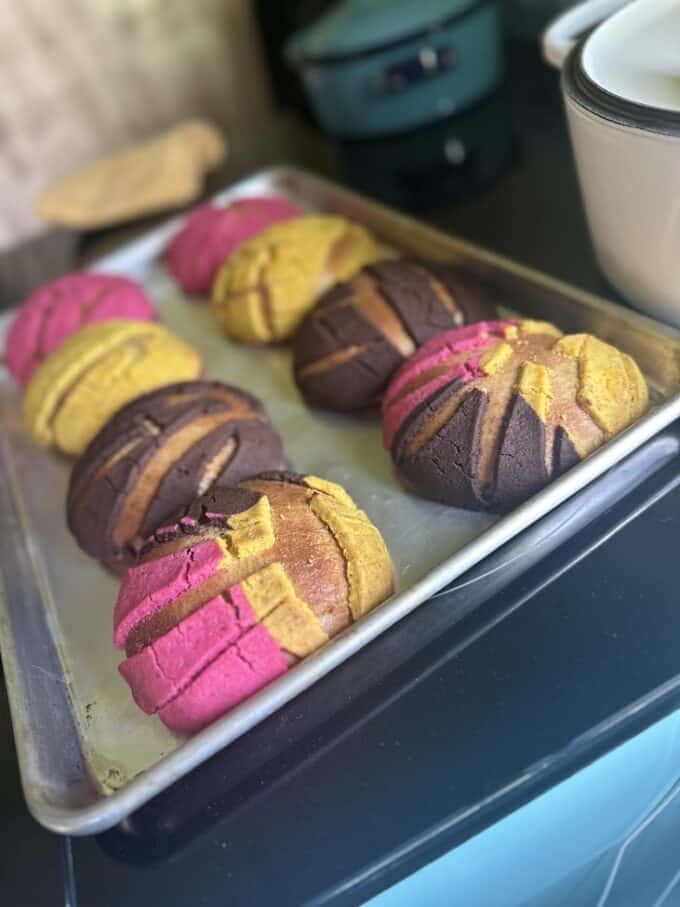
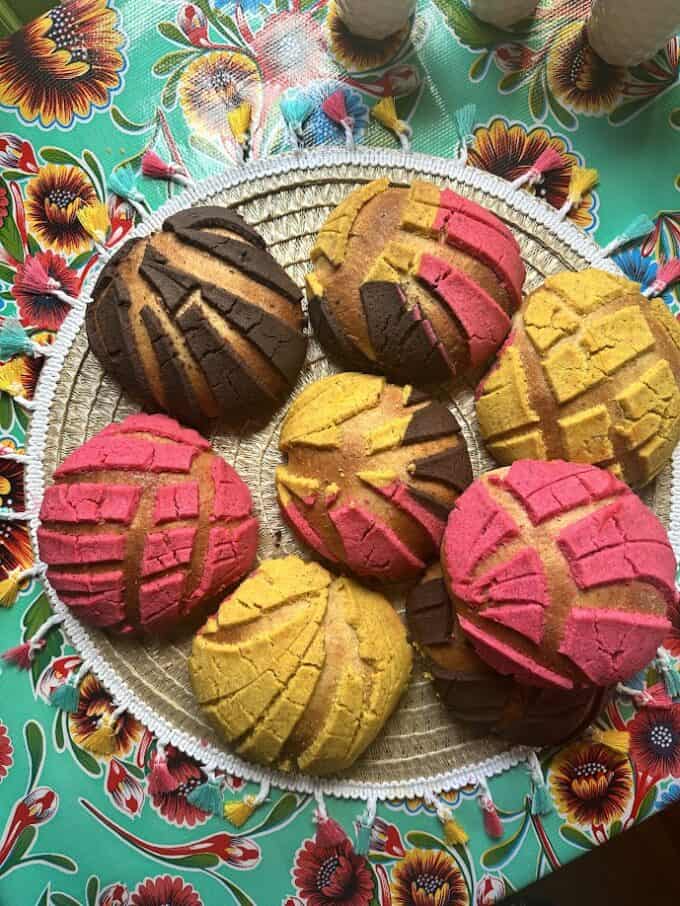
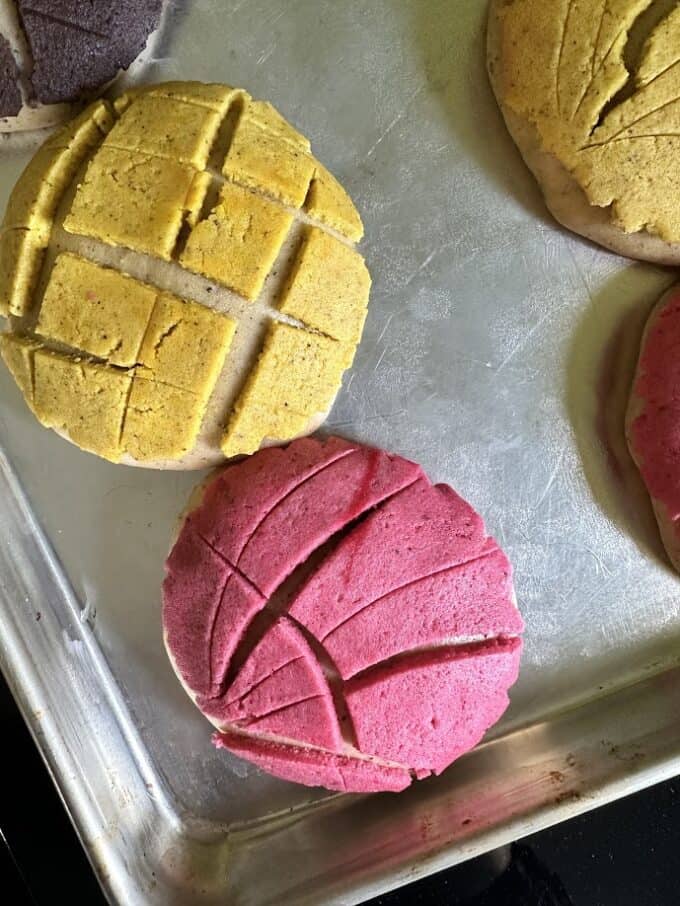
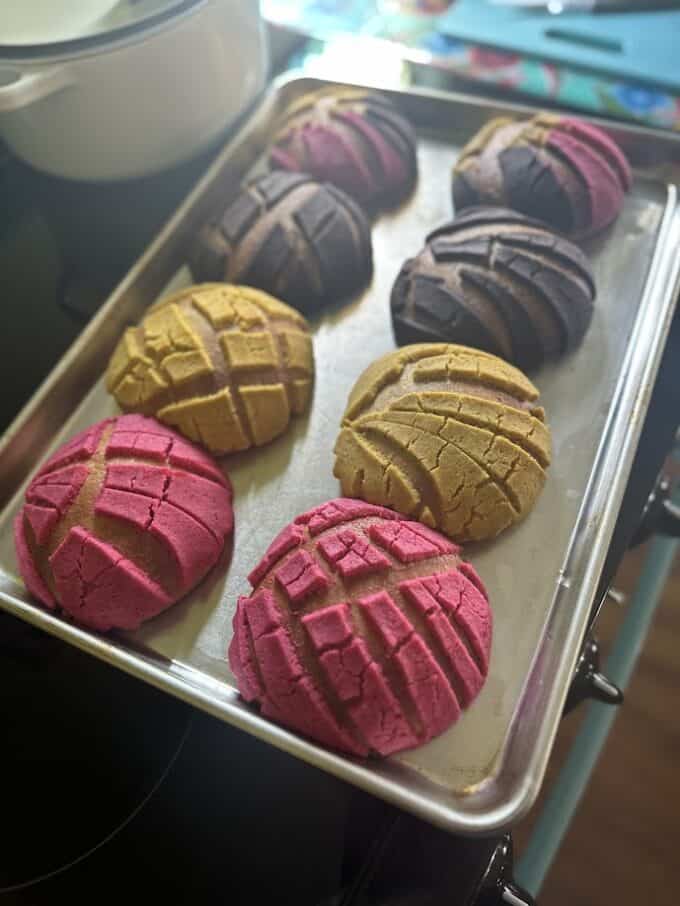
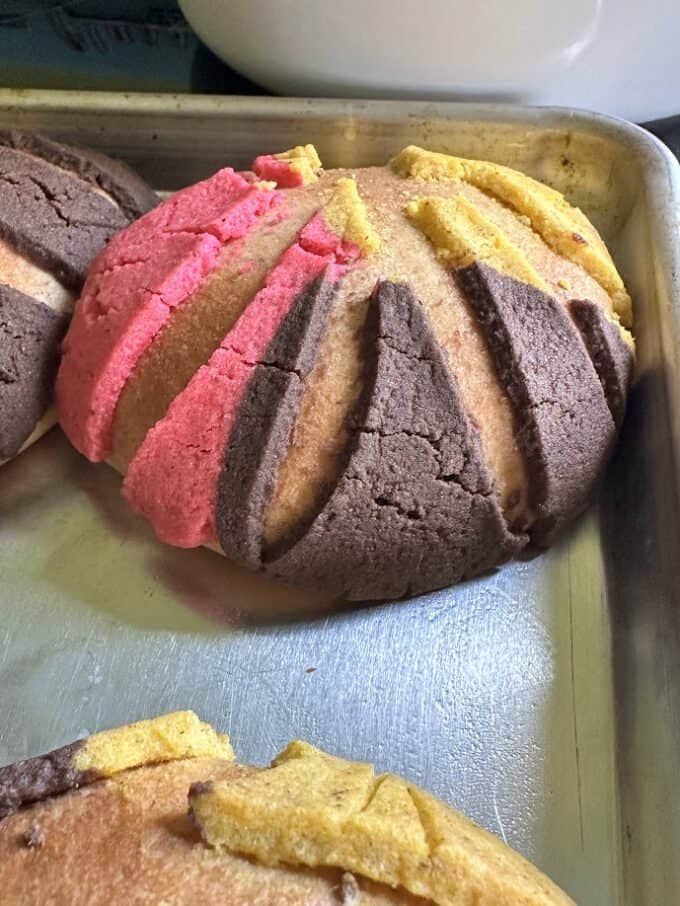
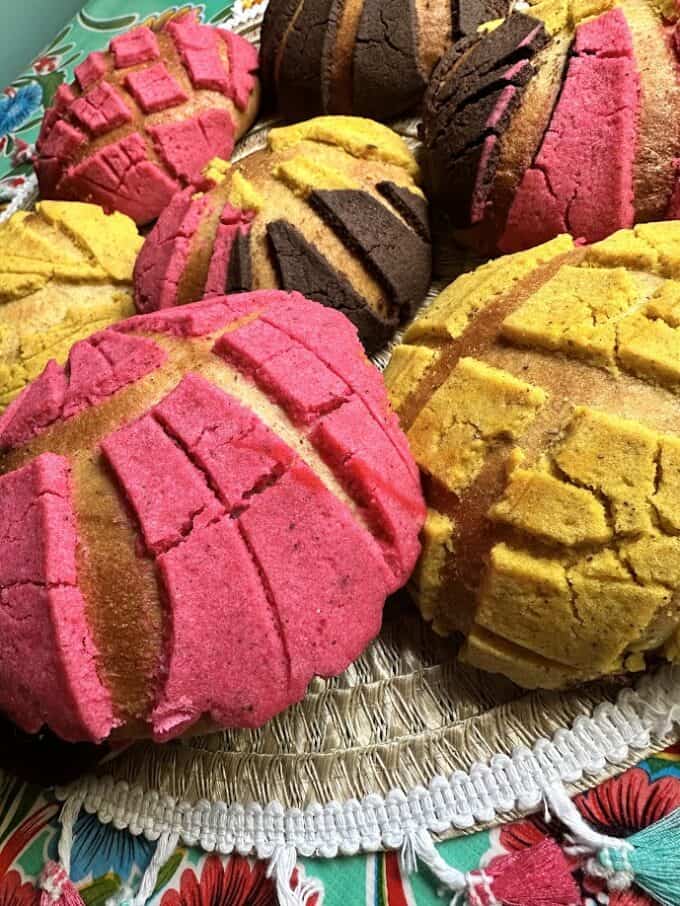
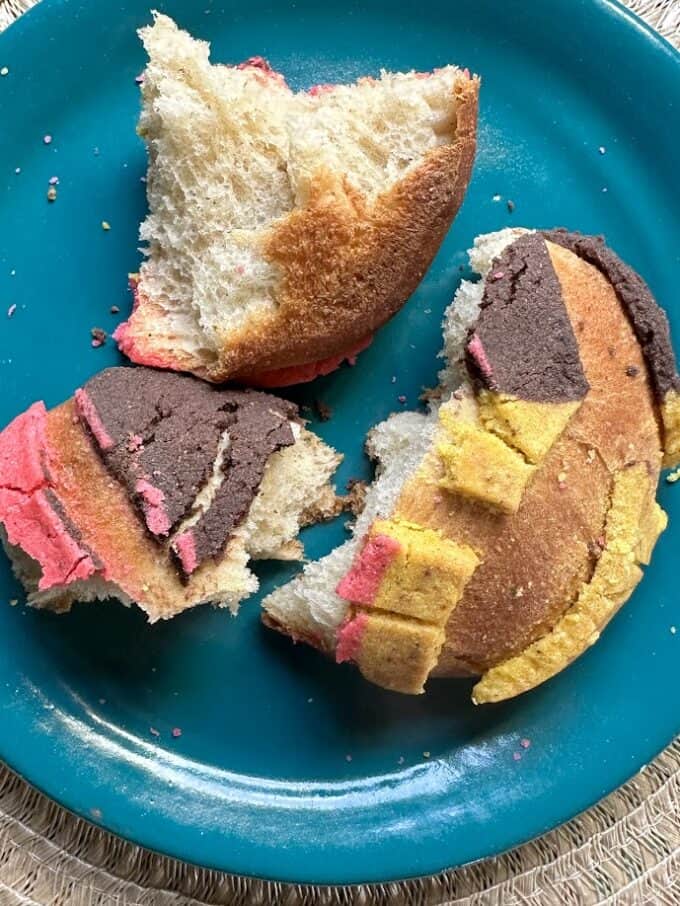
I am experimenting with waiting 25 minutes before adding the concha topping on the masa that is proofing the second time. On this day, I did not wait and you can see how the topping really separated in some of the photos. I secretly like seeing the golden brown bread peeking through the concha topping.
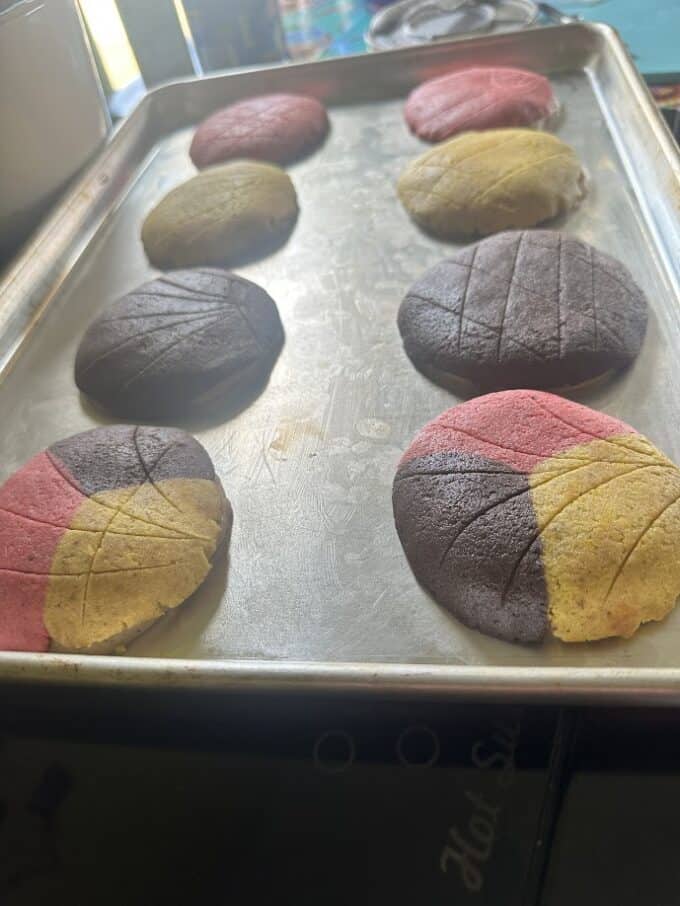
Let’s Get To Baking Conchas!
If you are determined and don’t have a stand mixer, don’t let that stop you from preparing this recipe. In recent days, I have prepared the dough by hand as well as with the mixer. My honest opinion? I have experienced better results when I mix by hand. Of course it is more labor intensive, but still worth it.
Cinnamon Anise Conchas & Semitas
Ingredients
Cinnamon Anise Concha Dough
- 1/4 c warm water
- 1 1/2 tsps dry yeast
- 1 1/2 tsps sugar
- 300 gr bread flour 2 cups (10.6 oz)
- 1/3 c granulated sugar
- 1/4 tsp salt
- 1 1/2 tsps canela
- 1 tsp anise seeds
- 2 large eggs at room temperature
- 1 1/2 tsps vanilla extract
- 1/4 c milk room temperature
- 4 tbsps unsalted butter room temperature
Concha Topping
- 1 cup plus 3 tbsps ap flour
- 1/2 c sugar
- 1/2 c shortening
- 1 1/2 tsps canela
For Coloring Concha Topping
- 3/4 tbsps cocoa powder
- 2-3 tsps pink food coloring gel
- 2-3 tsps yellow food coloring gel
Instructions
- In a large cup, combine the warm water, yeast and sugar. Stir and let sit for 10 minutes. If the yeast does not foam up, then it's no good and will not allow the dough to rise.
- In the bowl of the stand mixer, combine the flour, sugar, salt, cinnamon and anise seeds. Whisk to combine.
- Lightly whisk the 2 eggs and add to the stand mixer bowl. Also add the activated yeast. Starting with the paddle attachment, mix on low until combined. Mix for one minute.
- Mix in the vanilla and milk. Mix for 3 minutes. Mix in the butter. Mix for another 3 minutes.
- Switch to the hook attachment and continue mixing for up to 15 -20 minutes or until the dough starts to pull away from the sides of the bowl. It will still be slightly sticky.
- Topping: In a bowl, mix the sugar and shortening well. Gradually mix in the flour until you have a soft paste. Mix in the cinnamon. Divide into 3 equal sections (128 grams ea.). Mix in cocoa powder to the first until well incorporated. Cover with plastic and set aside. For the other colors, mix in 2-3 tsps of gel, depending on how intense you want the colors. Cover with plastic wrap and reserve.
- Rub oil on your hands to help you pull the dough out of the bowl easier. Form a ball. Place seam side down into a lightly greased bowl. Cover and let dough proof for 90 minutes to two hours. Or until it doubles in size.
- Transfer the dough to a flat surface. Add a little more oil to hands. Divide the dough into 8 equal pieces. Form each into a round ball and place on lightly greased baking sheet. Rub more oil or shortening on your fingers and rub a light coat all over the tops of dough balls, flattening slightly.
- Using your hands or a lined tortilla press, weigh out about 40 grams of concha topping and flatten to cover the surface of the dough balls. For tri colored topping, take some of each color pasta and approximately weigh 40 gr. Place the little balls of color together like a triangle. Gently flatten in press. Place on top of dough ball. Score the topping lightly with a small sharp knife. Don’t go too deep or topping will separate too much when it proofs or bakes. Cover and let proof for 40 minutes. Bake in preheated 375 Degree F oven for 20-22 minutes.
- Let conchas cool before removing them from baking sheet. Try not to handle them too much when they are warm or the candy topping could break off. Once cool, store in large covered storage container or large storage bag for a few days.
These look so delicious and beautiful. I’ve had success with other recipes of yours, so…I might just try this one. I can’t buy pan mexicano where I live. 🙁
Hi Karen! So happy you stopped by the blog! I’m hooked on this particular recipe right now. Every time I bake them up I have to share with friends so I don’t eat too much pan dulce! Lol!
Hola!
I’m homesick and wanting to make some semita like the one that I grew up sharing with my grandpa. The one I ate had raisins. I’m not an expert baker so here I ask, if I wish to incorporate raisins, can I do so? And if so, how?
Hi Laura! You will incorporate the raisins to the stand mixer when you add the water/yeast into the flour. I am going to try it myself soon.