What do you do when you can’t go to the local panaderia(bakery) and purchase fresh baked bolillos(mexican-style bread rolls)? You learn to bake them at home! I know they will never be just like the panaderia version. I am not a professional baker with a commercial kitchen. I am just a girl with a dream, and a cool colored stand mixer! Lol!
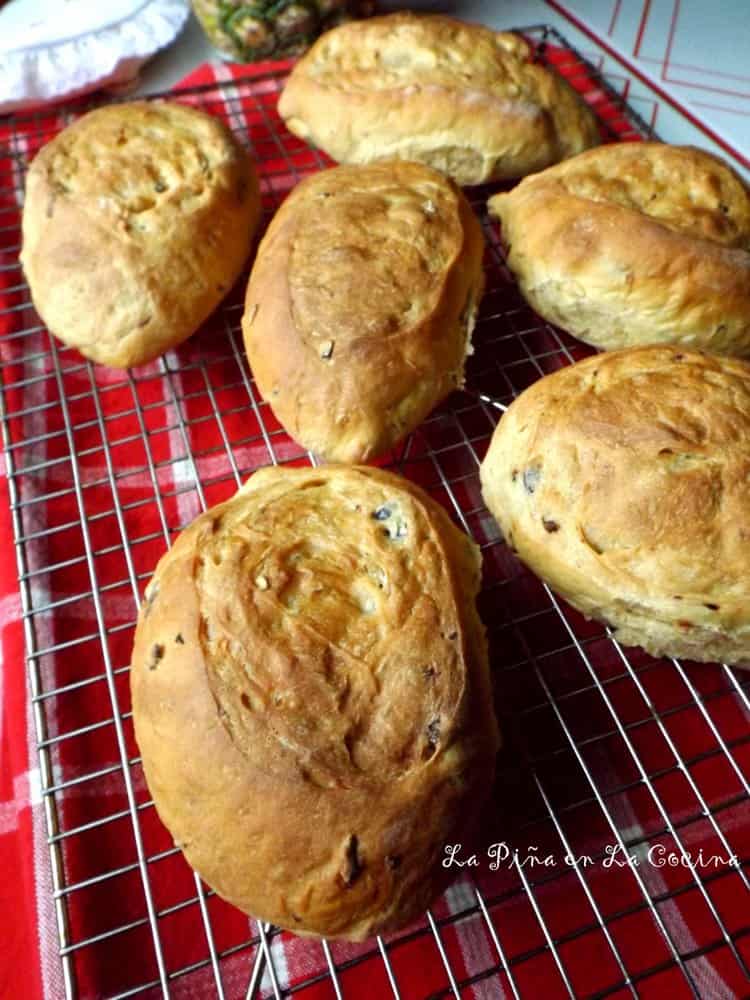
For years, after moving to New York state, the only time I could enjoy fresh bolillos is when I would visit home in Texas or California. The thought of preparing a yeast dough seemed so labor intensive. And it was! Ha, ha, ha! After learning to prepare pizza dough to the point of feeling very comfortable, I jumped right in and researched all sorts of bolillo recipes. After countless batches of yeast dough, kneading, rolling, shaping and baking, I finally had the best idea! Purchase a stand mixer and let it do most of the work! Yes!
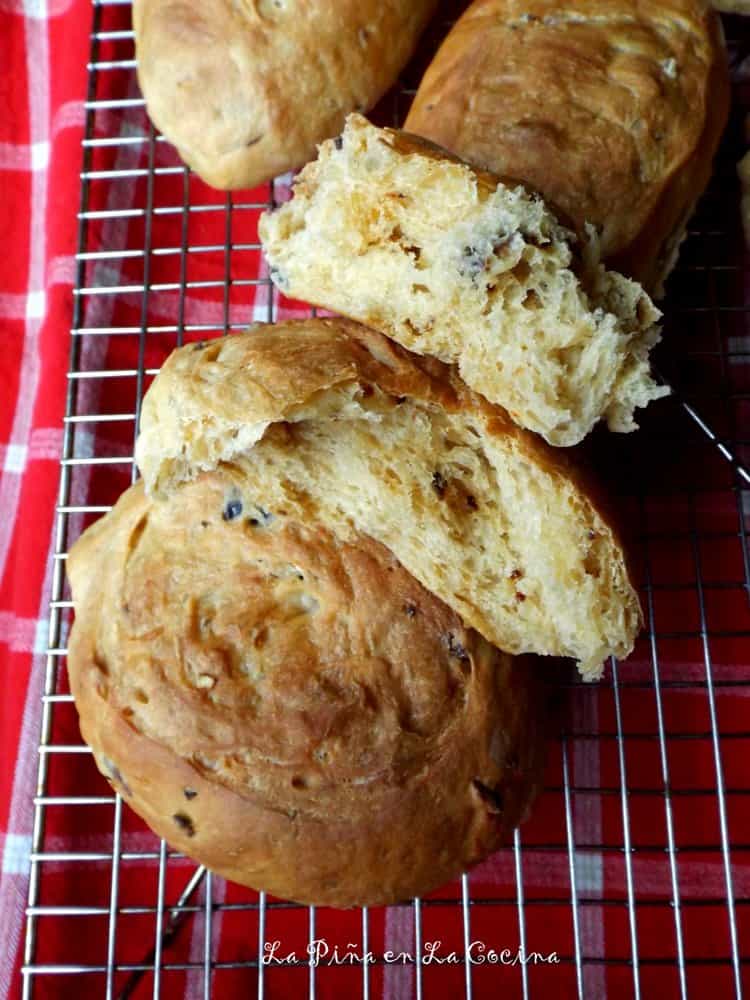
But even after all the mixing and kneading by hand, I wouldn’t trade those experiences for nothing. The recipe for these chile ancho-chipotle bolillos was adapted from this beautiful Texas cookbook that was given to me years ago. The original recipe makes 2 large loaves of bread and did not include chipotle. My husband Richard happens to really love these bolillos, so I prepare them when I can. At the end of the post I will leave you the link to my original bolillo roll recipe. Grab an apron and get baking!
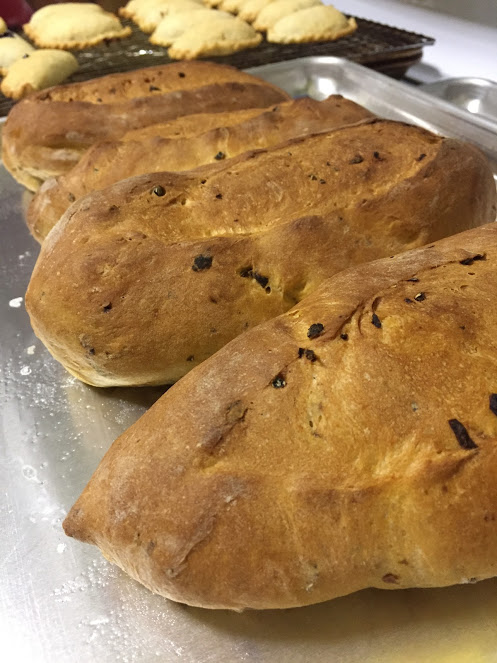
Bread!
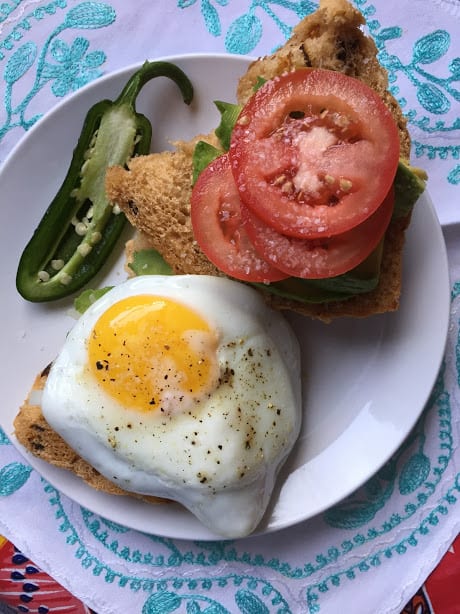
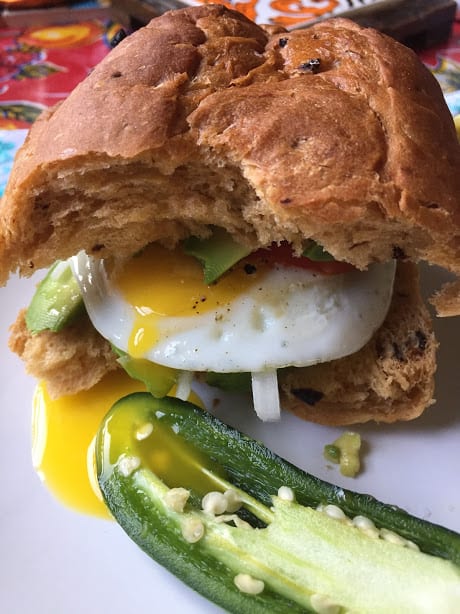
Breakfast!
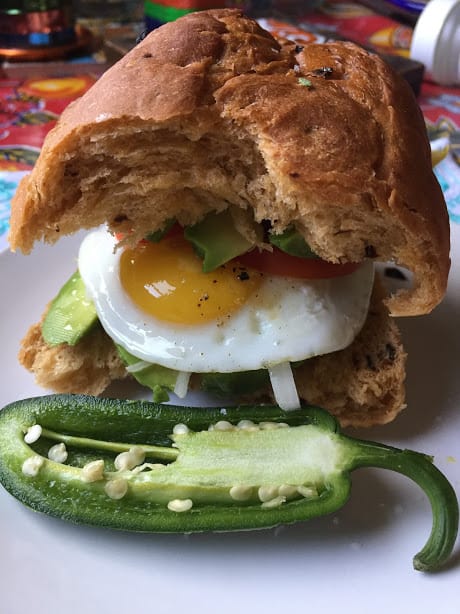
I am hungry Now!!!
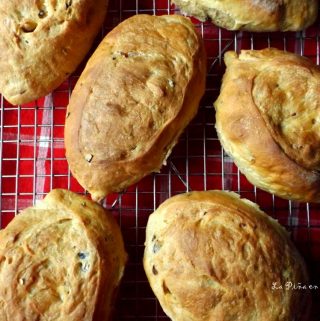
Chile Ancho-Chipotle Bolillos
Equipment
- Stand Mixer
Ingredients
Ingredients
- 1 1/2 tablespoons active dry yeast
- 1/2 cup warm water 110-115 degrees F
- 1 teaspoon sugar
- 1 large chile ancho stem and seeds removed, finely chopped
- 1/2 tablespoon chipotle pepper flakes
- 1/3 cup brown sugar or grated piloncillo
- 1 teaspoon salt
- 3/4 cup cold water
- 2 1/2- 2 3/4 cups bread flour
- salt water for brushing rolls
Instructions
- In the bowl of your stand mixer, add the yeast, 1/2 cup warm water and 1 teaspoon sugar. Stir gently to combine and let stand for 10 minutes.
- Add the chile ancho, chipotle, brown sugar(or piloncillo), salt and cold water.
- Gradually, with the mixer on low(2 speed), incorporate the flour little by little. You will need to stop and scrape down the sides often.
- After about 10 minutes of mixing, the dough ball should begin to form. If it’s extremely sticky, mix in a little more flour.
- Transfer dough to a lightly floured flat surface and gently form into a ball. Place into a greased glass bowl. Cover and let proof(rise) for 90 minutes. Best results if you place in a warm(but not hot) spot.
- After 90 minutes, punch dough down and turn out onto a flat, lightly floured surface. Divide the dough into 8 equal size portions(4 oz. each). Shape into a ball, then into an oval(football) shape. They should be about 5 inches long. Transfer to a greased baking sheet. Cover and let proof for 30 minutes.
- Preheat oven to 425 degrees F. Place an empty metal pan on the bottom rack of oven while oven preheats.
- In a small bowl mix 1/2 a cup of water with 1 teaspoon of salt until dissolved. Brush rolls. Right before placing rolls to bake in the oven, add 2-3 cups of cold water to the metal pan in the oven. Bake rolls for 15-20 minutes or until lightly browned on top. Cool completely before storing in a plastic storage bag.
Notes
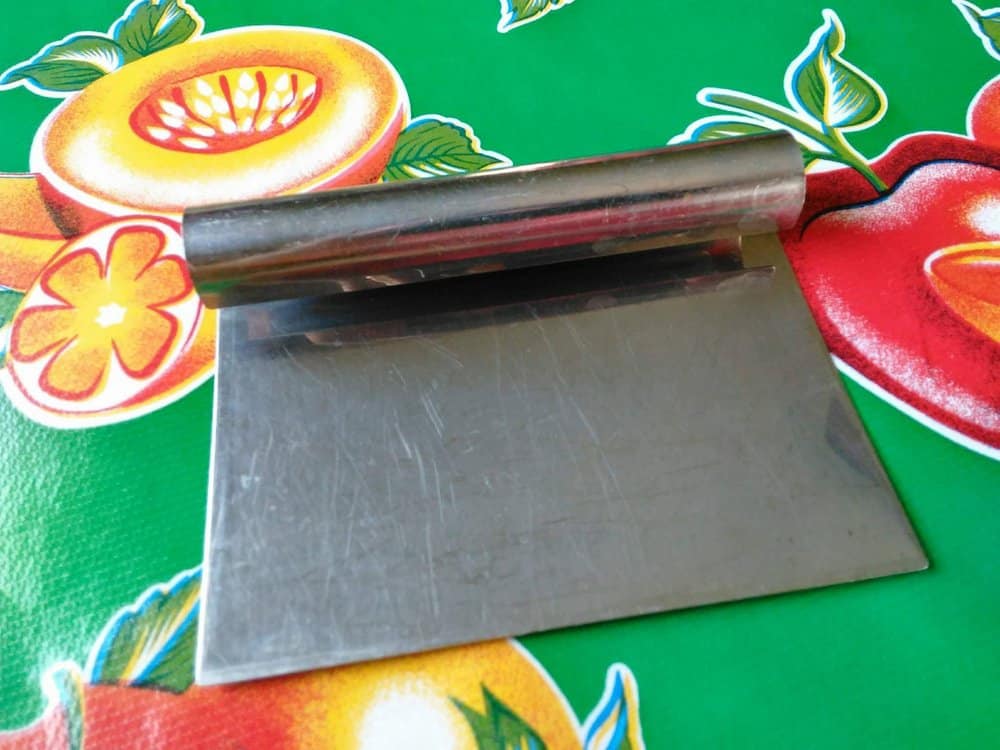
Tips!!! Do you know what a dough cutter is? This makes working with dough alot easier. Below, I will share with you how I used it.
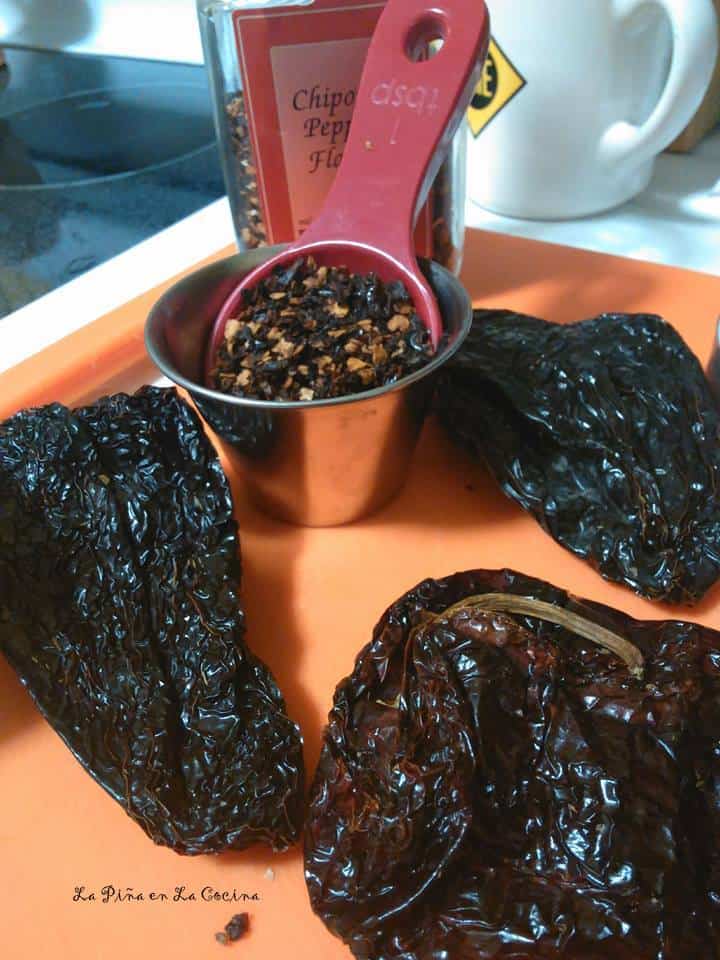
Chile ancho is the most mild of the dried chiles used in Mexican cooking. The chipotle pepper flakes add a great smoky flavor to the bolillos. Great for soups, stews and chili too!
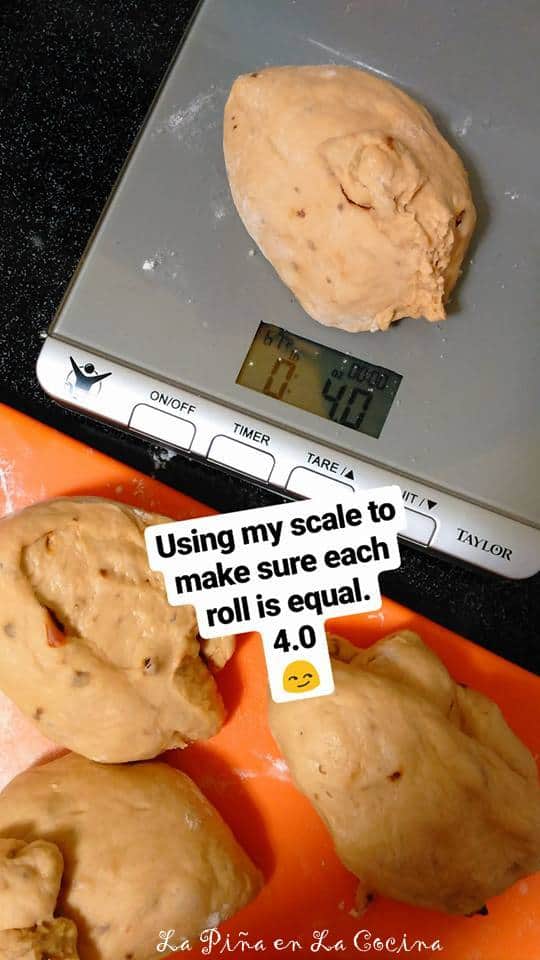
My sister in law, Janet, who bakes alot convinced me how helpful it was to use a scale for baking. Especially when you have to share recipes and need more accurate portion sizes.
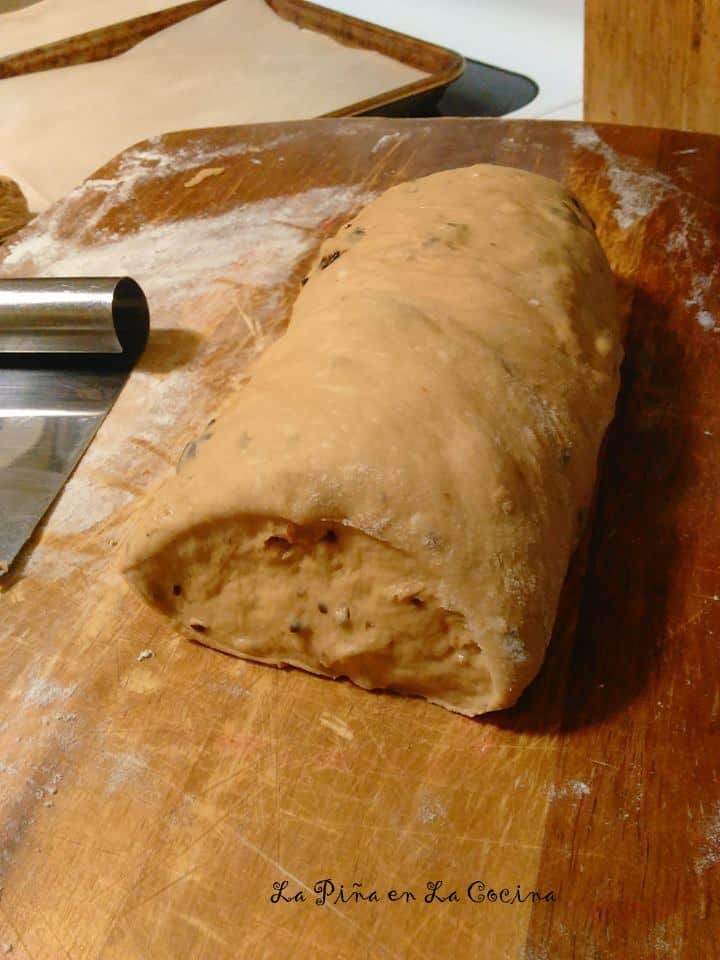 Here is where that dough cutter came into play one of the many times I prepared boillos. Once you are ready to shape your rolls, form the dough into a log shape. With that pastry cutter, I cut the dough and as it presses down and cut, the shape of the bolillo is pretty much done! Check out picture below.
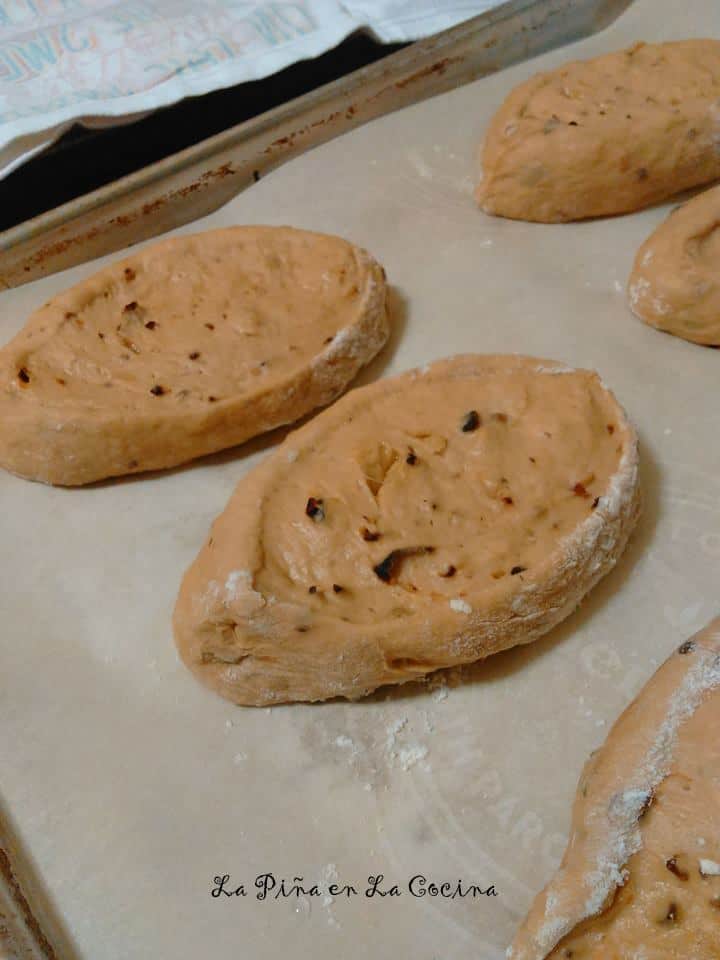
This is what the bolillos look like after I cut them with the dough cutter or bench cutter.
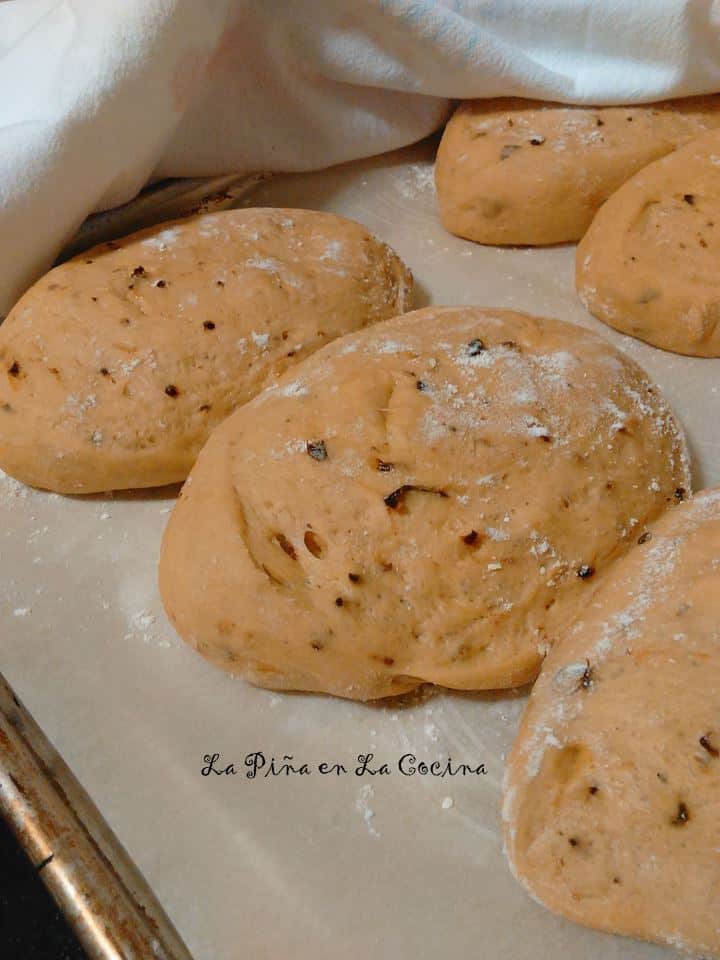
I sprinkled them lightly with flour and this is after they rose for the 30 minutes. Ready for the oven! This batch pictures did not get a salt water brushed onto them.
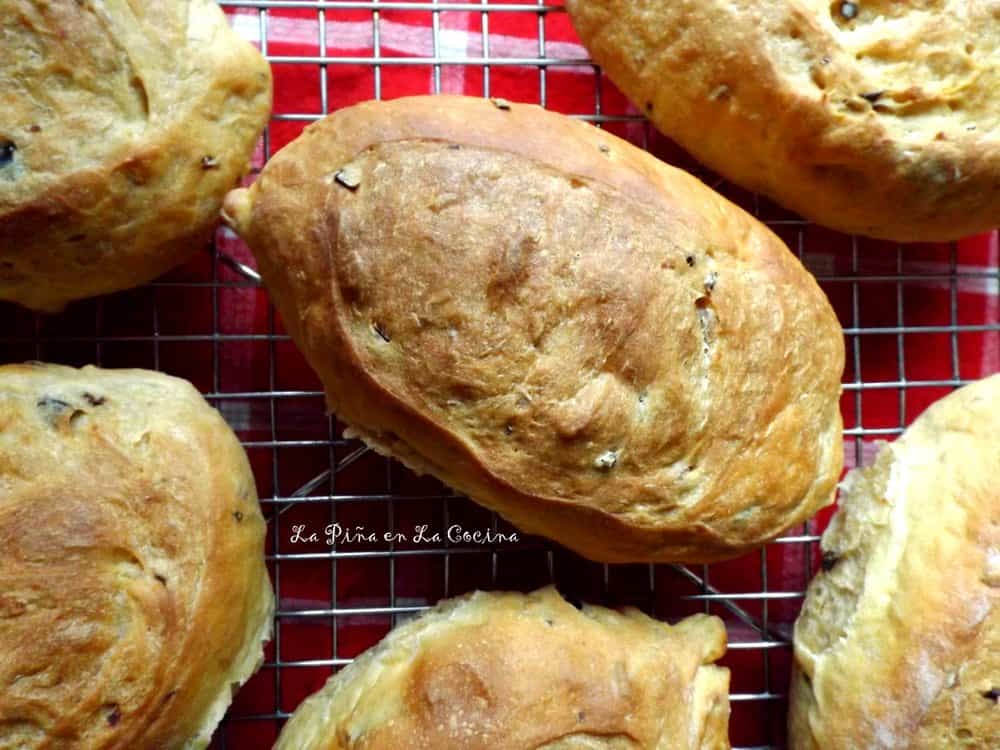
Now this batch above did get a salt water brushing before being baked. It’s up to you how you like them.
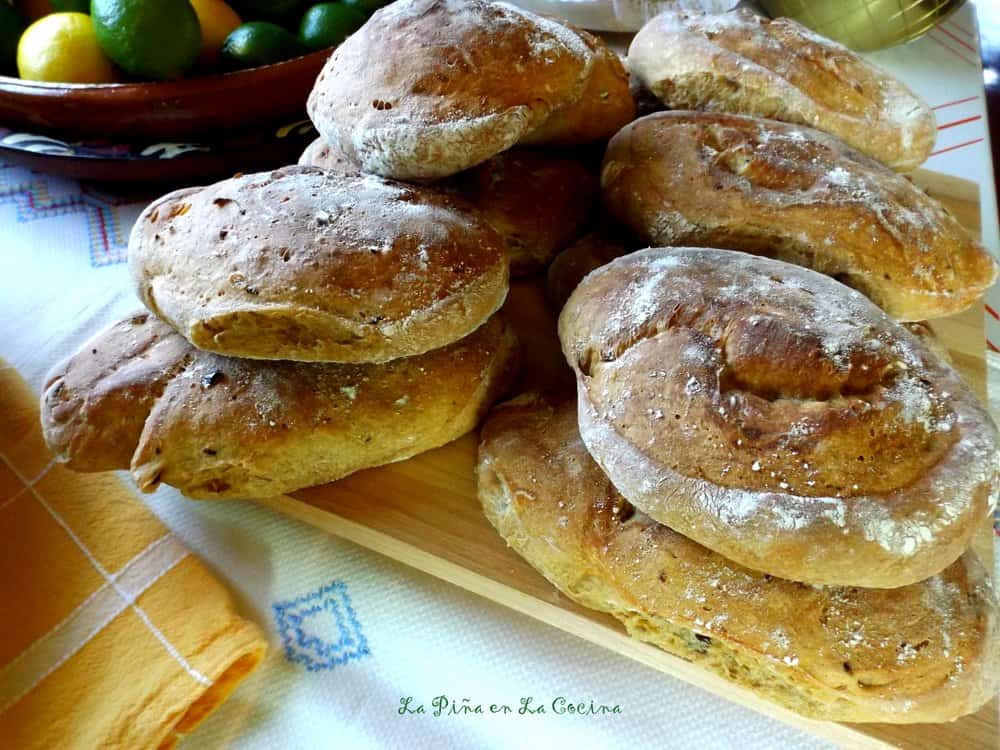
The batch above was shaped by hand and then scored down the center with a sharp razor blade. Choose the method that you are comfortable with.
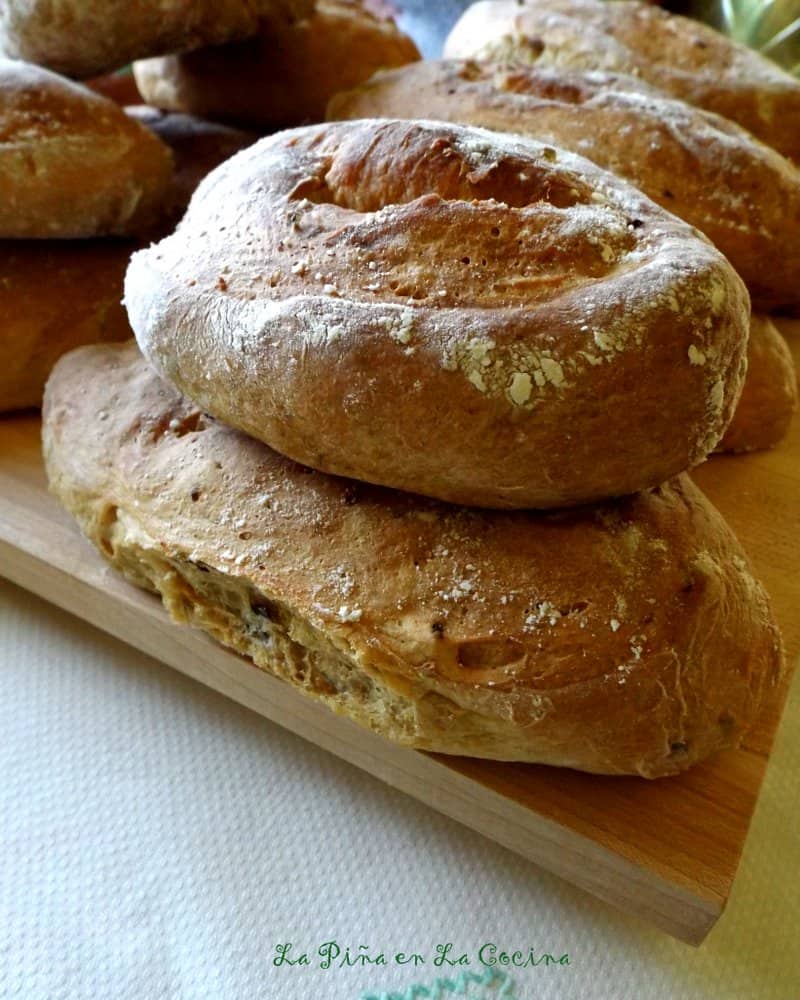
There is something so satifying about enjoying homemade bread that you prepare with your own hands. It’s amazing! The exterior should feel crispy, but the inside is super soft!
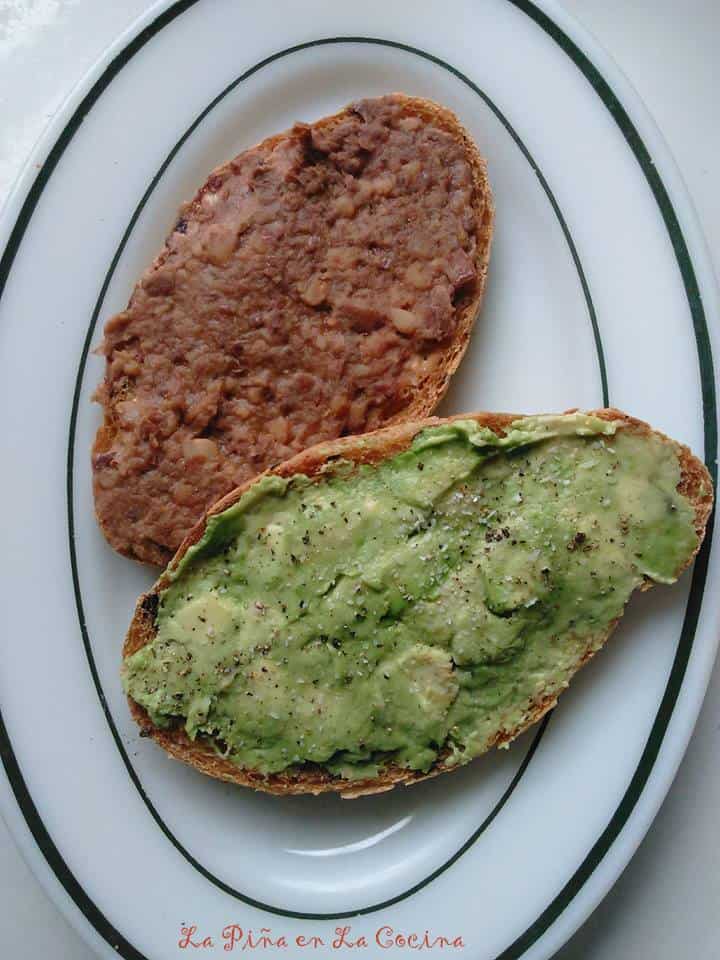
My guilty pleasure….beans and avocado on fresh baked bolillo.
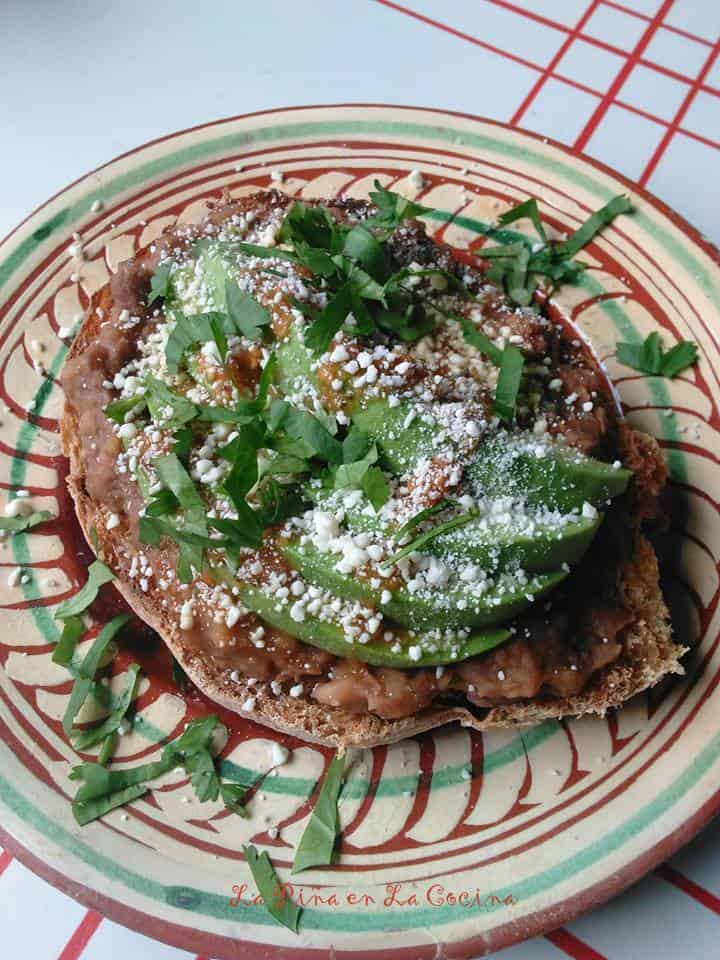
And again, the next day with a little salsa, cotija cheese and cilantro.
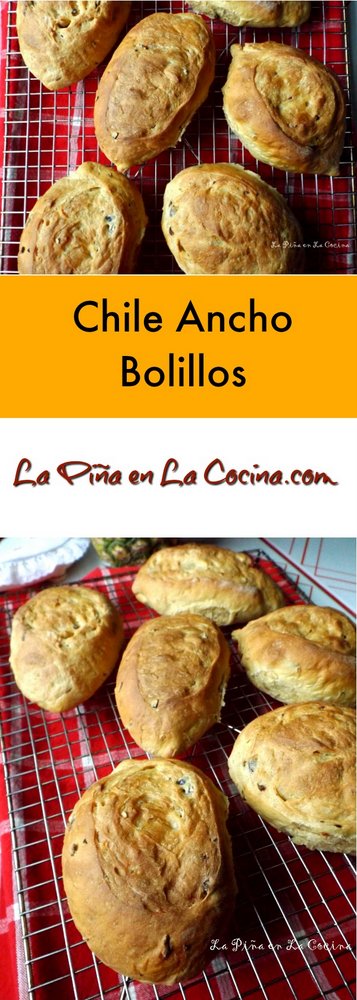
Click onto the link to see how I prepared the original recipe for boillos using my standmixer.
We buy the bolillos often but never figured out how they made this shape! I’m definitely going to try this.
Oh good Diane! I always wondered that myself! I just cut them like that one day and I was like, “Wow”! Lol!